More

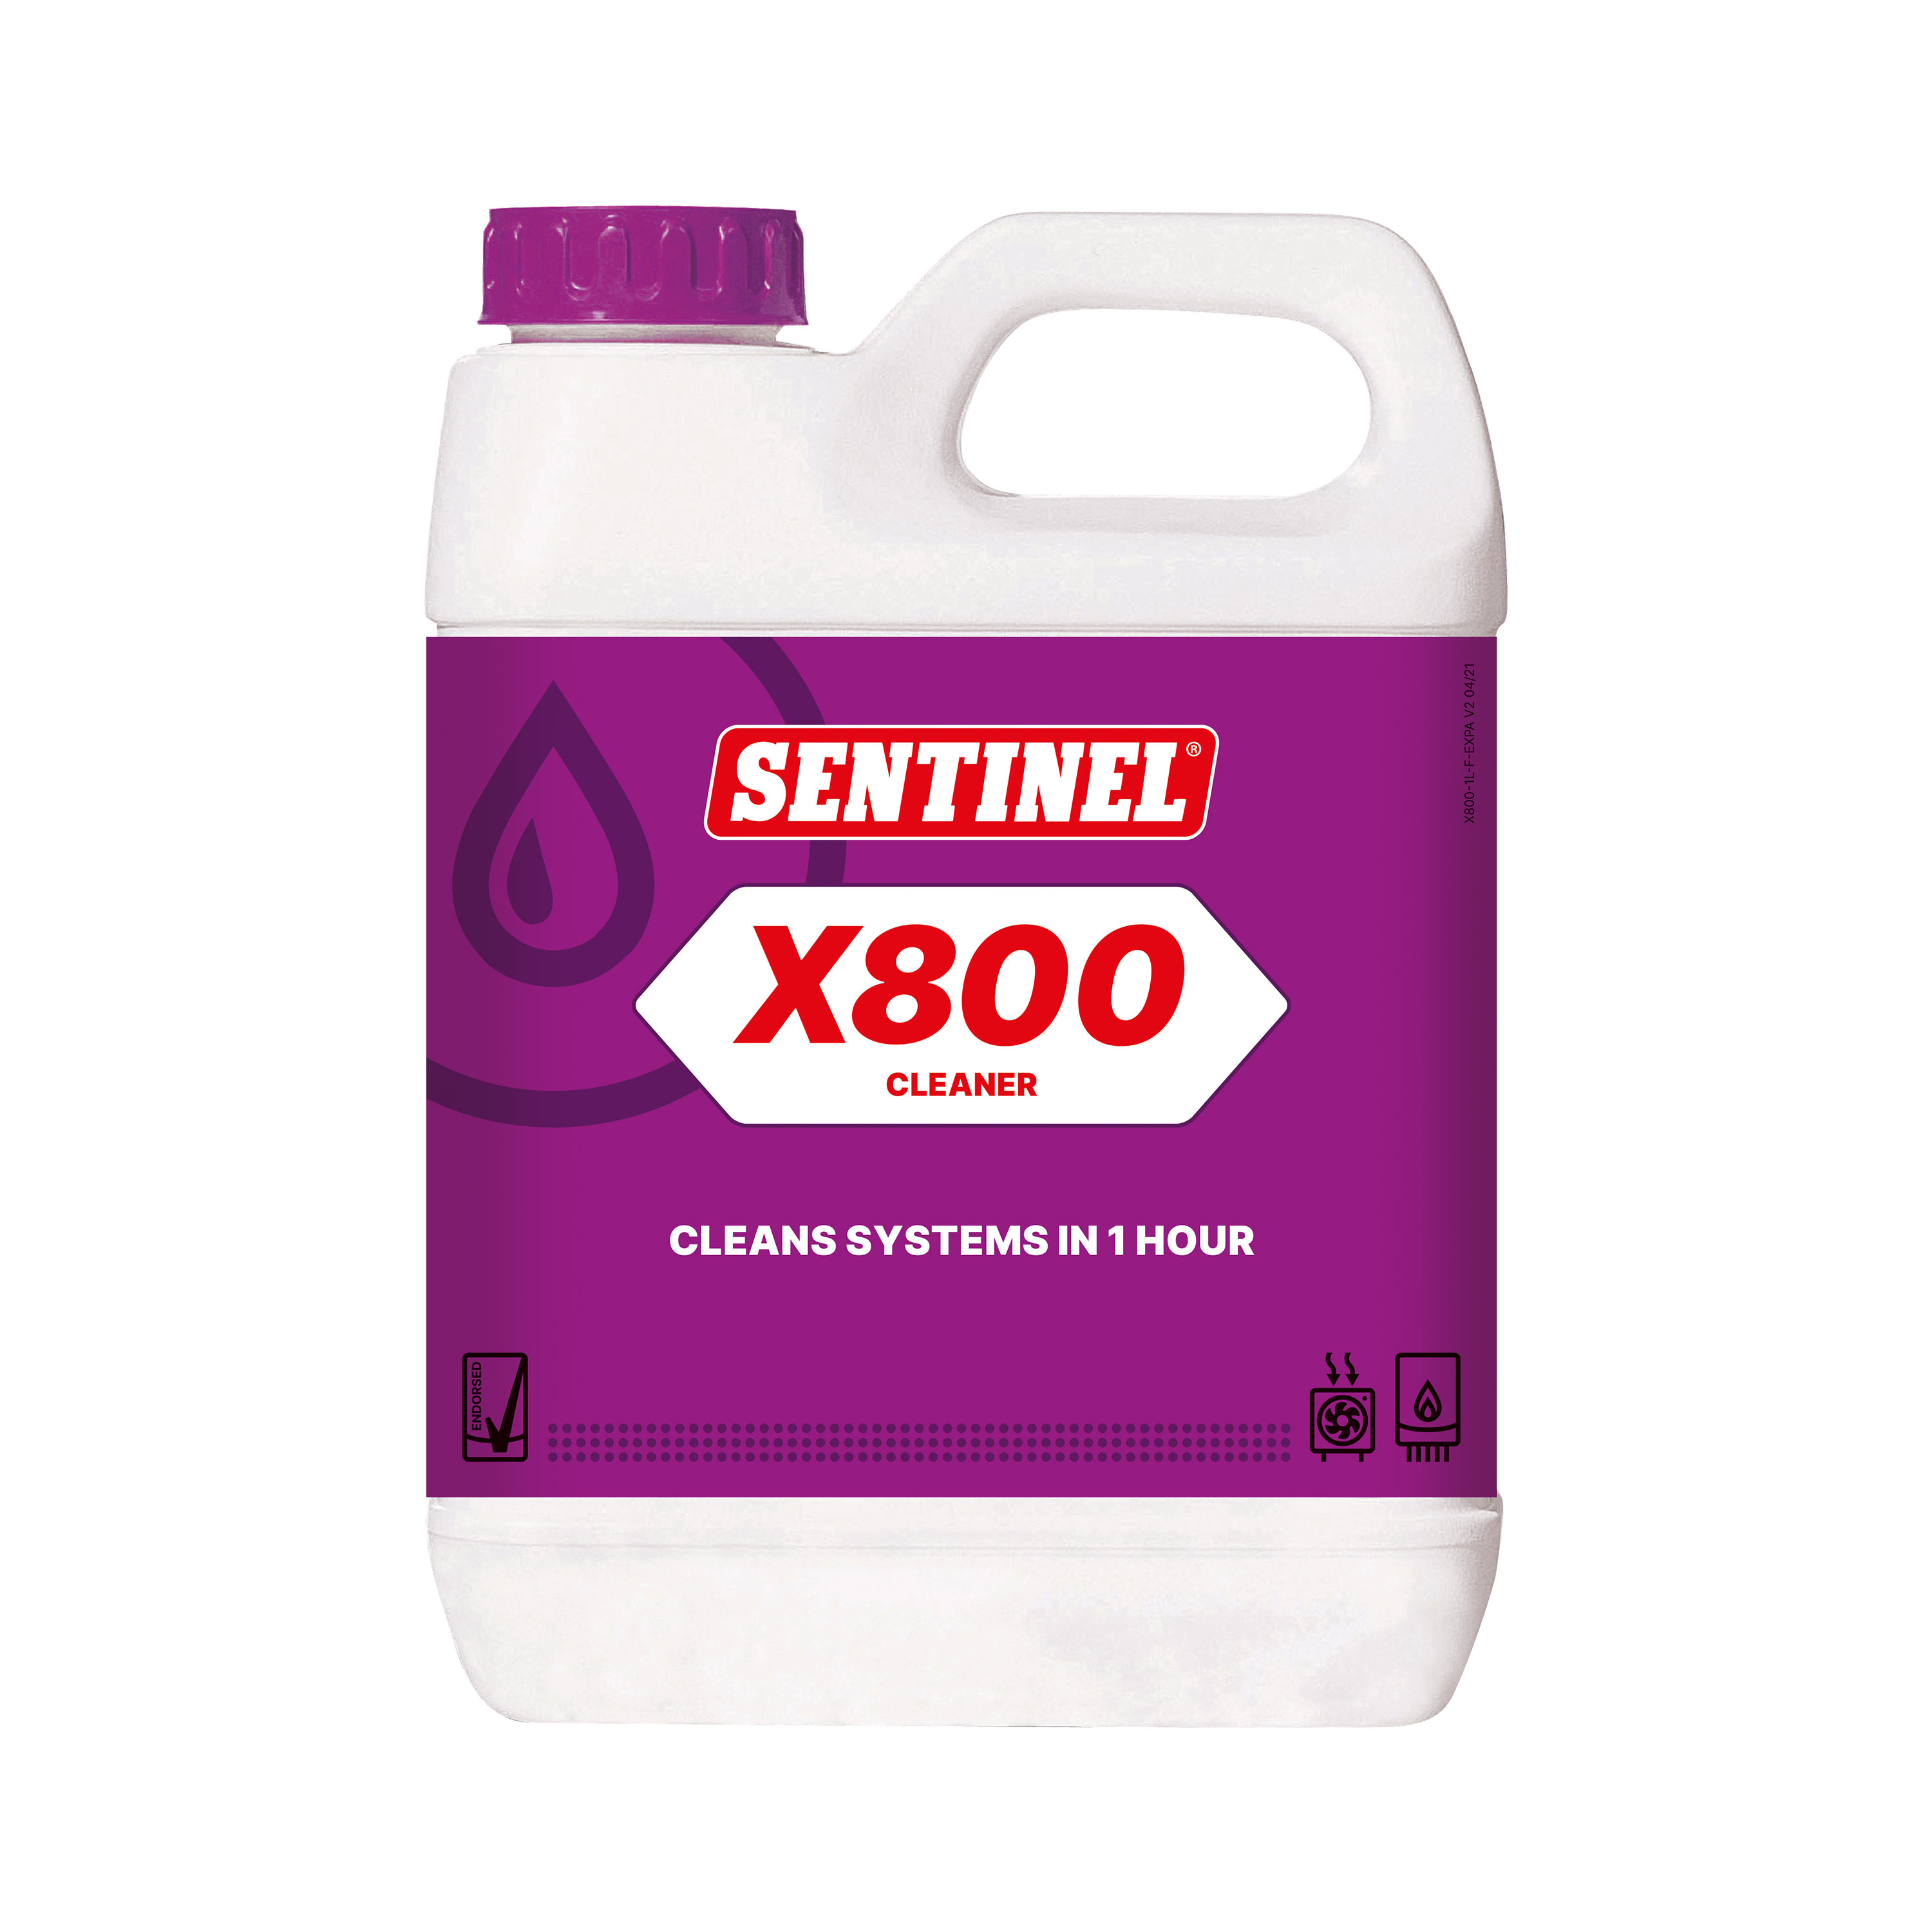
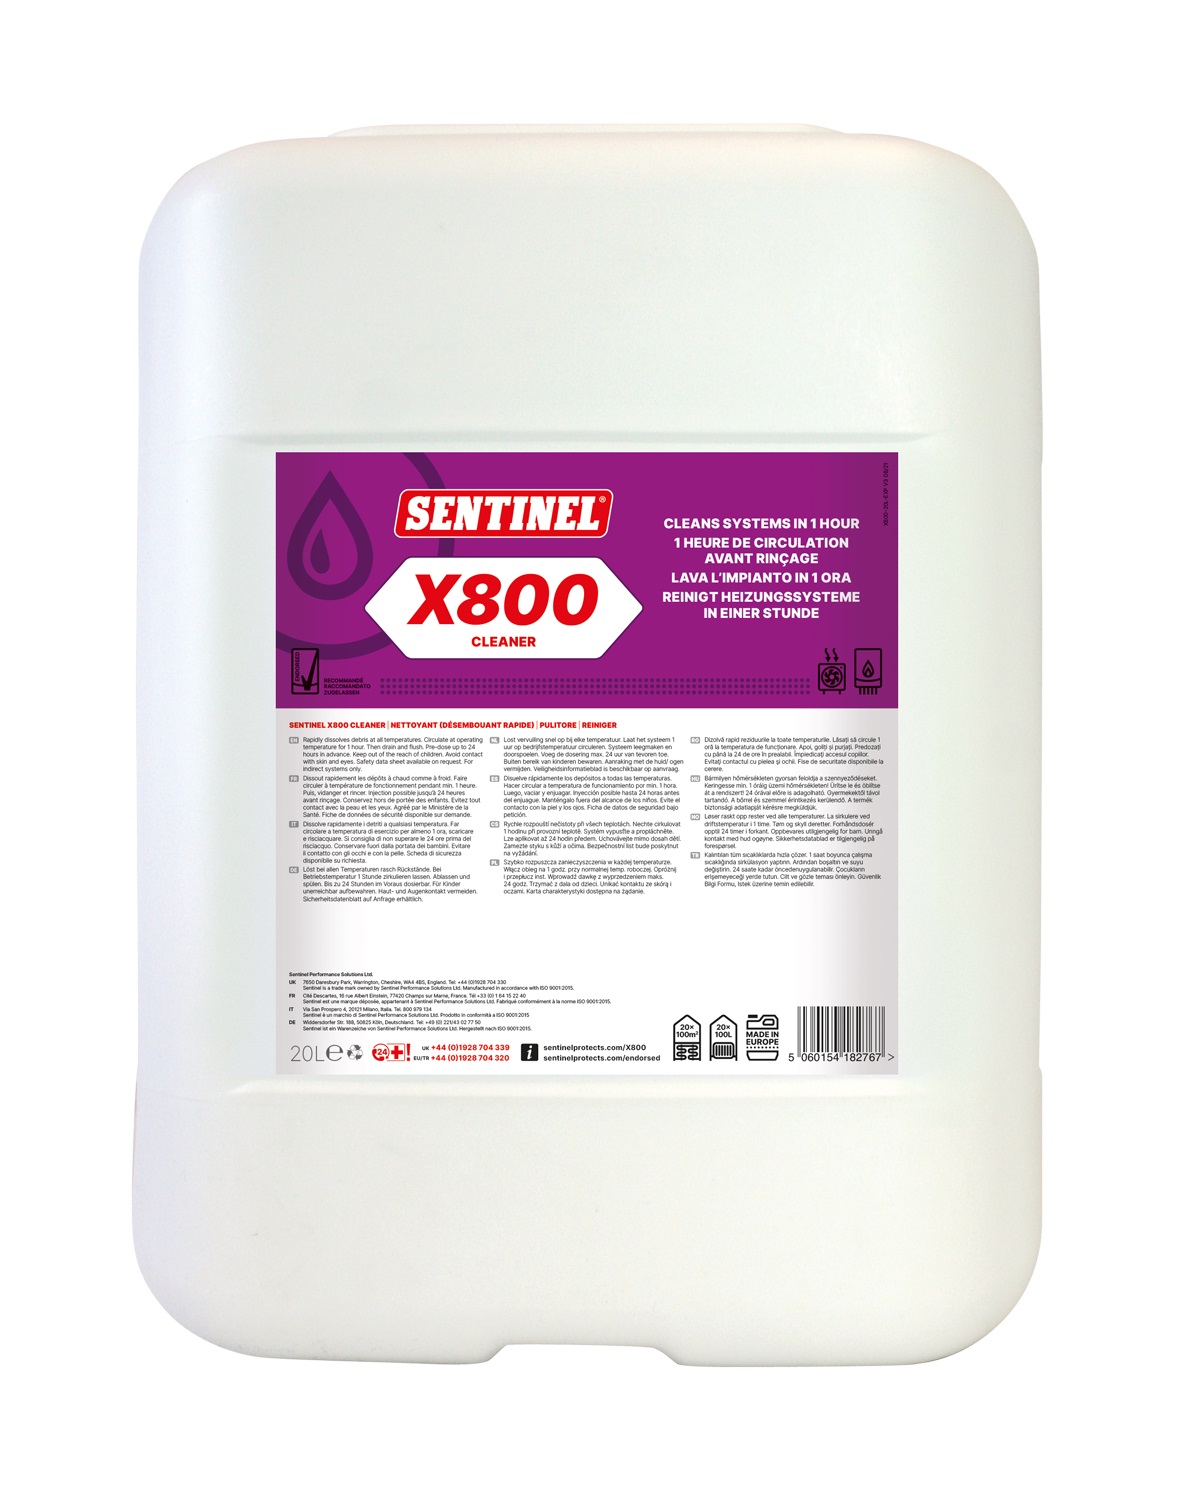
Sentinel X800 Fast Acting Cleaner is non-aggressive and will not harm the system in any way. The recommended time to leave the Sentinel X800 Cleaner in your system is anywhere from 1-20 hours, but to ensure a complete clean, it should be thoroughly drained and flushed from the system before final filling and treating with an inhibitor.
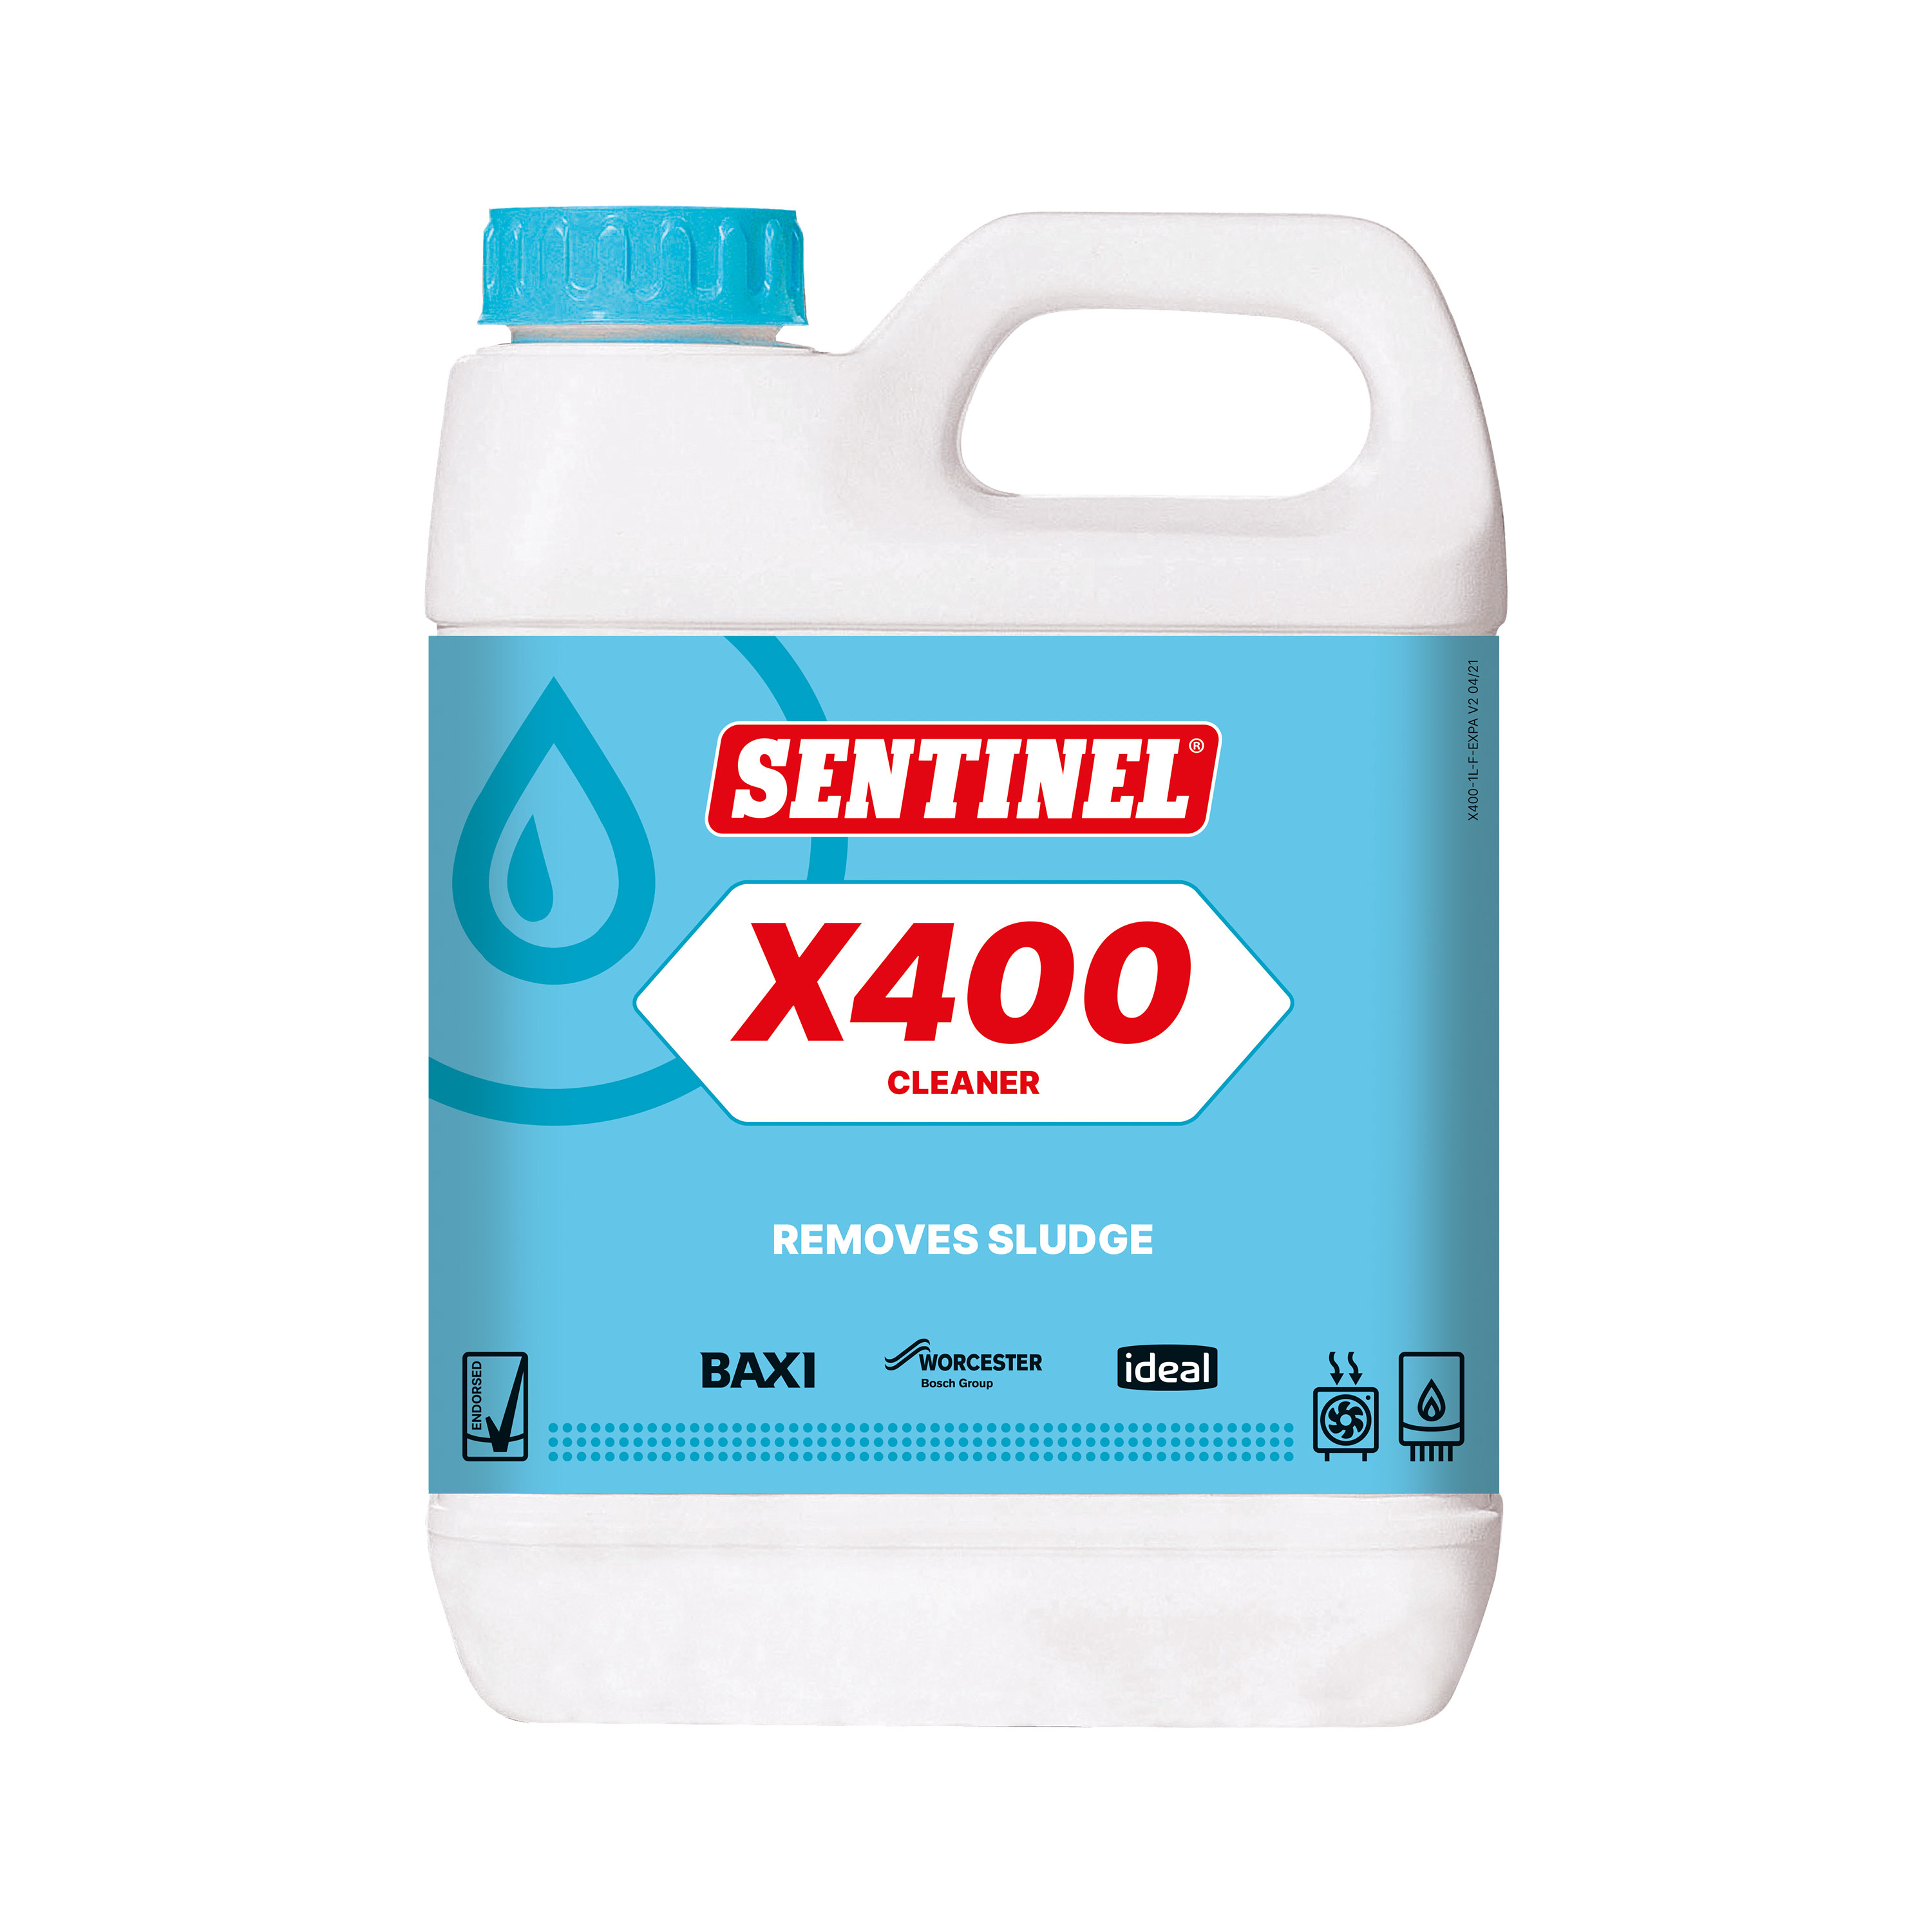
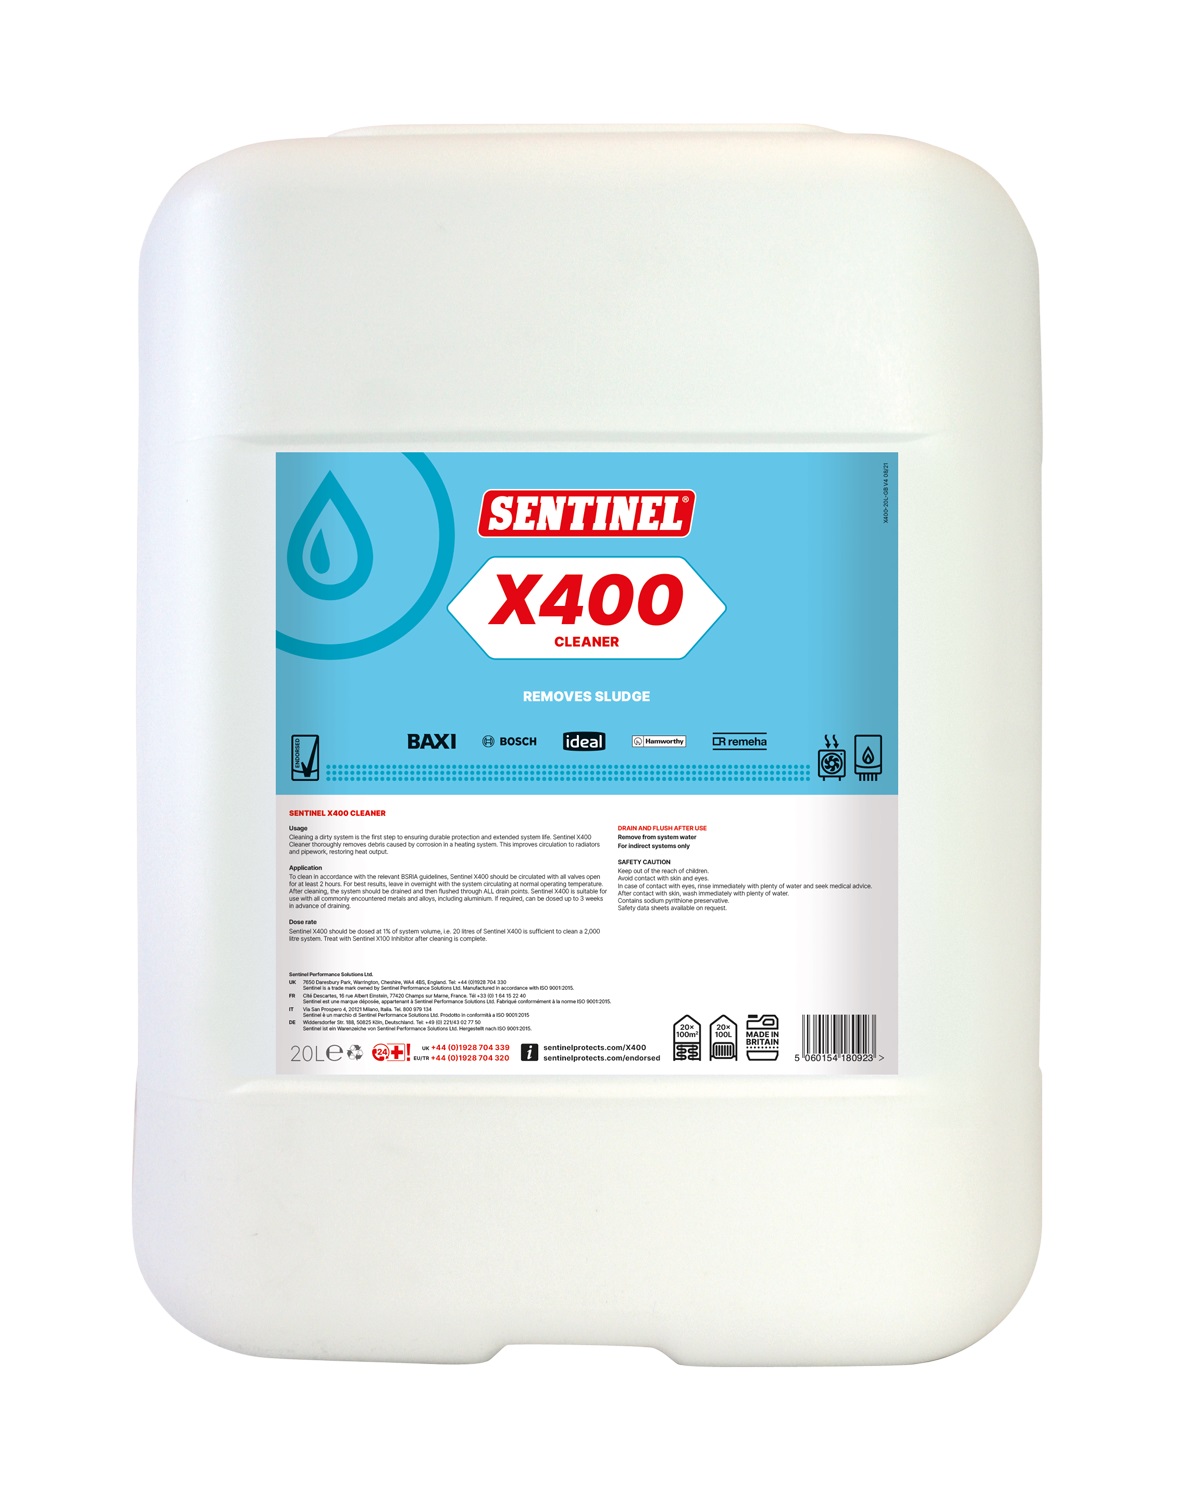
For the most thorough clean, use Sentinel X400 High Performance Cleaner. For the quickest clean, use Sentinel X800 Fast Acting Cleaner in conjunction with a powerflushing machine.
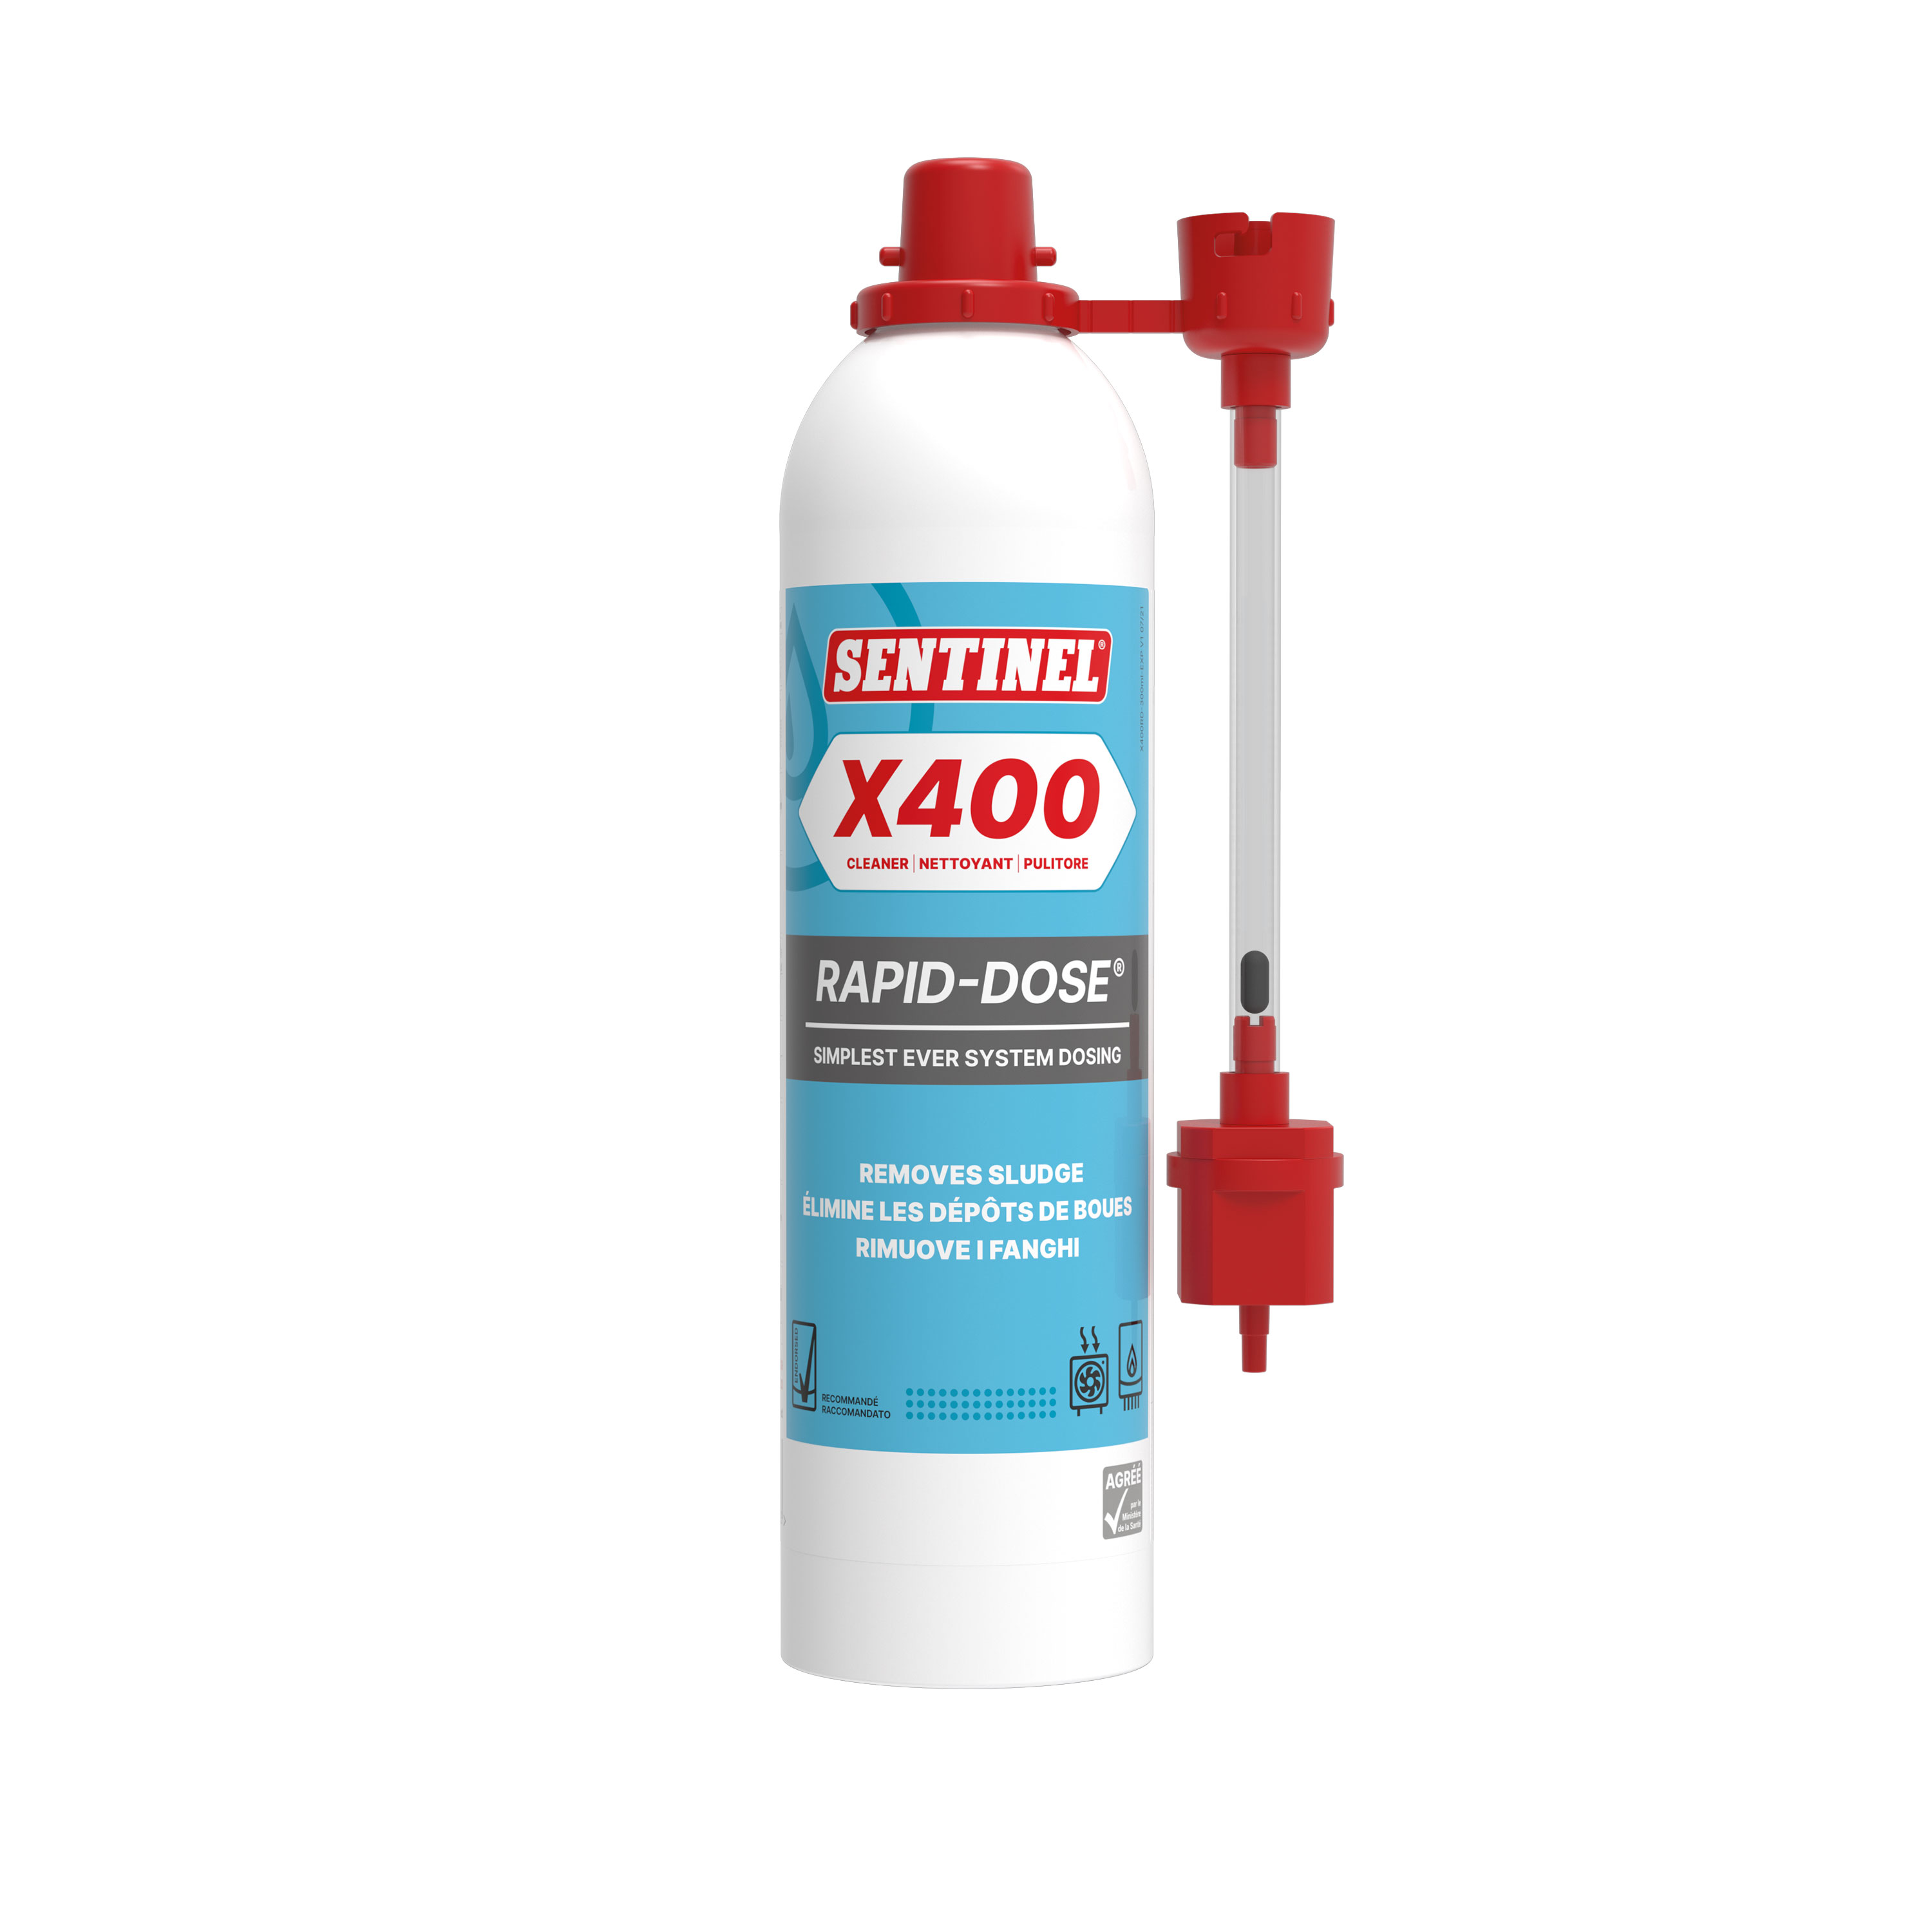
Sentinel X400 High Performance Cleaner can be added to the system in a number of ways. For open vented systems, dose via the expansion tank during the final fill. For empty sealed systems, add to any convenient point before filling. For full sealed systems, use a Sentinel Dosing Vessel to inject via the filling loop or other access point. Sentinel X400 High Performance Cleaner is also available in Rapid-Dose aerosol and Concentrate gel formats. It can also be dosed through a powerflushing machine.
Sentinel X400 High Performance Cleaner can be left in the system for approximately 3-4 weeks.
To complete the cleaning process, you should always drain or flush the system fully to remove all of the debris that Sentinel X800 Fast Acting Cleaner has collected or dislodged. If you do not drain the system of this debris, the system will remain dirty.
For domestic markets:
New systems (less than 6 months old) | X300 Cleaner for New Systems |
Old systems (more than 6 months old) | X400 High Performance Cleaner |
Quick clean | X800 Fast Acting Cleaner |
Stubborn debris | Deposit Remover |
For commercial markets:
New systems (less than 6 months old) | X300 Cleaner for New Systems |
Old systems (more than 6 months old) | X400 High Performance Cleaner |
It is not advisable to add an inhibitor at the same time as a cleaner, simply because the cleaner will need to be flushed from the system in order to complete the clean. The inhibitor should be added during the final system fill only after the cleaner and the debris it has removed have been drained from the system and the system flushed. However, if you have already added an inhibitor to a system currently undergoing the cleaning process, there is no detrimental effect to the system or the cleaning process.
Sentinel X800 Fast Acting Cleaner can be added to the system in a number of ways. For open vented systems, dose via the expansion tank during the final fill. For empty sealed systems, add to any convenient point before filling. For full sealed systems, use a Sentinel Dosing Vessel to inject via the filling loop or other access point. It can also be dosed through a powerflushing machine.
To complete the cleaning process, you should always drain or flush the system fully to remove all of the debris that Sentinel X400 High Performance Cleaner has collected or dislodged. If you do not drain the system of this debris, the system will remain dirty.
It is perfectly safe to use Sentinel X800 Fast Acting Cleaner on systems with standard plastic plumbing pipework.
It is perfectly safe to use Sentinel X800 Fast Acting Cleaner on systems over 20 years old.
It is perfectly safe to use Sentinel X800 Fast Acting Cleaner on systems with aluminium components.
We recommend the use of Sentinel X400 High Performance Cleaner for any heating systems older than 6 months to remove sludge and other debris and increase system effectiveness. An ideal opportunity to do this is immediately prior to boiler or other major component replacement.
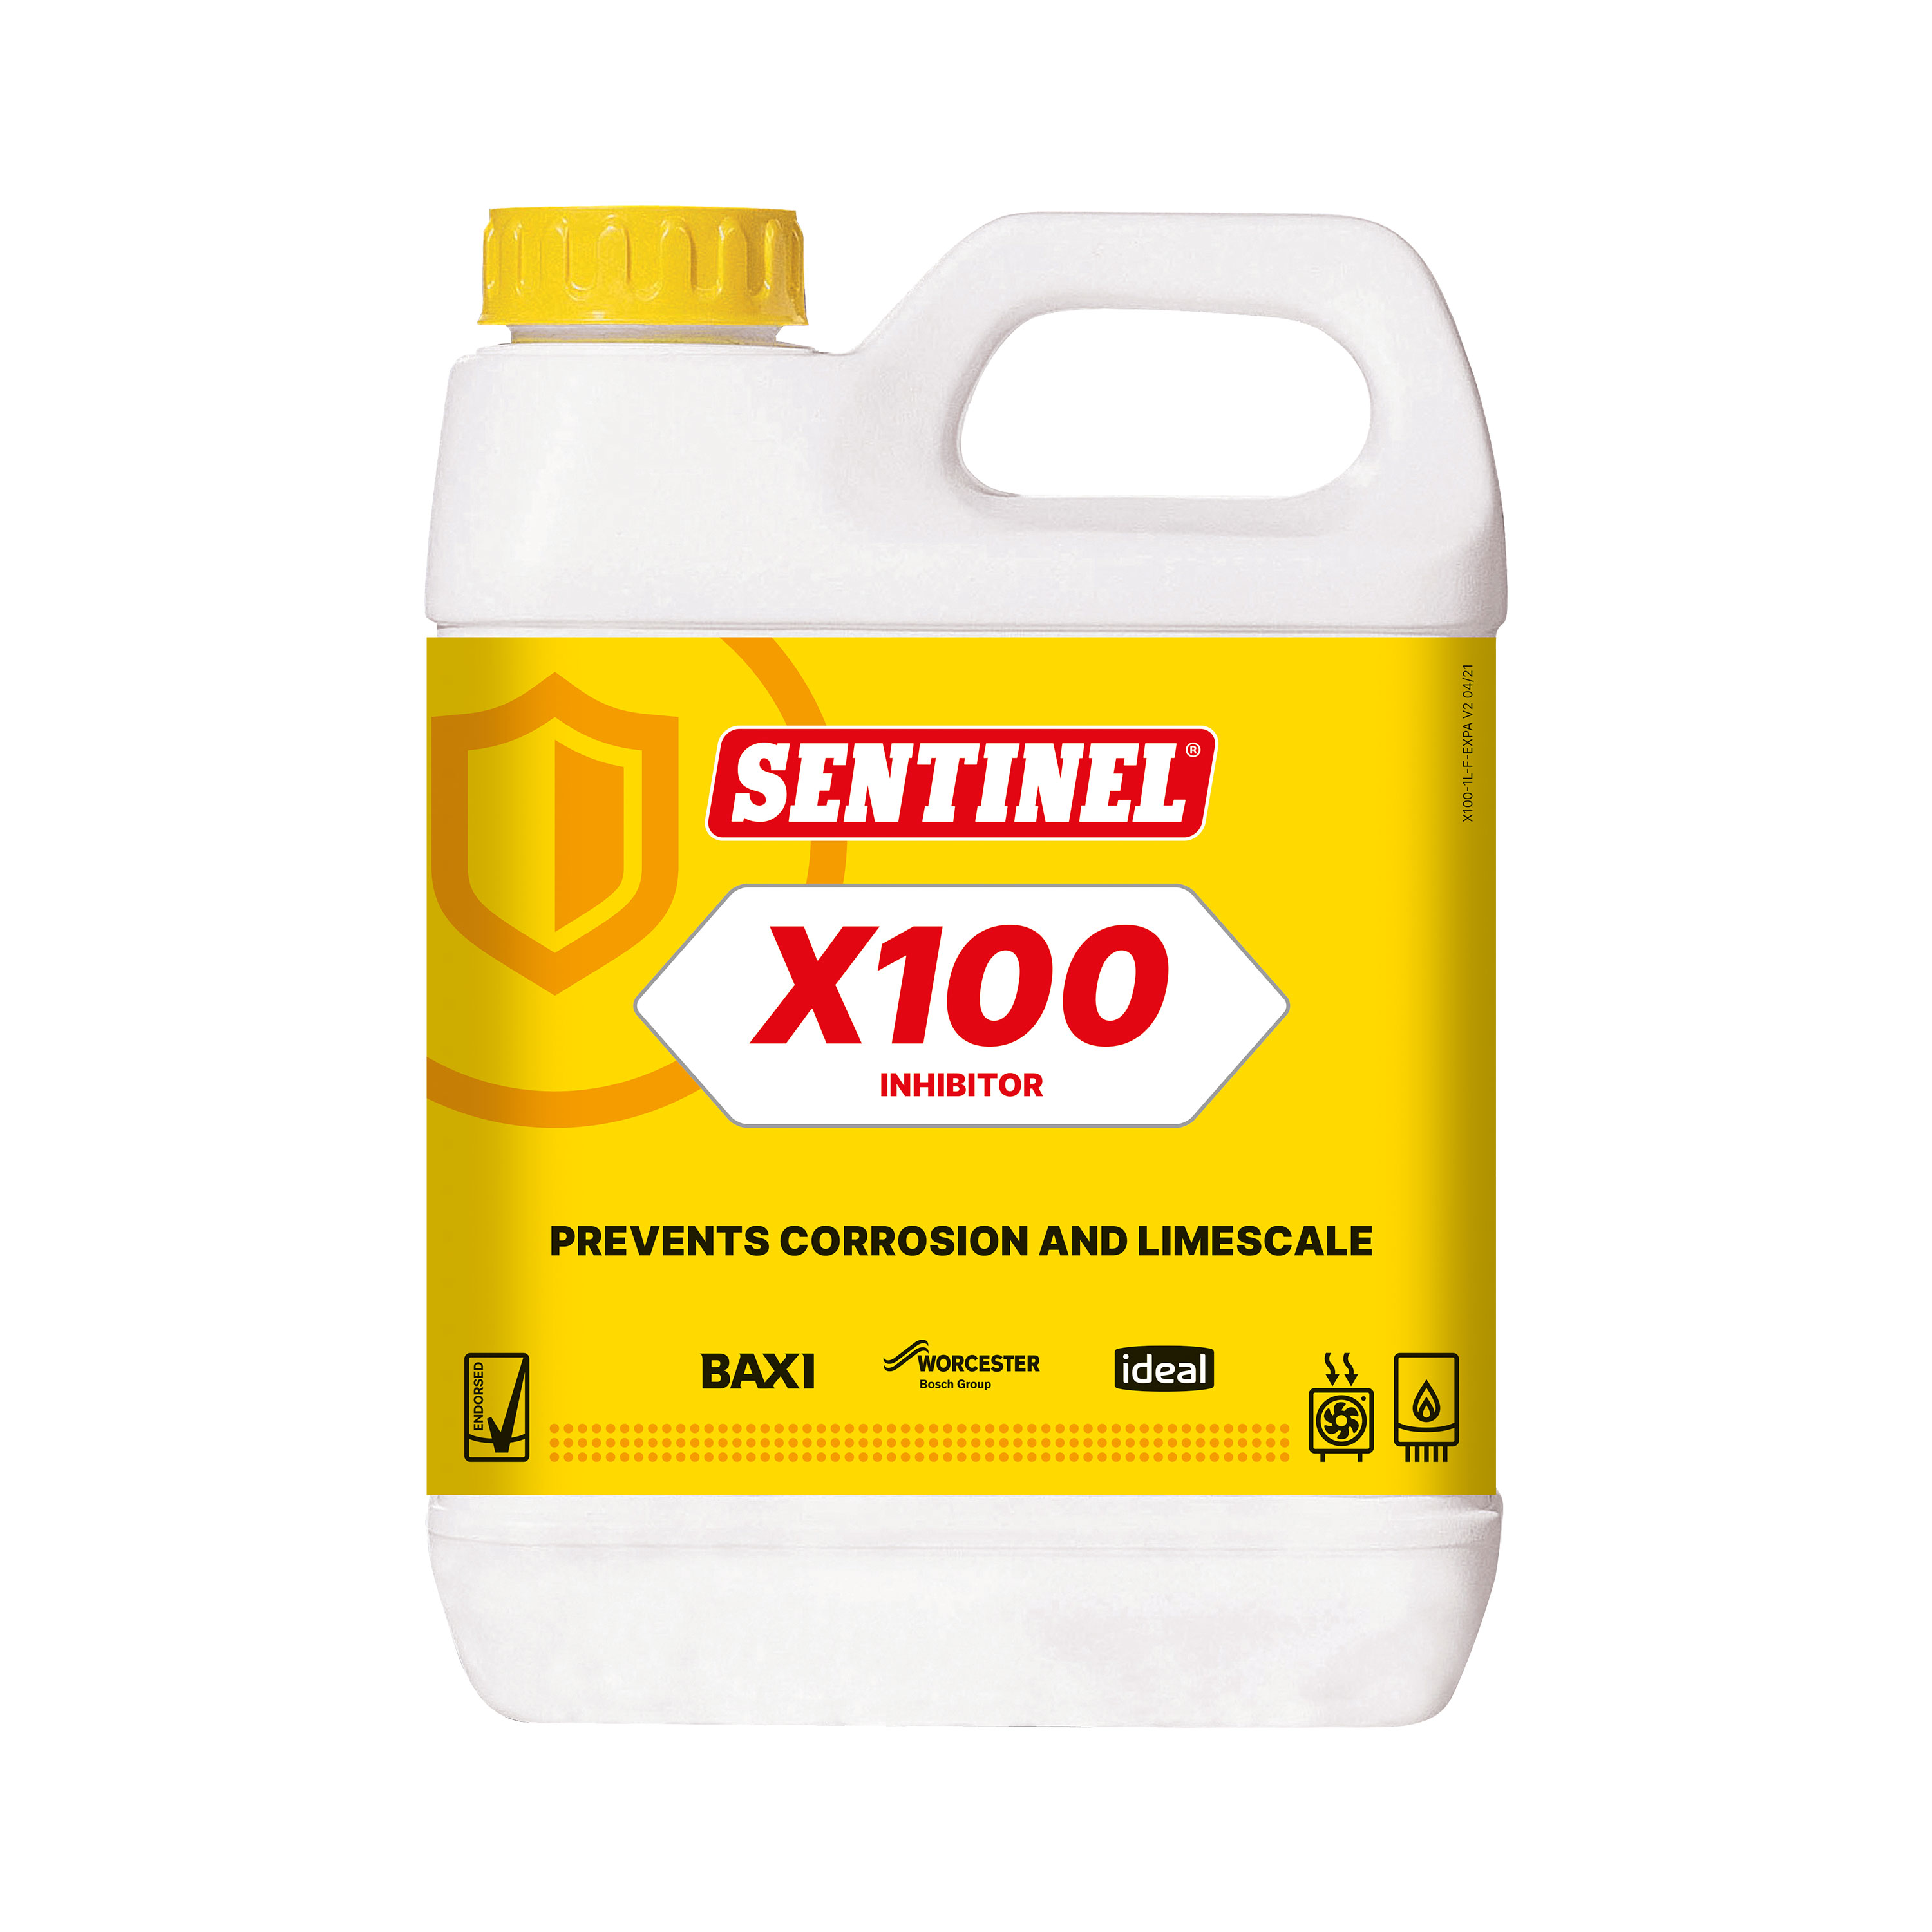
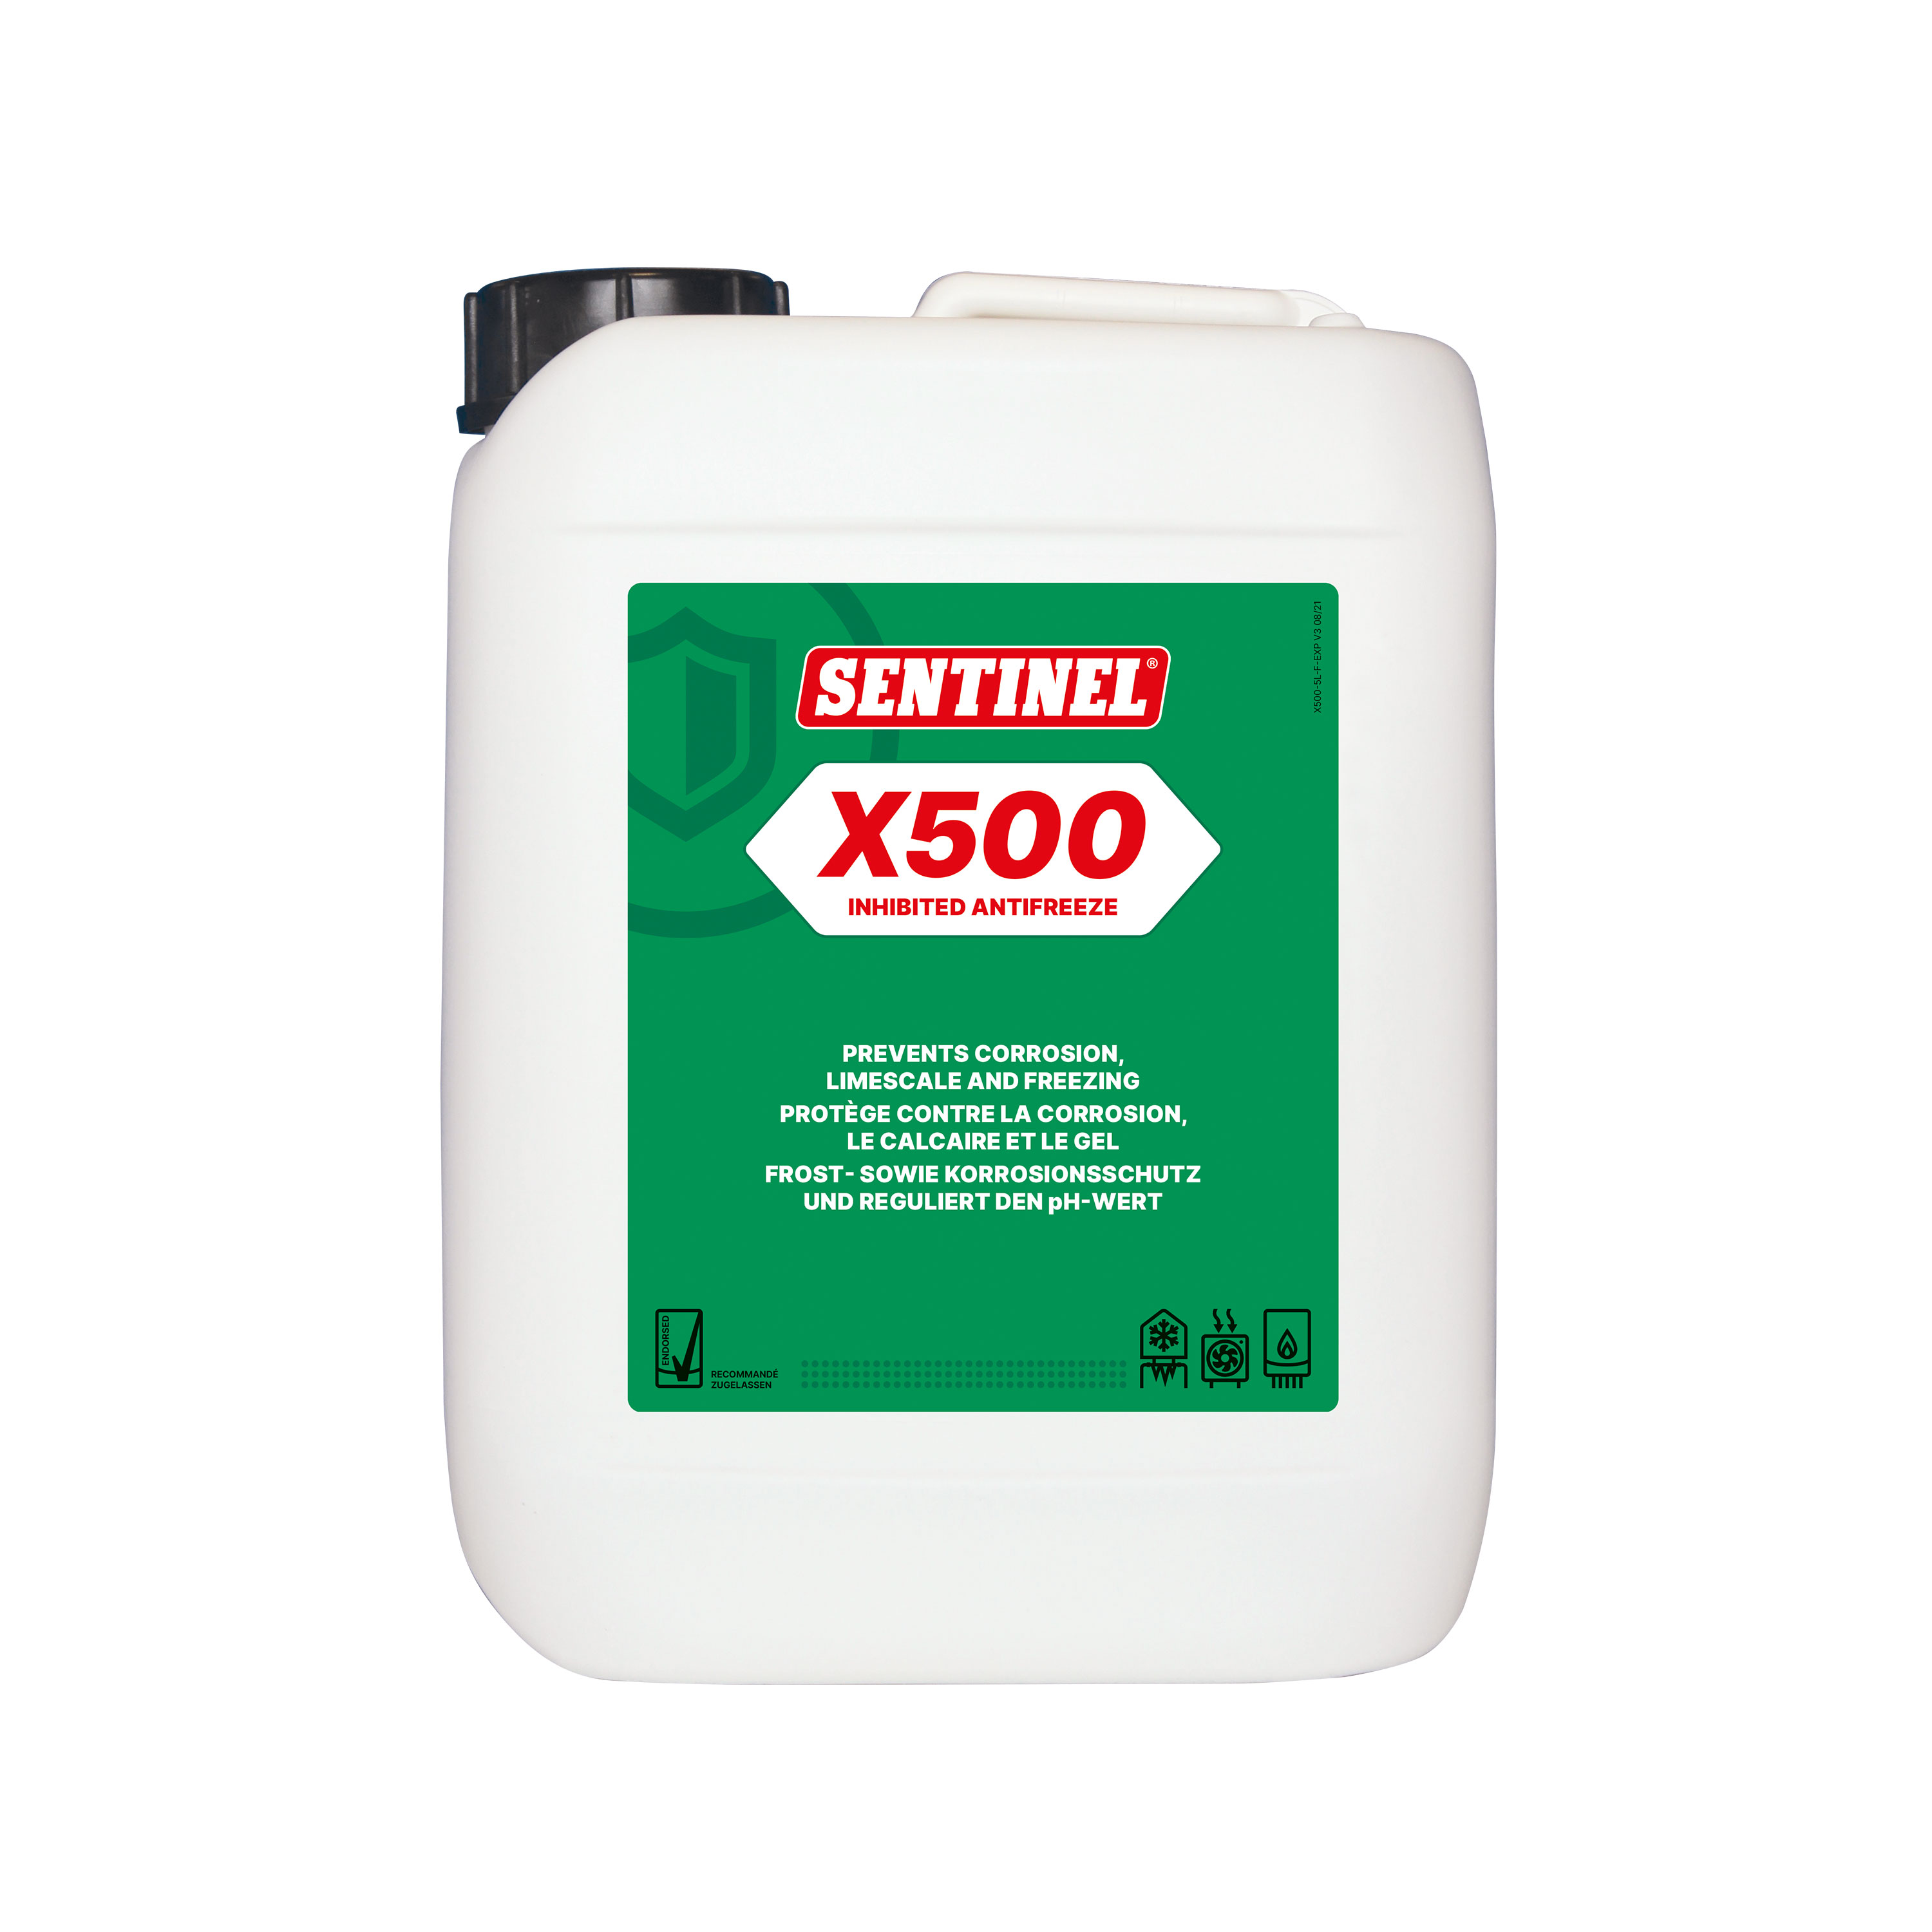
After a system has been cleaned using Sentinel X400 High Performance Cleaner and the system has been drained and then thoroughly flushed with fresh water, add Sentinel X100 Inhibitor or Sentinel X500 Inhibited Antifreeze during the final fill to protect the system from corrosion and limescale build up in future.
1 litre, 1 300ml aerosol or 1 275ml tube of Sentinel X400 High Performance Cleaner is sufficient to treat a typical domestic system of up to 10 radiators. Larger systems should be dosed with twice this amount.
Sentinel X400 High Performance Cleaner shifts built up magnetite, improving the effectiveness of the system, keeping the property warmer and bills lower.
Sentinel X800 Fast Acting Cleaner does not require neutralisation. It has an approximately neutral pH and is non-corrosive.
After a system has been cleaned using Sentinel X800 Fast Acting Cleaner and the system has been drained and then thoroughly flushed with fresh water, add Sentinel X100 Inhibitor or Sentinel X500 Inhibited Antifreeze during the final fill to protect the system from corrosion and limescale build up in future.
Sentinel X800 Fast Acting Cleaner uses a unique formula which penetrates, attacks and dissolves limescale, corrosion debris and installation debris so that it can be flushed from the system, preparing it for the addition of inhibitor.
Sentinel X400 High Performance Cleaner has a ruthlessly efficient formula which shifts built-up magnetite sludge, eliminating cold spots in radiators.
It is perfectly safe to use Sentinel X400 High Performance Cleaner on systems with standard plastic plumbing pipework.
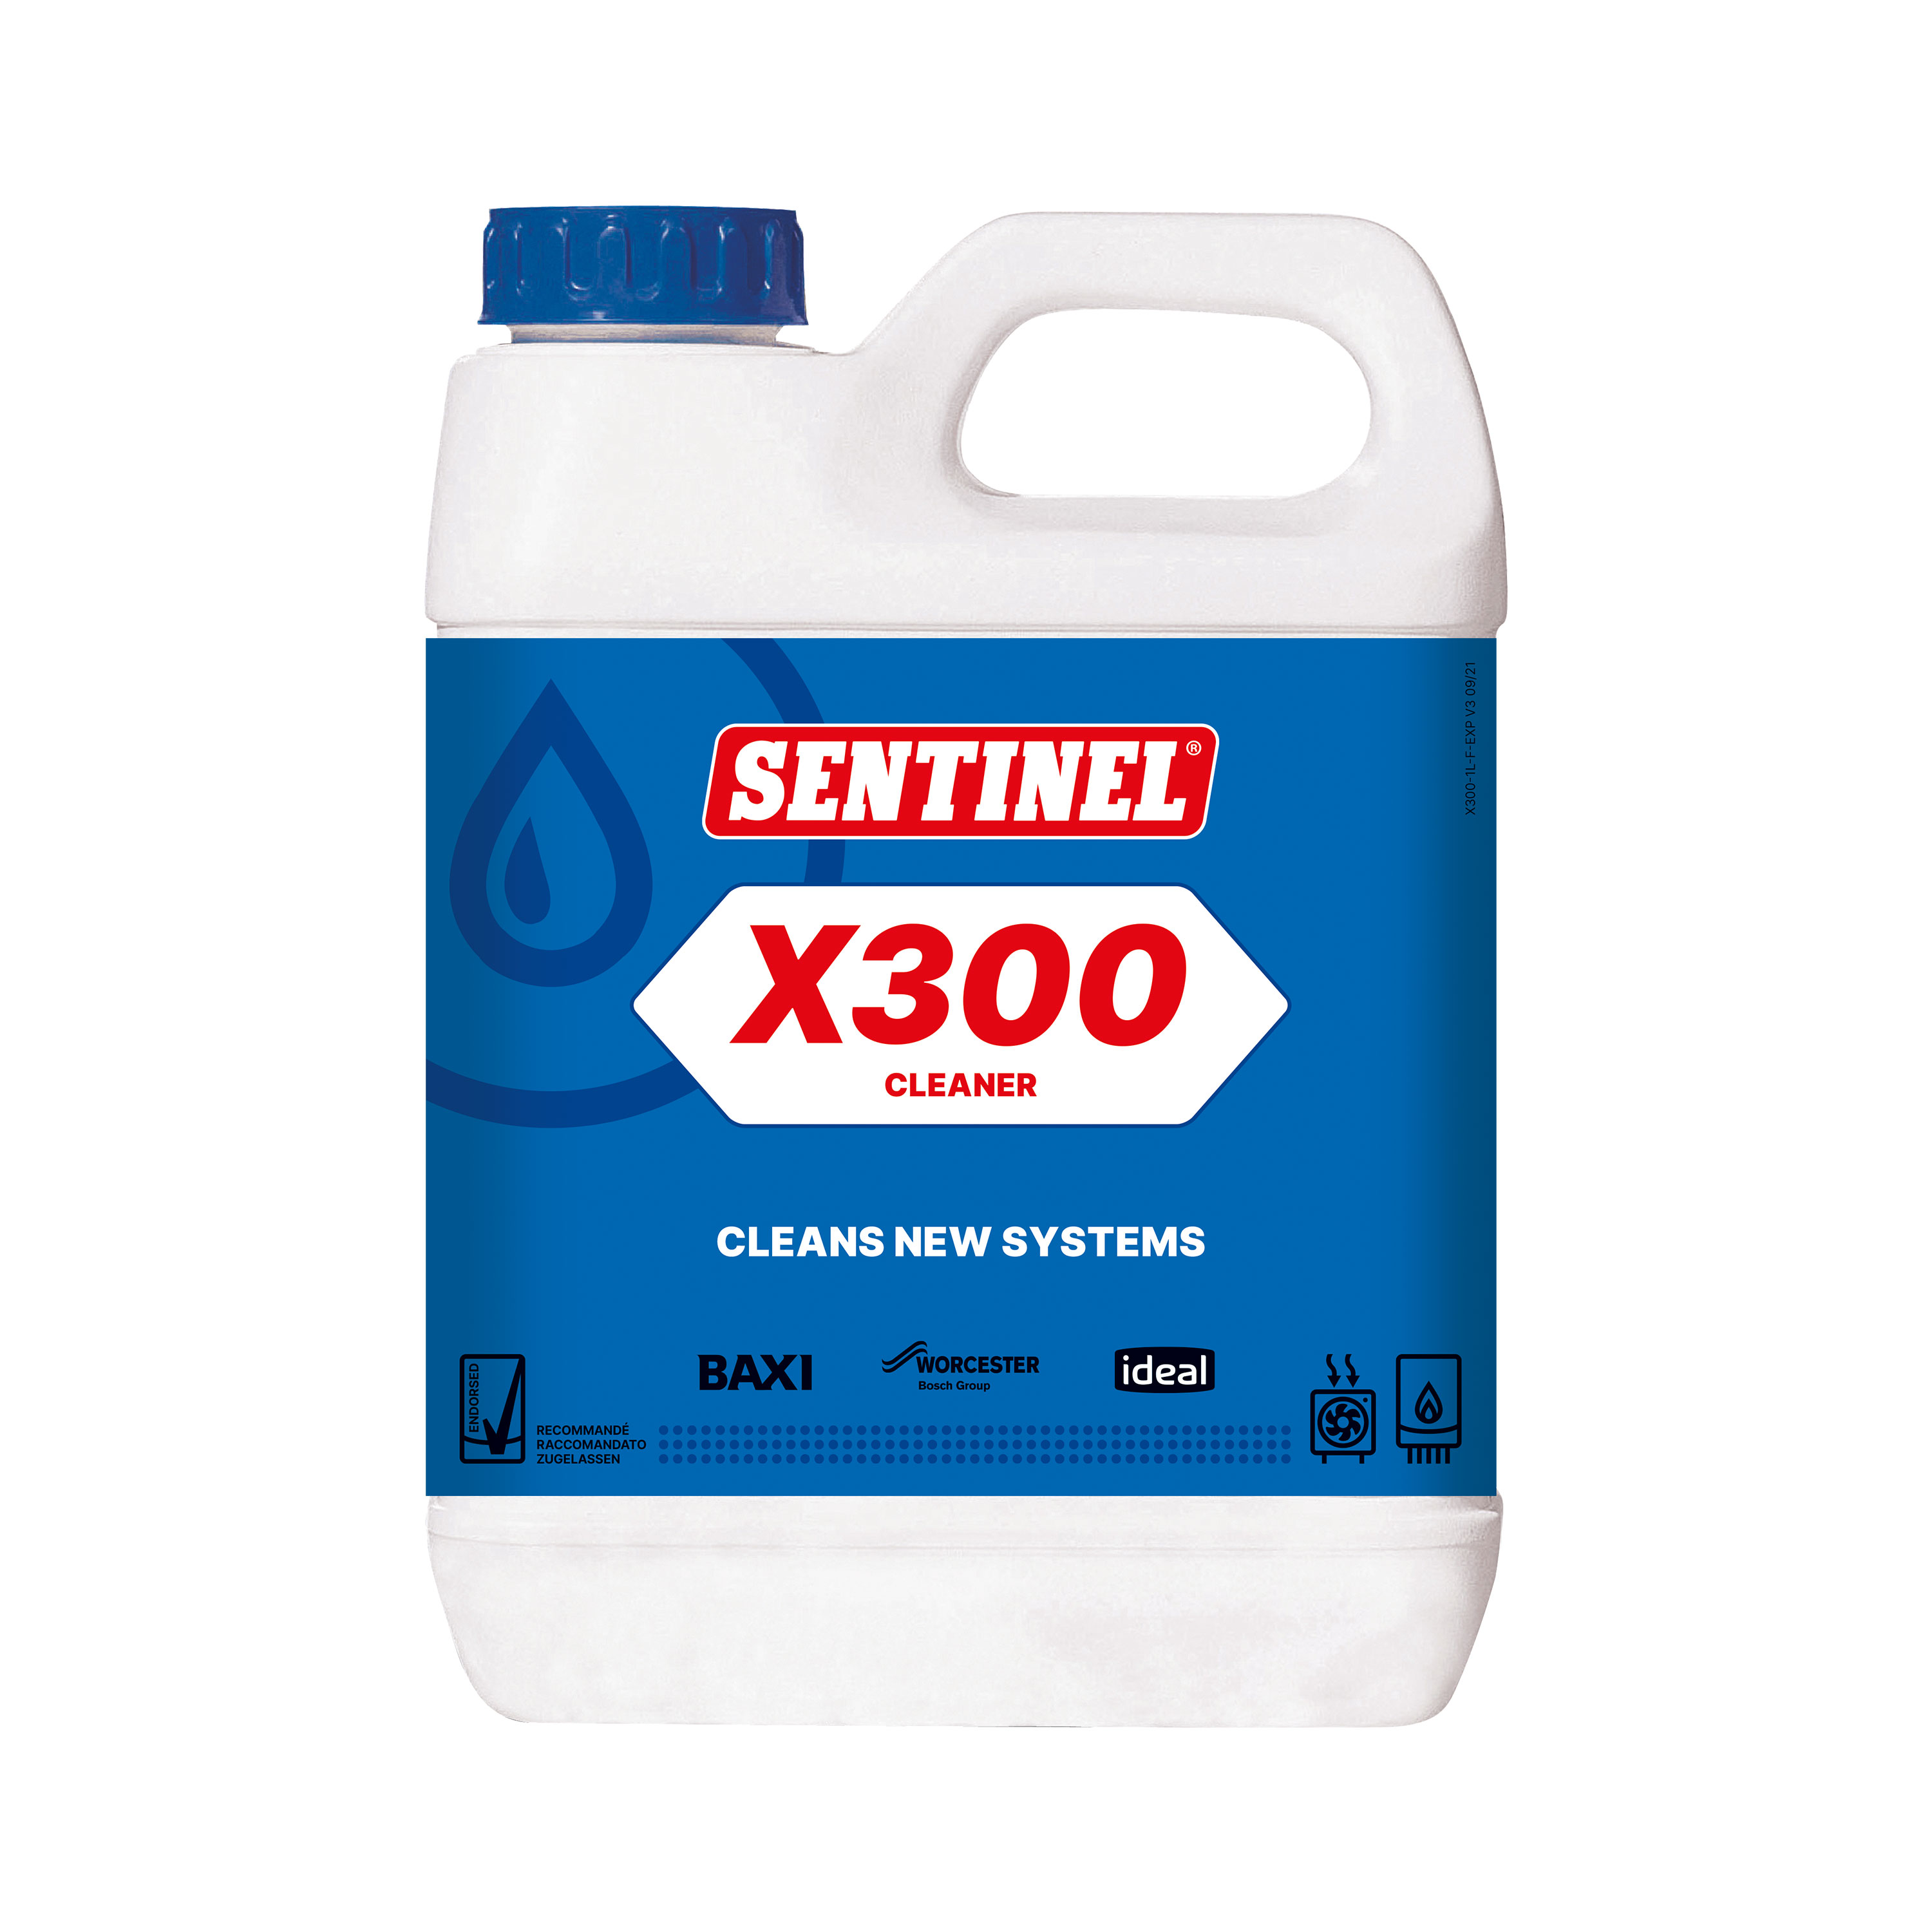
Sentinel X300 Cleaner for New Systems is used to prepare new central heating systems (6 months old or less) for treatment with inhibitor to prevent future corrosion and limescale build up. Sentinel X400 High Performance Cleaner is used to revitalise central heating systems older than 6 months which are suffering with issues related to limescale and corrosion debris build up.
Sentinel X800 Fast Acting Cleaner quickly removes installation debris from new systems and removes corrosion deposits and scale from older systems, preparing them for treatment with a Sentinel inhibitor.
1 litre of Sentinel X800 Fast Acting Cleaner is sufficient to clean a typical system of up to 10 radiators. For larger systems, 2 litres should be used.
Sentinel Deposit Remover is for the removal of stubborn iron oxide and limescale deposits from older central heating systems.
Sentinel X800 Fast Acting Cleaner quickly removes installation debris from new systems and removes corrosion deposits and scale from older systems. The formulation was developed especially for use with powerflushing machines to provide a more rapid and effective clean.
It is perfectly safe to use Sentinel X400 High Performance Cleaner on systems over 20 years old.
It is not recommended to use Sentinel X300 Cleaner for New Systems on systems over 20 years old. A more suitable product for this purpose would be Sentinel X400 High Performance Cleaner, designed specifically for the problems which affect older systems.
We recommend Sentinel X800 Fast Acting Cleaner for use with powerflushing machines to provide a more rapid and effective clean of new systems during commissioning and older systems during boiler replacement or other major maintenance work. This removes debris from systems and prepares them for treatment with inhibitor.
Sentinel X300 Cleaner for New Systems can be left in the system for up to 24 hours at running temperature, or up to a week at cold temperature.
It is perfectly safe to use Sentinel X400 High Performance Cleaner on systems with aluminium components.
Sentinel Deposit Remover can be left in the system for up to 2 hours.
To confirm the correct dosage of Sentinel X500 Inhibited Antifreeze for corrosion and scale protection, you can check levels using a Sentinel FrostCheck Test Kit. A minimum of 20% Sentinel X500 Inhibited Antifreeze is required in the system to ensure adequate corrosion and scale inhibition.
Sentinel X400 High Performance Cleaner shifts built up magnetite sludge which can cause a heating system to be ineffective at heating a property and increasing the likelihood of breakdown.
To complete the cleaning process, you should always drain or flush the system fully to remove all of the debris that Sentinel X300 Cleaner for New Systems has collected or dislodged. If you do not drain the system of this debris, the system will remain dirty.
It is perfectly safe to use Sentinel Deposit Remover on systems with standard plastic plumbing pipework.
It is perfectly safe, to use Sentinel Deposit Remover on systems over 20 years old. Follow the instructions carefully.
Systems containing aluminium components may be cleaned with Sentinel Deposit Remover. Do not exceed a maximum cleaning time of 2 hours and ensure a thorough flush of the system with fresh water before adding Sentinel X100 Inhibitor during the final fill to establish a stable, neutral pH.
It is perfectly safe to use Sentinel X300 Cleaner for New Systems on systems with standard plastic plumbing pipework.
After a system has been cleaned using Sentinel X300 Cleaner for New Systems and the system has been drained and then thoroughly flushed with fresh water, add Sentinel X100 Inhibitor or Sentinel X500 Inhibited Antifreeze during the final fill to protect the system from corrosion and limescale build up in future.
New central heating systems can have installation debris, flux, present inside them which, if left unattended, can create a highly corrosive environment. Sentinel X300 Cleaner for New Systems is a powerful, heavy-duty cleaner to remove these contaminants, preparing the system for protection with a Sentinel inhibitor.
Sentinel Deposit Remover is a powerful, heavy duty cleaner based on organic acid which reacts with, and dissolves magnetite and limescale so that it can flushed from the system.
If you are concerned that the level of protection is not adequate for your requirements, you can check the concentration of Sentinel X500 Inhibited Antifreeze in the system using the Sentinel FrostCheck Test Kit and top up as appropriate. If you would like to increase the concentration of Sentinel X500 Inhibited Antifreeze in order to strengthen its frost protection properties, please consult the product page for guidance on dosage rate and achieving protection at lower temperatures.
Powerflushing is the process in which a heating system is cleaned using water at high velocity, but at low pressure so that there is no physical damage to the system, but any debris inside it is dislodged and removed from the system. It is recommended for bringing dirty systems back to a cleaner, more efficient state.
Sentinel Deposit Remover should be used for removing highly stubborn deposits which cannot be removed using the other cleaners from the Sentinel range.
Sentinel X300 Cleaner for New Systems can be added to the system in a number of ways. For open vented systems, dose via the expansion tank during the final fill. For empty sealed systems, add to any convenient point before filling. For full sealed systems, use a Sentinel Dosing Vessel to inject via the filling loop or other access point. It can also be dosed through a powerflushing machine.
It is perfectly safe to use Sentinel X300 Cleaner for New Systems on systems with aluminium components.
It is perfectly safe to use Sentinel X500 Inhibited Antifreeze on systems over 20 years old.
Sentinel Deposit Remover can be added to the system in a number of ways. For open vented systems, dose via the expansion tank during the final fill. For empty sealed systems, add to any convenient point before filling. For full sealed systems, use a Sentinel Dosing Vessel to inject via the filling loop or other access point. It can also be dosed through a powerflushing machine.
1 litre of Sentinel X300 Cleaner for New Systems is sufficient to treat a typical domestic system of up to 10 radiators.
Sentinel X300 Cleaner for New Systems has a powerful cleaning action which removes installation debris, greases, oils and residual flux from new systems, preparing them for protection with an inhibitor such as Sentinel X100 Inhibitor. It also contains ingredients which protect new system metal from flash-rusting during the cleaning procedure, and pre-passivates the metal prior to the final fill.
After a system has been cleaned using Sentinel Deposit Remover and the system has been drained and then thoroughly flushed with fresh water, add Sentinel X100 Inhibitor or Sentinel X500 Inhibited Antifreeze during the final fill to protect the system from corrosion and limescale build up in future.
5 litres of Sentinel Deposit Remover is sufficient to clean a typical domestic heating system of up to 10 radiators. For larger systems, 10 litres should be used. For faster cleaning, or with heavily fouled systems, a typical system should also be cleaned with 10 litres.
Sentinel Deposit Remover is ideal for the removal of highly stubborn deposits which can cause poor heat transfer, inefficiency and imbalance within a central heating system.
Sentinel Jetflush 4 is a powerflushing machine, enabling rapid removal of central heating system debris. It provides a more effective clean in a shorter time.
Sentinel X300, X400 and X800 cleaners do not have a shelf life. If the original seal is intact, and the bottle is not damaged, the product should be fit for use.
New central heating system components can quickly fail if care has not been taken to remove installation debris, flux, component greases and storage protection oils. These contaminants can create a highly corrosive environment and should therefore be flushed from the system.
Powerflushing is most commonly required for older systems which are heavily fouled, though a powerflushing machine can be used whenever you need to restore optimum efficiency in a shorter space of time.
Sentinel X300 Cleaner for New Systems has been designed for use on new systems ideally during commissioning, but also on systems which are up to six months old.
It is perfectly safe to use Sentinel Jetflush 4 on systems with standard plastic plumbing pipework.
Sentinel Jetflush Survey Test Kit provides everything required to conduct a quick analysis of old, inefficient heating systems, providing recommendations for improving system health.
It is perfectly safe to use Sentinel Jetflush 4 on systems with aluminium components.
Many of the major international boiler manufacturers insist on the use of quality water treatment products, making specific reference to Sentinel products. We advise that you refer to the installation manual of the boiler in question.
The standard unit dimensions of Sentinel JetFlush Junior are:
Tank Capacity
Max: 20 Litres / Min: 5 Litres
Dimensions
Height: 420mm / Width 420mm / Length 570mm
Weight: Empty: 15kg / Working 44kg
No.
Alkalinity is a measure of the buffering capacity of water i.e. the ability of water to maintain a stable pH. The pH is an actual measure of how acidic or alkaline water is.
It is perfectly safe to powerflush a central heating system over 20 years old, though caution should be taken to ensure the system is sound and free from leaks.
Sentinel JetFlush is a powerflushing machine enables a rapid, thorough clean to restore optimum efficiency to a dirty system in a shorter space of time than other cleaning methods. It is comprised of an external tank and pump and features such as flow-reversal which together provide an increased dynamic flow rate to ensure that even the most stubborn or hidden deposits are removed.
By using the tools and processes provided in the Sentinel Jetflush Survey Test Kit, you can generate an assessment of the system health before and after the powerflushing process, clearly highlighting the difference to the householder.
We recommend the use of Sentinel Jetflush Survey Test Kit before and after powerflushing a system in order show the householder proof of a successful cleaning process.
After using the Sentinel Jetflush Survey Test Kit, the cleaned system should be treated with Sentinel X100 Inhibitor to protect against scale and corrosion build-up re-occurring.
The standard unit dimensions of Sentinel JetFlush 4 are:
Tank Capacity
Max: 40 litres/ Min: 20 litres
Dimensions
Height: 900mm / Diameter: 450mm
Weight
Empty: 35.5kg / Working: 75kg
Sentinel Jetflush Survey Test Kit enables quick identification of problem areas on old, inefficient heating systems, highlighting anywhere that scale or corrosion debris has built up.
The Sentinel JetFlush 4 is designed to be compatible with all Sentinel cleaning chemicals.
After a system has been thoroughly cleaned using an appropriate Sentinel cleaner, the cleaning solution must be thoroughly flushed out with fresh water before treating the system with either Sentinel X100 Inhibitor or if freeze protection is also required, Sentinel X500 Inhibited Antifreeze.
Sentinel Jetflush 4 helps to address issues caused by the build up of magnetite sludge such as cold radiators, blockages, boiler noise, corrosion and pump circulation problems. It increases cleaning effectiveness while simultaneously reducing the need for extended cleaning times.
It is perfectly safe to use Sentinel Jetflush Junior on systems with aluminium components.
It is perfectly safe to use Sentinel Jetflush Junior on systems with standard plastic plumbing pipework.
Dosing Rapid-Dose™ into a hot system is not recommended. We advise that you switch off the boiler and allow the system to cool.
It is possible to dose Rapid-Dose™ to an open vented system either via a radiator or filter if one is fitted. For step-by-step guidance for each method, please check here.
There are number of ways to add Rapid-Dose™ into a pressurised system. For step-by-step guidance for each method, please check here.
Water regulations recommend that when not in use it would be preferable for temporary filling loops to be completely disconnected and totally removed.
The adaptor which comes with Rapid-Dose™ can be reused, as long as the threads are still intact.
One can of Rapid-Dose™ should be used per system to ensure complete system treatment.
It is possible to add Rapid-Dose™ into filters from a range of manufacturers (via the bleed valve), but only where full isolation of the filter is achievable.
The addition of Rapid-Dose™ will give a negligible increase in system pressure.
Whether a Rapid-Dose™ can is held vertically, horizontally or otherwise during dosing does not impact the injection mechanism.
The Rapid-Dose™ adaptor has been designed with a unique feature to show when dosing is complete. The clear tube contains a small black bullet to indicate when flow from the can has stopped.
No, the adaptor provided with a Sentinel Rapid-Dose™ can is designed for use with that can only.
It is perfectly safe to use Sentinel R800 Flushing Fluid on systems with standard plastic plumbing pipework.
It is perfectly safe to use Sentinel R500 Heat Transfer Fluid on systems with aluminium components.
The mildly alkaline solution of Sentinel R800 Cleaning and Flushing Fluid cleans in 20-30 minutes to restore the efficient operation of ground source heat pump systems. Sentinel R800 contains special dispersants designed to remove deposits and sludge.
Where the thermal fluid in a ground source heat pump system has degraded, Sentinel R800 Cleaning and Flushing Fluid can be used to quickly remove deposits and sludge, preparing the system for fresh treatment with Sentinel R500 Heat Transfer Fluid or Sentinel R500C Thermal Fluid Concentrate.
It is perfectly safe to use Sentinel R800 Flushing Fluid on systems with aluminium components but use instruction must be followed carefully and a slight tarnishing of the metal might be observed.
Sentinel R800 Cleaning and Flushing Fluid should be circulated for 20-30 minutes, though highly fouled systems may require extended cleaning time or elevation of the cleaning temperature to achieve an effective clean.
Sentinel R800 Flushing Fluid is ready to use without dilution to dissolve and remove degraded deposits and to quickly restore the efficient operation of ground source heat pump horizontal (e.g. slinky) or vertical (probe-type) ground loops.
Old, degraded thermal fluids and spent cleaning solution should be disposed according to local discharge regulations. Once a system has been successfully cleaned, it should then be filled with Sentinel R500 Heat Transfer Fluid or Sentinel R500C Thermal Fluid Concentrate.
Sentinel R800 Cleaning and Flushing Fluid is used to restore the efficient operation of ground source heat pump systems where degradation of the thermal fluid has occurred.
In order to restore the efficient operation of the ground source heat pump system it is necessary to remove the degraded thermal fluid, clean the ground loop circuit to remove any sludge, deposits, blockages and bacterial fouling.
It is perfectly safe to use Sentinel R800 Flushing Fluid in systems over 20 years old.
Degraded thermal fluid inside a ground source heat pump system can cause system inefficiency and other issues. Sentinel R800 Cleaning and Flushing Fluid works to quickly remove this contamination and restore efficient operation.
The Sentinel products which contain glycol are Sentinel X500 Inhibited Antifreeze, Sentinel R100 Solar Thermal Fluid, Sentinel R500 Heat Transfer Fluid, Sentinel R500C Thermal Fluid Concentrate and Sentinel R600 Heat Transfer Fluid.
Progressive degradation of glycol based heat transfer fluid is a common problem leading to higher viscosity, loss of frost protection and gradual loss of GSHP system efficiency. The properties of Sentinel R500 Heat Transfer Fluid and Sentinel R500C Thermal Fluid Concentrate help prevent the fouling of heat exchanger surfaces, extend fluid life and provide frost and corrosion protection to maximise efficiency and reduce the costs of ground source heat pump system operation.
Sentinel R500 Heat Transfer Fluid is ready to use without dilution, providing exceptional thermal transfer and corrosion protection for ground source heat pump systems. Sentinel R500C Thermal Fluid Concentrate requires pre-dilution with water of at least potable water quality.
Sentinel R500 Heat Transfer Fluid and Sentinel R500C Thermal Fluid Concentrate are designed for use in ground source heat pump equipment to provide frost protection and minimise corrosion, scale and deposition. It should be added prior to commissioning and topped up or replenished as indicated by the Sentinel FrostCheck Test Kit.
When the ground source heat pump ground loop is filled with Sentinel R500 all the entrained air must be removed before the system is put into operation. The ground source heat pump system is designed as a closed circuit to eliminate entry of atmospheric oxygen which causes the premature degradation of the thermal fluids. It is important that the system equipment manufacturer's instructions be carefully followed when cleaning or filling a ground source heat pump ground loop circuit.
Sentinel R500C Thermal Fluid Concentrate should be pre-diluted with mains water in a ratio of one part Sentinel R500C to a maximum of nine parts water. The extent of dilution depends upon the desired frost protection.
Sentinel R500C should be pre-diluted on site with water of at least potable water quality. When the ground source heat pump ground loop is filled with appropriately diluted Sentinel R500C, all the entrained air must be removed before the system is put into operation. The ground source heat pump system is designed as a closed circuit to eliminate entry of atmospheric oxygen which causes the premature degradation of the thermal fluids. It is important that the system equipment manufacturer’s instructions be carefully followed when cleaning or filling a ground source heat pump ground loop circuit.
It is perfectly safe to use Sentinel R500C Thermal Fluid Concentrate on systems with aluminium components.
It is perfectly safe to use Sentinel R500 Heat Transfer Fluid on systems with standard ground loop plastic pipework.
Sentinel R500 Heat Transfer Fluid and Sentinel R500C Thermal Fluid Concentrate provide superior protection against corrosion, scale and deposits and protect the metals commonly found in heat collector circuits. They prevent fouling of the surfaces of heat exchangers and maintains thermal efficiency.
Sentinel R500 Heat Transfer Fluid and Sentinel R500C Thermal Fluid Concentrate should be used in conjunction with the Sentinel FrostCheck Test Kit to confirm proper installation and maintenance of ground source heat pump systems.
It is perfectly safe to use Sentinel R500 Heat Transfer Fluid in systems over 20 years old.
Sentinel R500 Heat Transfer Fluid is ready to use without dilution.
It is perfectly safe to use Sentinel R500C Thermal Fluid Concentrate in systems over 20 years old.
The dosage of Sentinel R600 Thermal Fluid will depend on the level of frost protection required. One 20 litre pail of Sentinel R600 added to a typical air source heat pump system (100 litres system volume) will provide the minimum concentration of corrosion and scale inhibitor and also protection from freezing down to approximately -10°C. Two 20 litre pails will provide protection to -30°C.
Sentinel R600 Thermal Fluid is specially formulated to contain a special blend inhibitors and antifreeze to provide ongoing frost, limescale and corrosion protection for air source heat pump systems.
For open systems, dose via the expansion cistern or via a by-pass feeder. If the system is full, partially drain the system of enough water to allow enough room for the addition of the required amount of R600. For sealed systems, if the system is empty, add to any convenient point before completion of filling. If full, via the filling loop or other access point after partially draining the system of enough water to allow enough room for the addition of the required amount of R600.
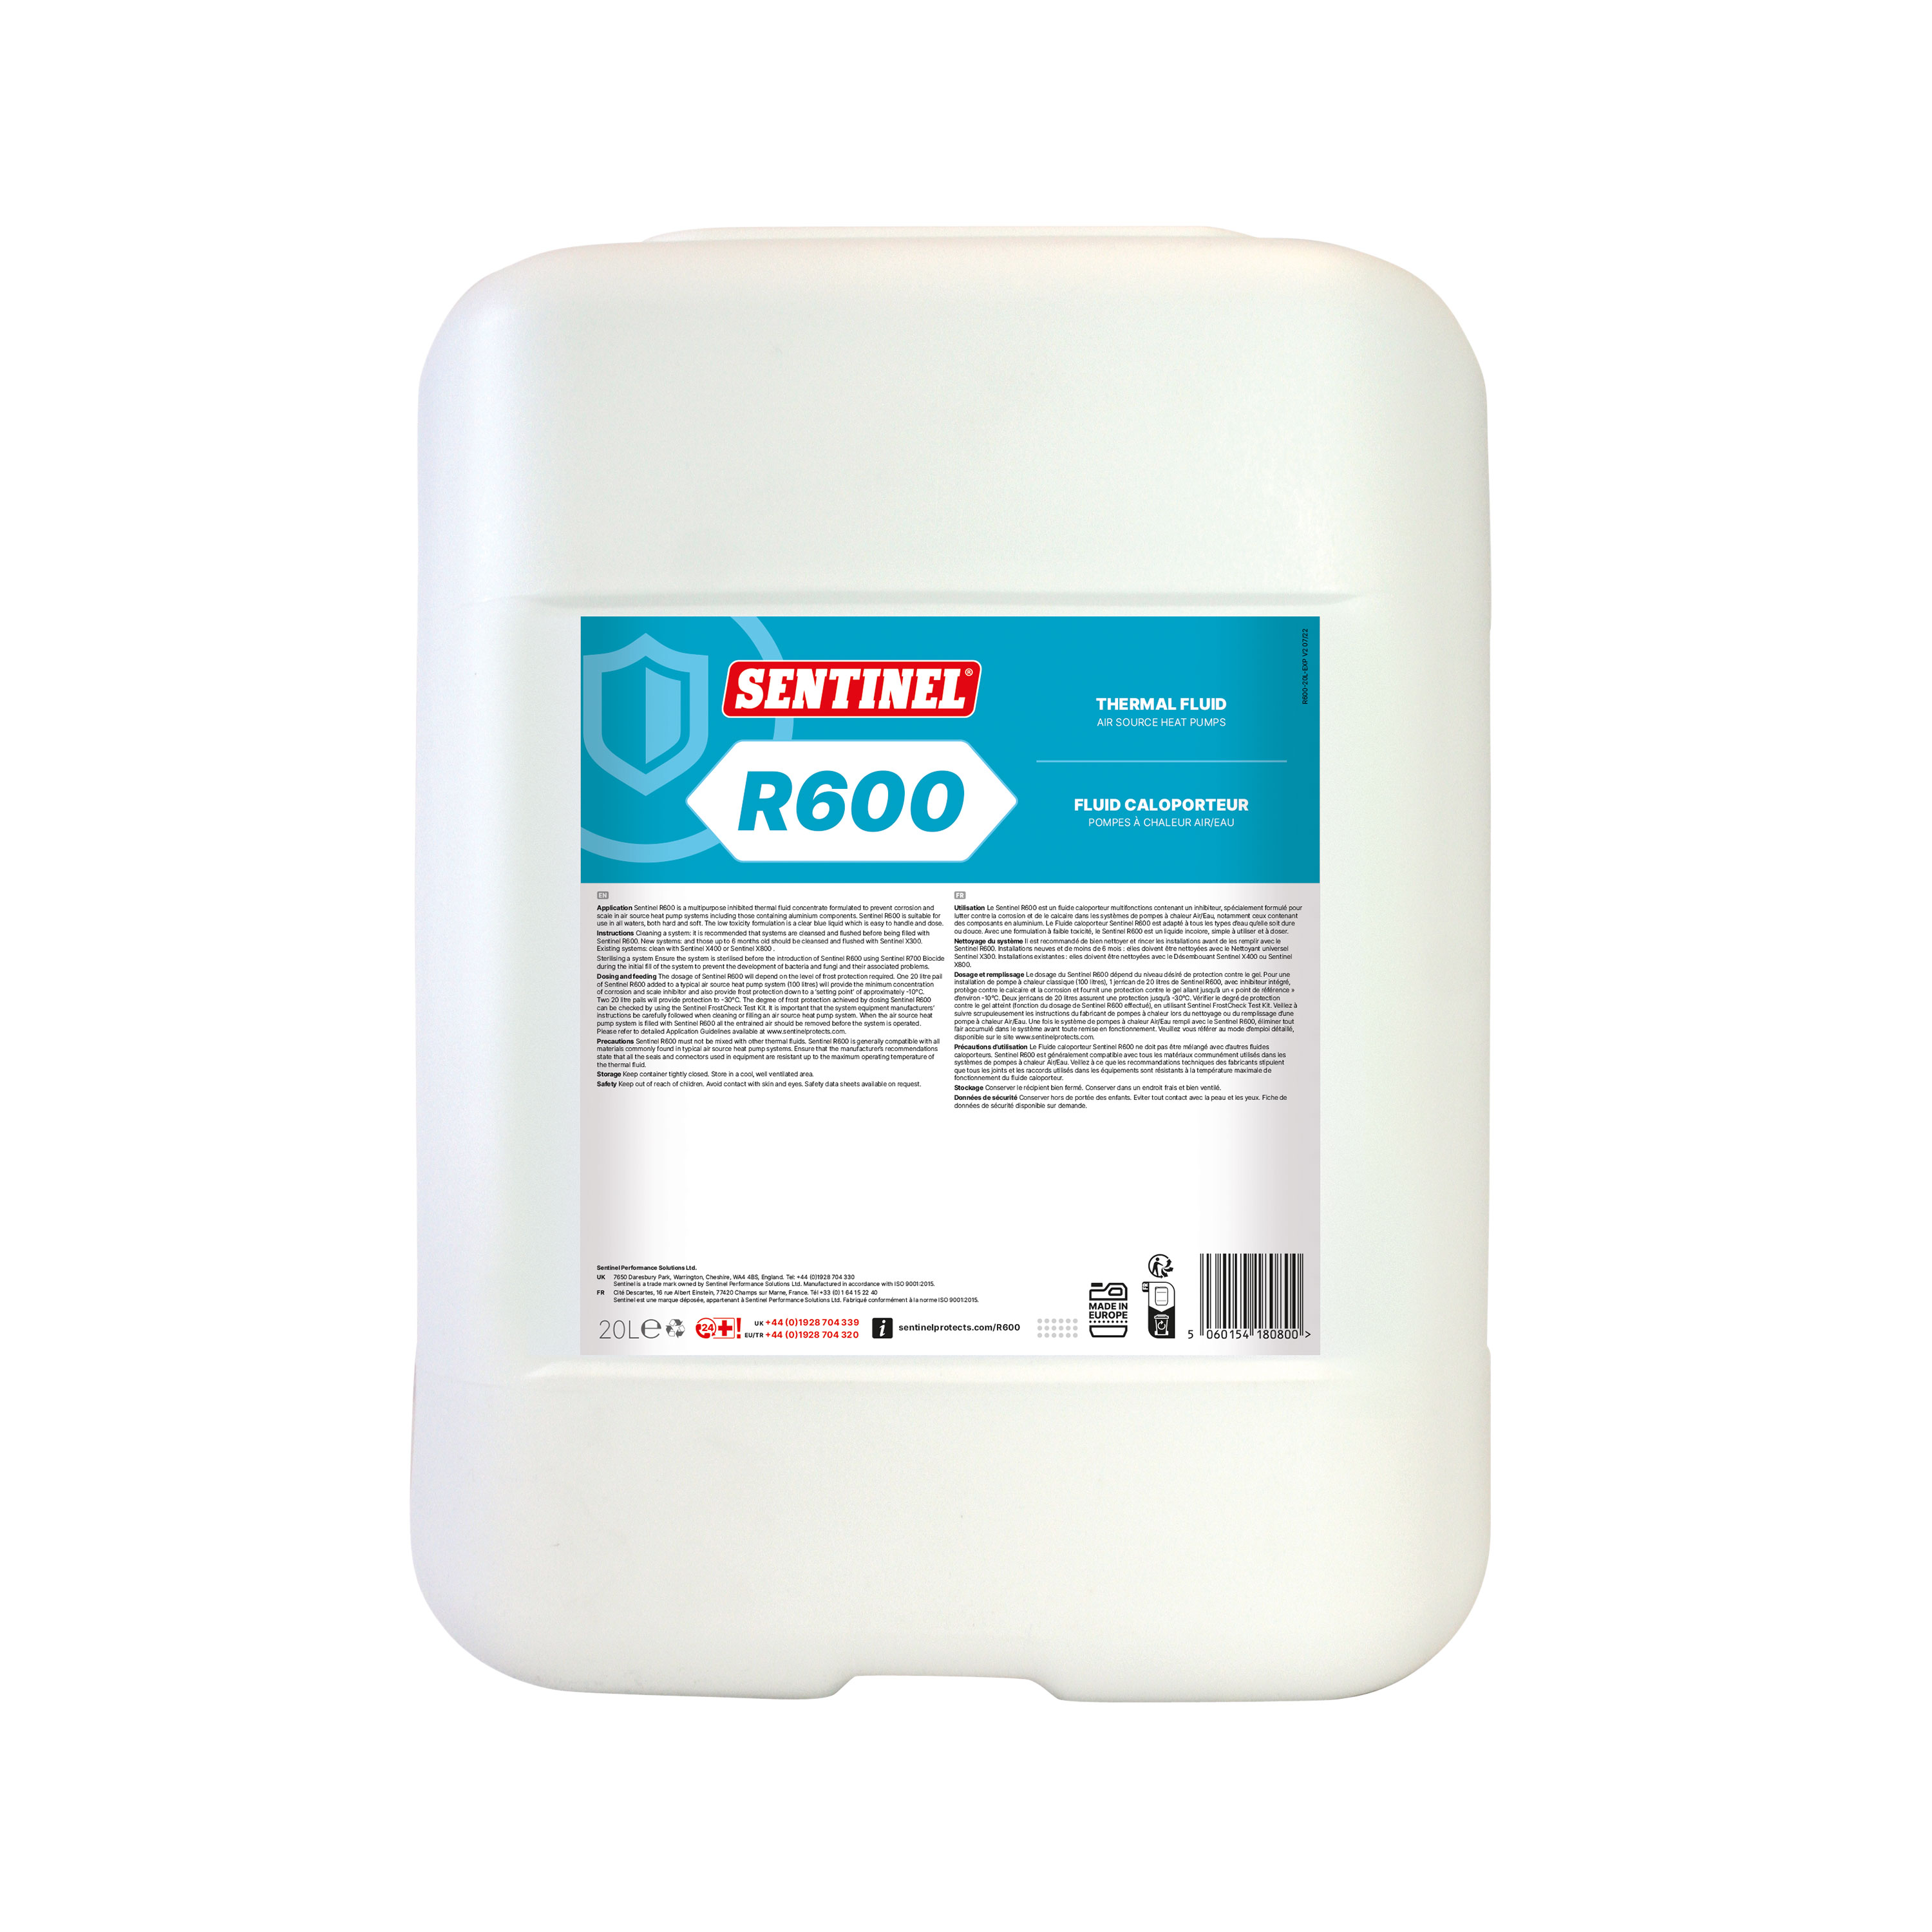
Sentinel R600 Thermal Fluid is a multipurpose inhibited antifreeze formulated to help control corrosion, scale, boiler noise and hydrogen gassing in for the heat delivery circuit of air source heat pump systems.
It is perfectly safe to use Sentinel R600 Thermal Fluid on systems with standard plastic plumbing pipework.
Air source heat pump systems should filled with Sentinel R600 Thermal Fluid during commissioning and also used to replenish any system losses due to maintenance.
In order to confirm the correct application of Sentinel R600 Thermal Fluid for system and frost protection, we advise the use of the Sentinel FrostCheck Test Kit.
It is perfectly safe to use Sentinel R600 Thermal Fluid on systems with aluminium components.
It is perfectly safe to use Sentinel R600 Thermal Fluid in systems over 20 years old.
Air source heat pump systems can be vulnerable to freezing temperatures, limescale build-up and corrosion of system metals, all of which can negatively affect system performance and component life. Sentinel R600 Thermal Fluid protects air source heat pump systems against frost, limescale and corrosion.
The Sentinel products which contain glycol are Sentinel X500 Inhibited Antifreeze, Sentinel R100 Solar Thermal Fluid, Sentinel R500 Heat Transfer Fluid, Sentinel R500C Thermal Fluid Concentrate and Sentinel R600 Heat Transfer Fluid.
The Sentinel SolarFlush is a multipurpose flushing and filling machine for use on solar thermal circuits. It can be used to clean, flush, rinse and vent a solar collector heat transfer circuit and enables the rapid removal of degraded solar thermal fluid. Degraded thermal fluid will impact the efficiency of solar thermal systems.
After a solar thermal system has been cleaned with Sentinel R200 Solar Cleaner, Sentinel R100 Heat Transfer Fluid should be added and the system (re)commissioned using Sentinel SolarCheck Test Kit. Spent cleaning solutions should always be disposed of according to local regulations.
If Sentinel SolarCheck Test Kit confirms that the thermal fluid in a solar collector circuit is degrading, Sentinel R200 Solar Cleaner should be used to remove potentially harmful sludge and deposits prior to replenishing the heat transfer fluid.
It is perfectly safe to use Sentinel R200 Cleaner on systems with aluminium components, but use instruction must be followed carefully and a slight tarnishing of the metal might be observed.
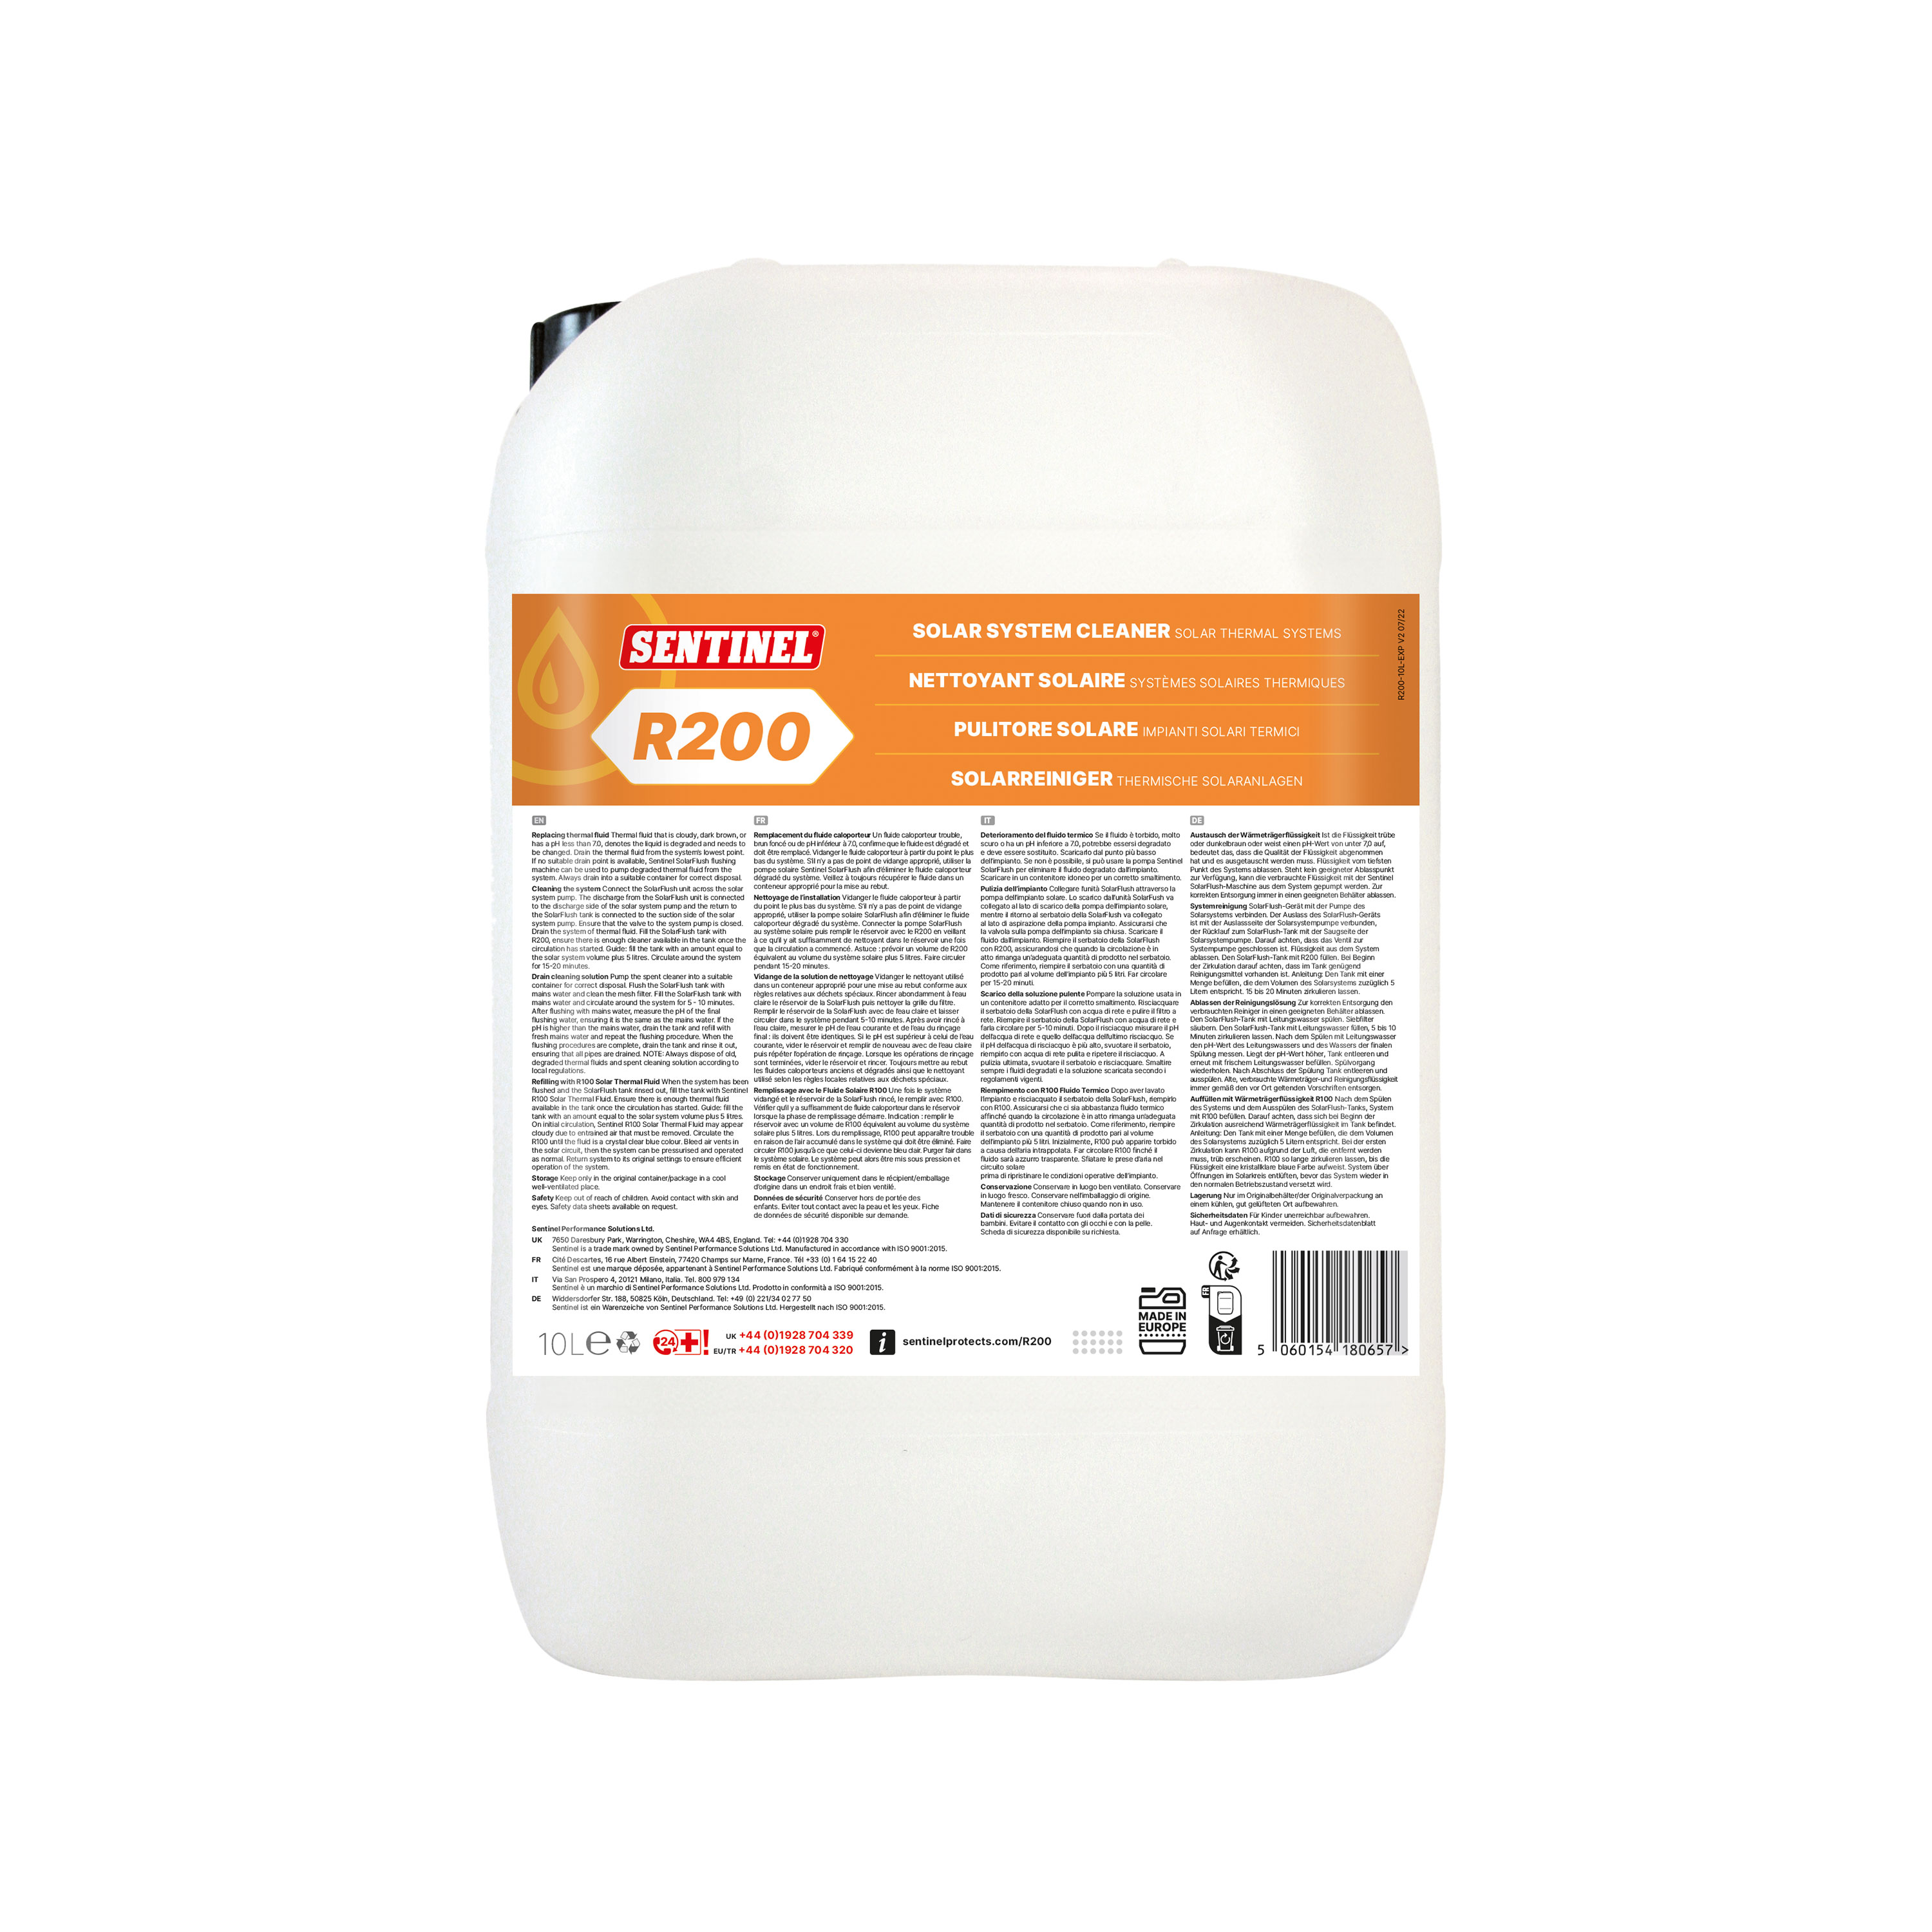
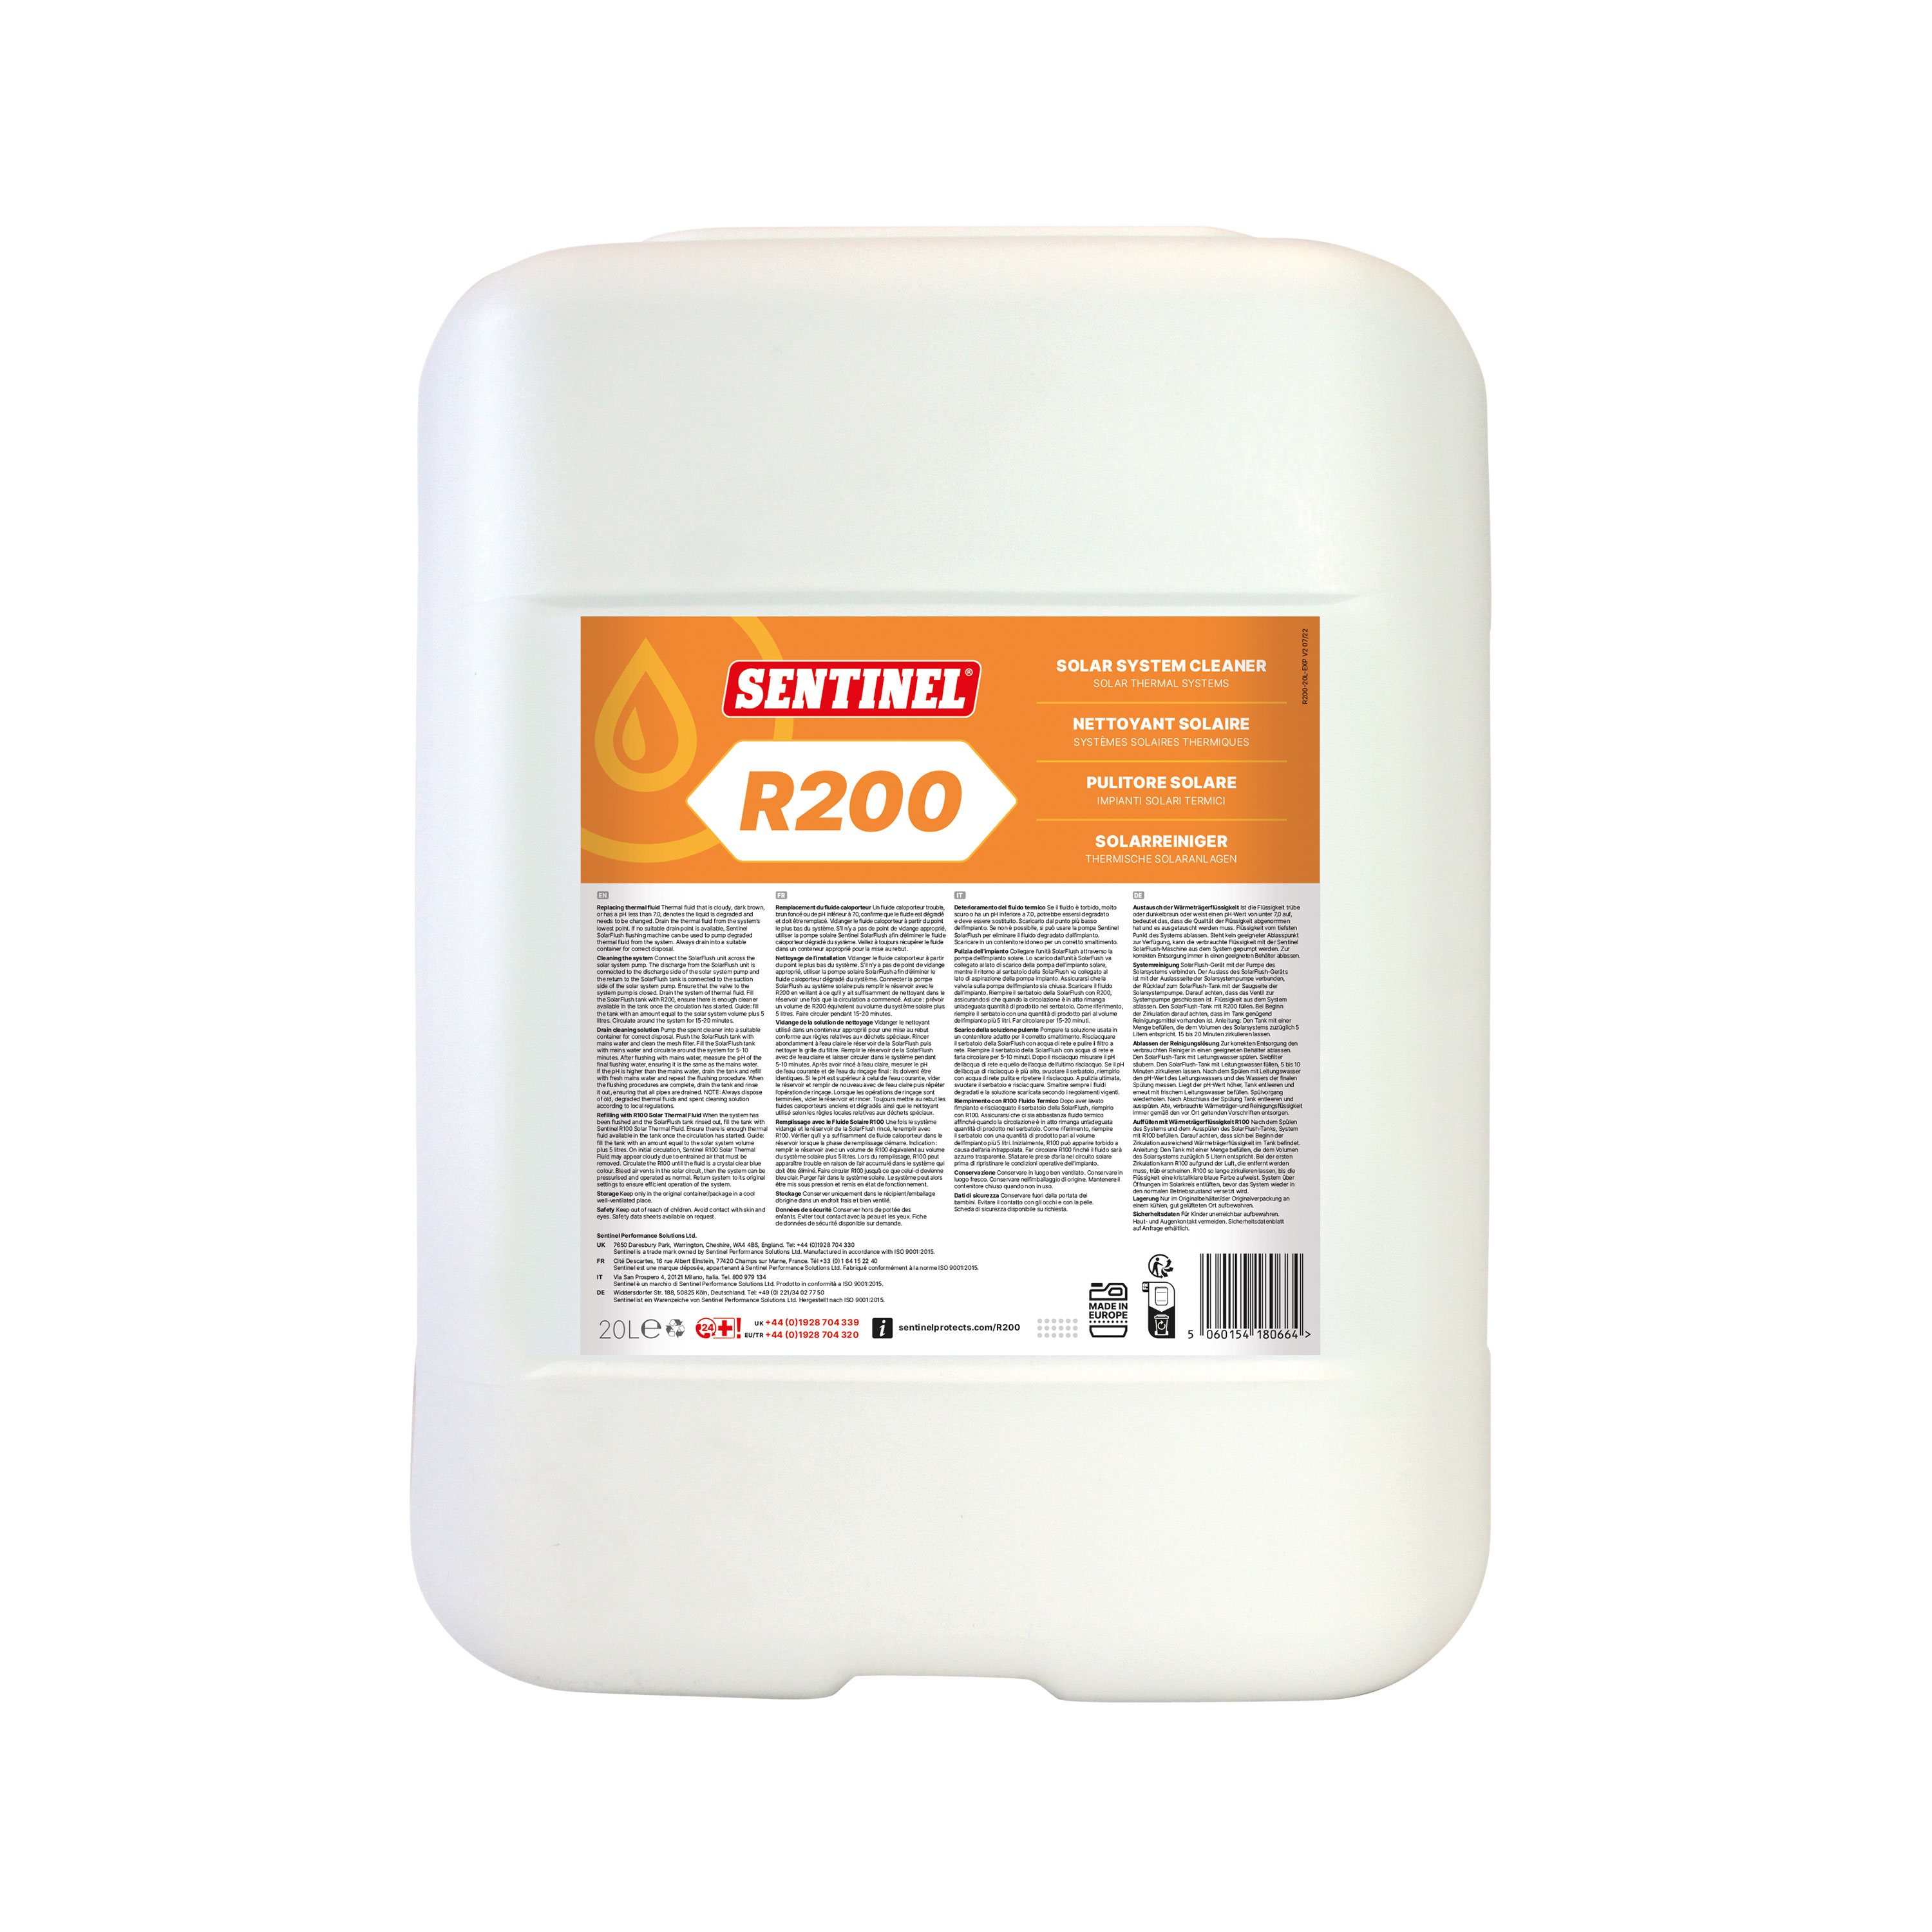
Sentinel R200 Solar Cleaner quickly removes sludge and deposits from solar thermal circuits which can negatively impact performance.
The Sentinel SolarFlush is designed for flushing systems to remove degraded solar thermal fluid and its deposits and sludge from the heat collector circuit and then for filling with fresh solar thermal fluid to the correct pressure. It has a translucent tank to enable you to monitor the cleaning and filling processes.
It is perfectly safe to use Sentinel R200 Solar Cleaner in a system over 20 years old.
Sentinel R200 Solar Cleaner is ready to use without dilution to dissolve and remove degraded glycol deposits and to quickly restore the efficient operation of solar heating systems.
Sentinel R200 Solar Cleaner should be circulated throughout the solar thermal system at ambient temperature for approximately 20 minutes with a Sentinel SolarFlush unit.
Sentinel R200 Solar Cleaner should be charged, circulated and then flushed through the system using a flushing unit such as the Sentinel SolarFlush.
Sentinel R200 Solar Cleaner is ready to use without dilution.
Over time, glycol-based solar thermal fluid will degrade in service. This process is indicated by a darkening and thickening of the fluid and it will have a negative impact on the efficiency and cost effectiveness of the system. Sentinel SolarFlush, used in conjunction with Sentinel R200 Solar Cleaner, removes this degraded fluid, preparing a system for fresh Sentinel R100 Solar Thermal Fluid.
The dimensions of Sentinel SolarFlush are:
After a thorough cleaning has been completed using Sentinel R200 Solar Cleaner, the system should be re-filled with Sentinel R100 Solar Thermal Fluid. Old, degraded thermal fluids and spent cleaning solution should be disposed according to local discharge regulations.
It is perfectly safe to use Sentinel SolarFlush on systems over 20 years old.
Sentinel SolarFlush should be used for flushing, filling and venting solar thermal heat collector circuits.
Sludge and deposits caused by degradation of heat transfer fluid can have a negative impact on the performance of solar thermal circuits. Sentinel R200 Solar Cleaner works quickly to remove these deposits.
The health of the R100 Heat Transfer Fluid may be regularly monitored using the Sentinel SolarCheck Test Kit.
Sentinel R100 Heat Transfer Fluid is a ready-to-use heat transfer fluid for solar thermal systems. Its thermal properties ensure efficient solar heat collection and delivery in the solar thermal circuit whilst providing the metals in the circuit with outstanding corrosion protection in both the vapour and liquid phases.
Sentinel R100 Heat Transfer Fluid should be charged into the solar thermal circuit using a Sentinel SolarFlush machine.
The lifetime of Sentinel R100 Heat Transfer Fluid will depend on the rate of propylene glycol degradation, caused by extreme temperatures. A darkening of the fluid may indicate the onset of this process. The health of the R100 Heat Transfer Fluid may be monitored using the Sentinel SolarCheck Test Kit.
It is perfectly safe to use Sentinel R100 Heat Transfer Fluid on systems with aluminium components.
Sentinel R100 Heat Transfer Fluid provides continuous protection against corrosion in both liquid and vapour states. It is glycol-based to ensure protection against freezing and is specially formulated to resist degradation and so extend fluid life. The efficient thermal transfer properties and superior stability of Sentinel R100 help towards reduced cost of system operation.
It is perfectly safe to use Sentinel R100 Heat Transfer Fluid in systems over 20 years old.
Exposure to temperatures over 200°C, even for brief periods of time, can cause a slow thermal decomposition of the glycol which facilitates the heat transfer. Sentinel R100 Heat Transfer Fluid provides added resilience against this process, whilst keeping the system healthy and efficient with corrosion protection.
For domestic systems, one litre, one rapid dose, or one 275ml tube of Sentinel X100 Inhibitor is sufficient to treat a typical system of up to 10 radiators (100 litres). Larger domestic systems should be dosed with twice this amount.
It is not advisable to add an inhibitor at the same time as a cleaner, simply because the cleaner will need to be flushed from the system in order to complete the clean. The inhibitor should be added during the final system fill only after the cleaner and the debris it has removed have been drained from the system and the system flushed. However, if you have already added an inhibitor to a system currently undergoing the cleaning process, there is no detrimental effect to the system or the cleaning process.
It is perfectly safe to use Sentinel X100 Inhibitor on systems with standard plastic plumbing pipework.
Sentinel X100 Inhibitor should be left in the system indefinitely.
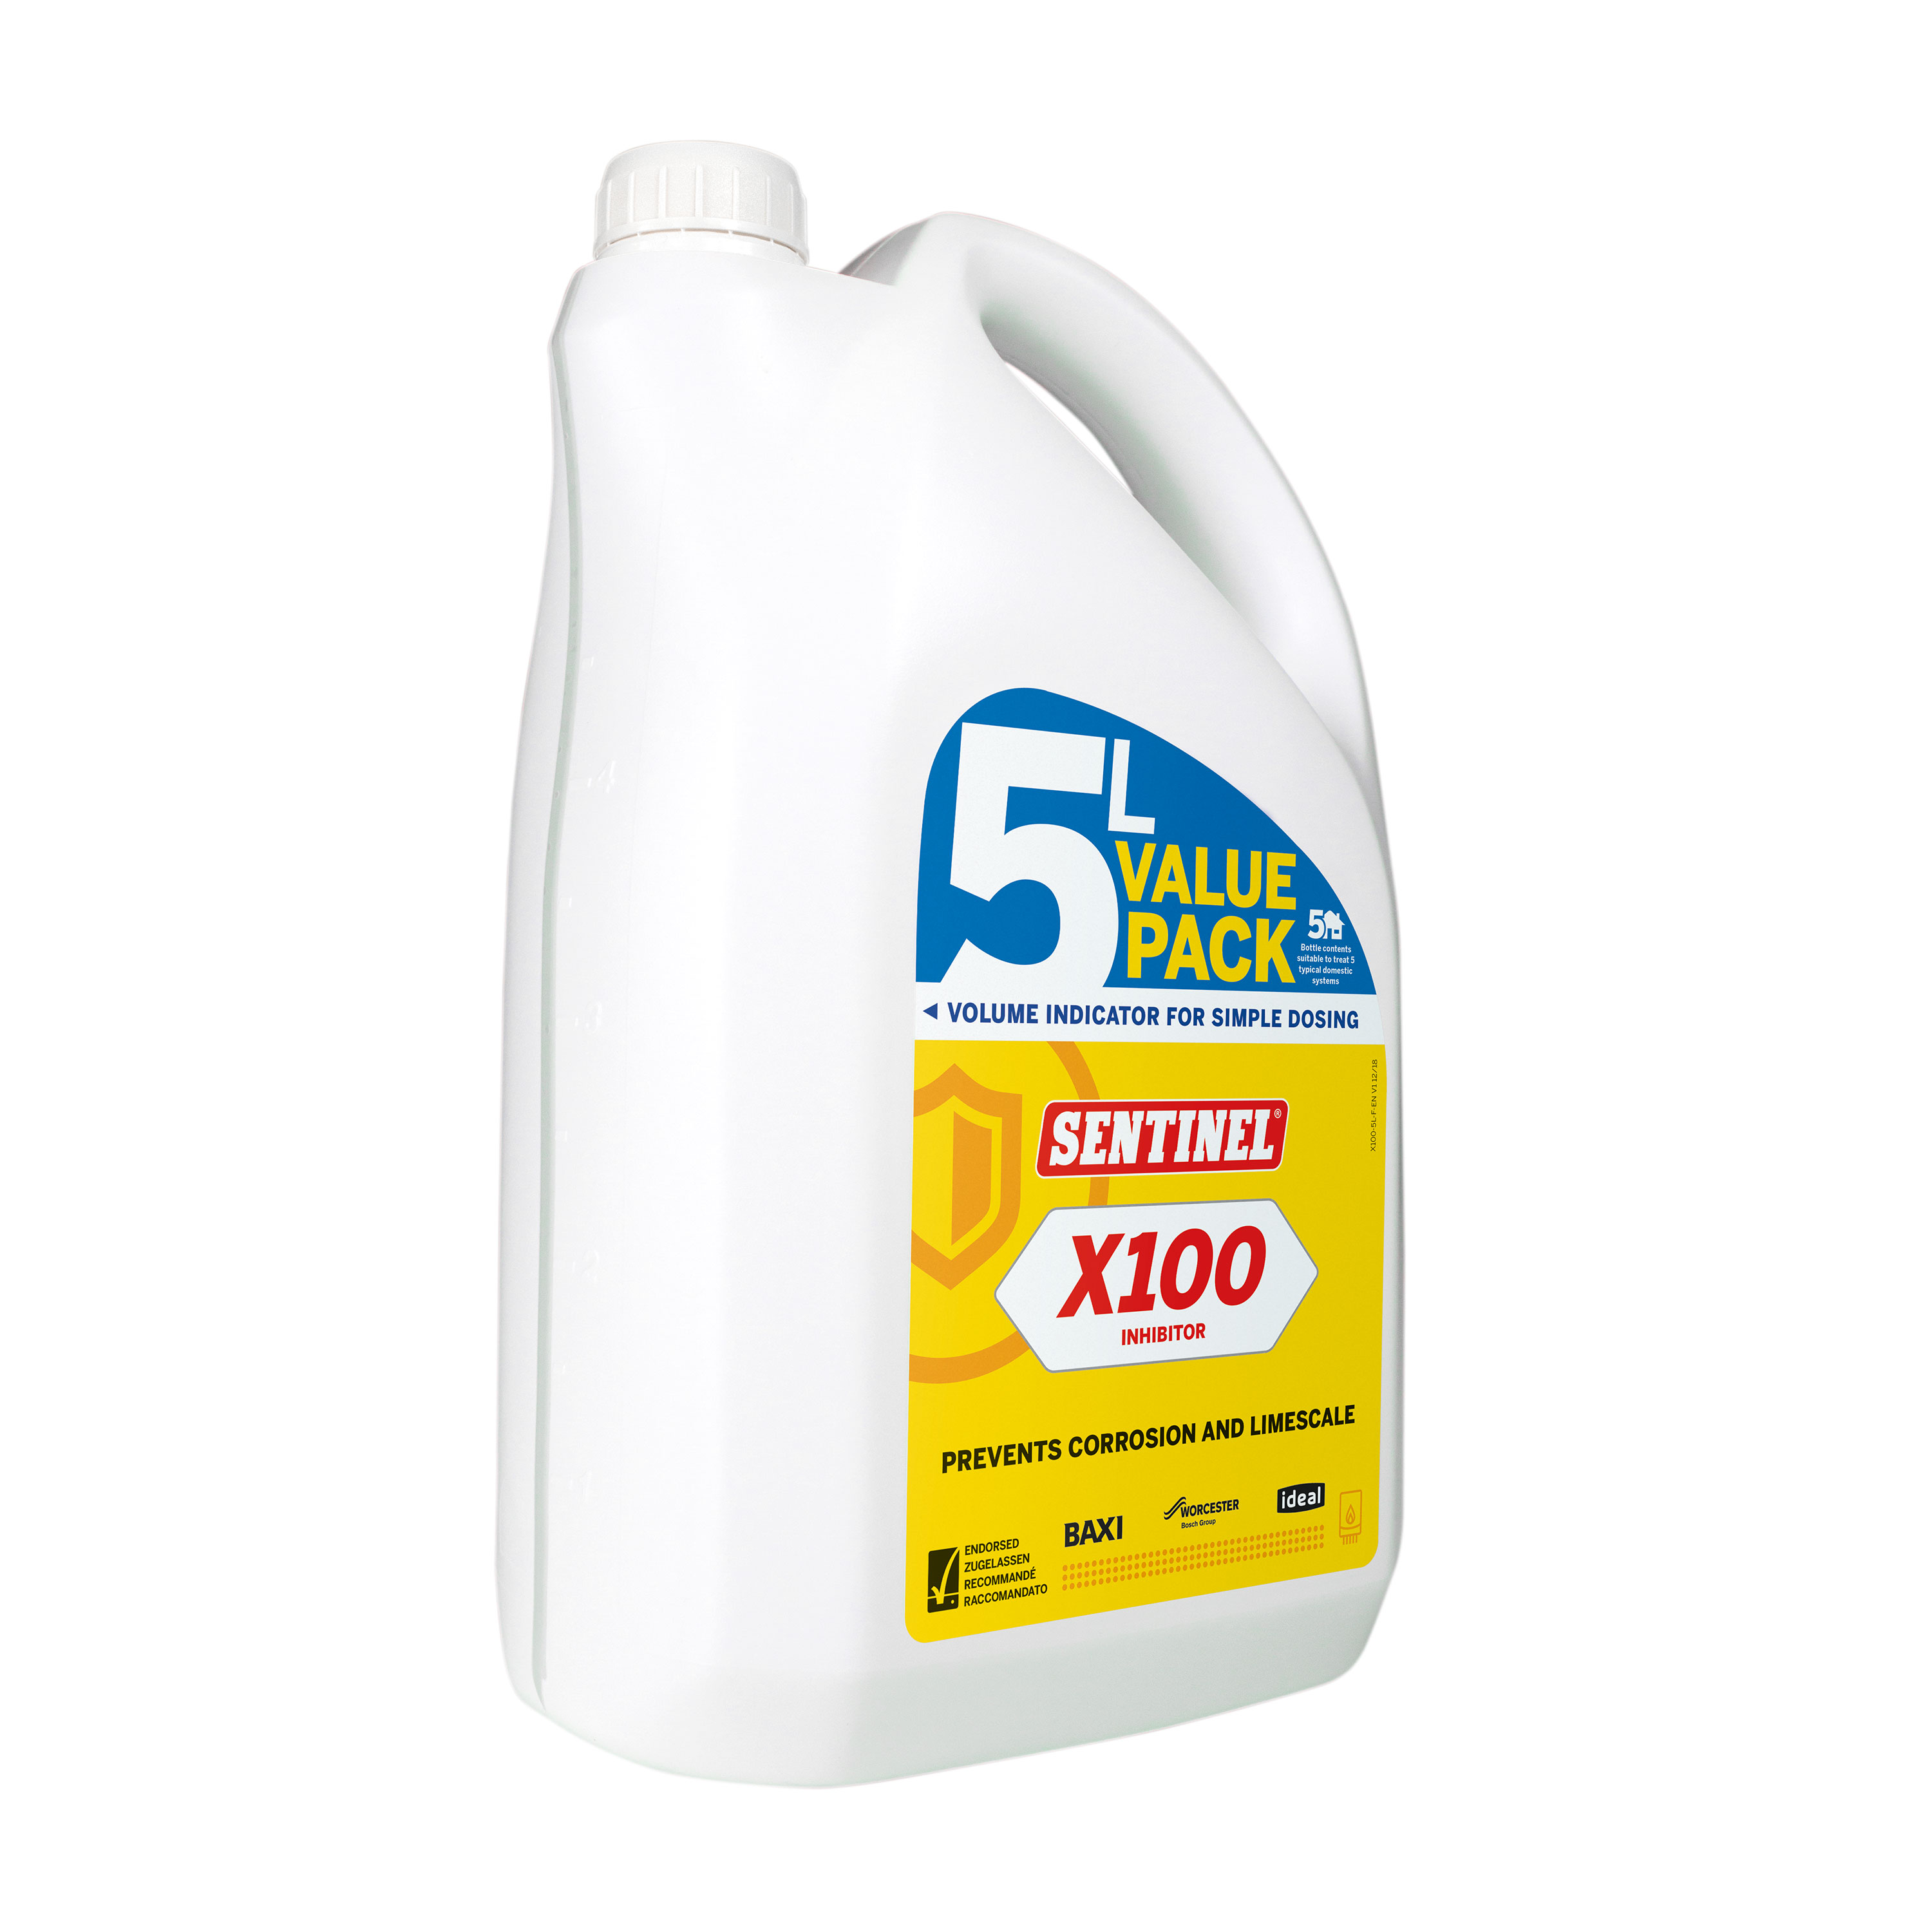
Sentinel X100 Inhibitor provides protection for clean central heating systems against limescale and corrosion. These are the two main causes of central heating inefficiency.
We advise that where you are adding Sentinel X100 Inhibitor to a system, you drain the system to ensure that Sentinel X100 Inhibitor is the only inhibitor present. This is because we are unable to guarantee the quality of inhibitors produced by other manufacturers and own brands.
The dosage of Sentinel X500 Inhibited Antifreeze will depend on the level of frost protection required. To achieve the minimum recommended concentration of corrosion and limescale inhibitor whilst protecting from freezing temperatures down to approximately -6°C, 20 litres is recommended for a typical domestic system of up to 10 radiators.
Sentinel X100 does not have a shelf life. If the original seal is intact, and the bottle is not damaged, the product should be fit for use.
It is perfectly safe to use Sentinel X100 Inhibitor on systems with aluminium components.
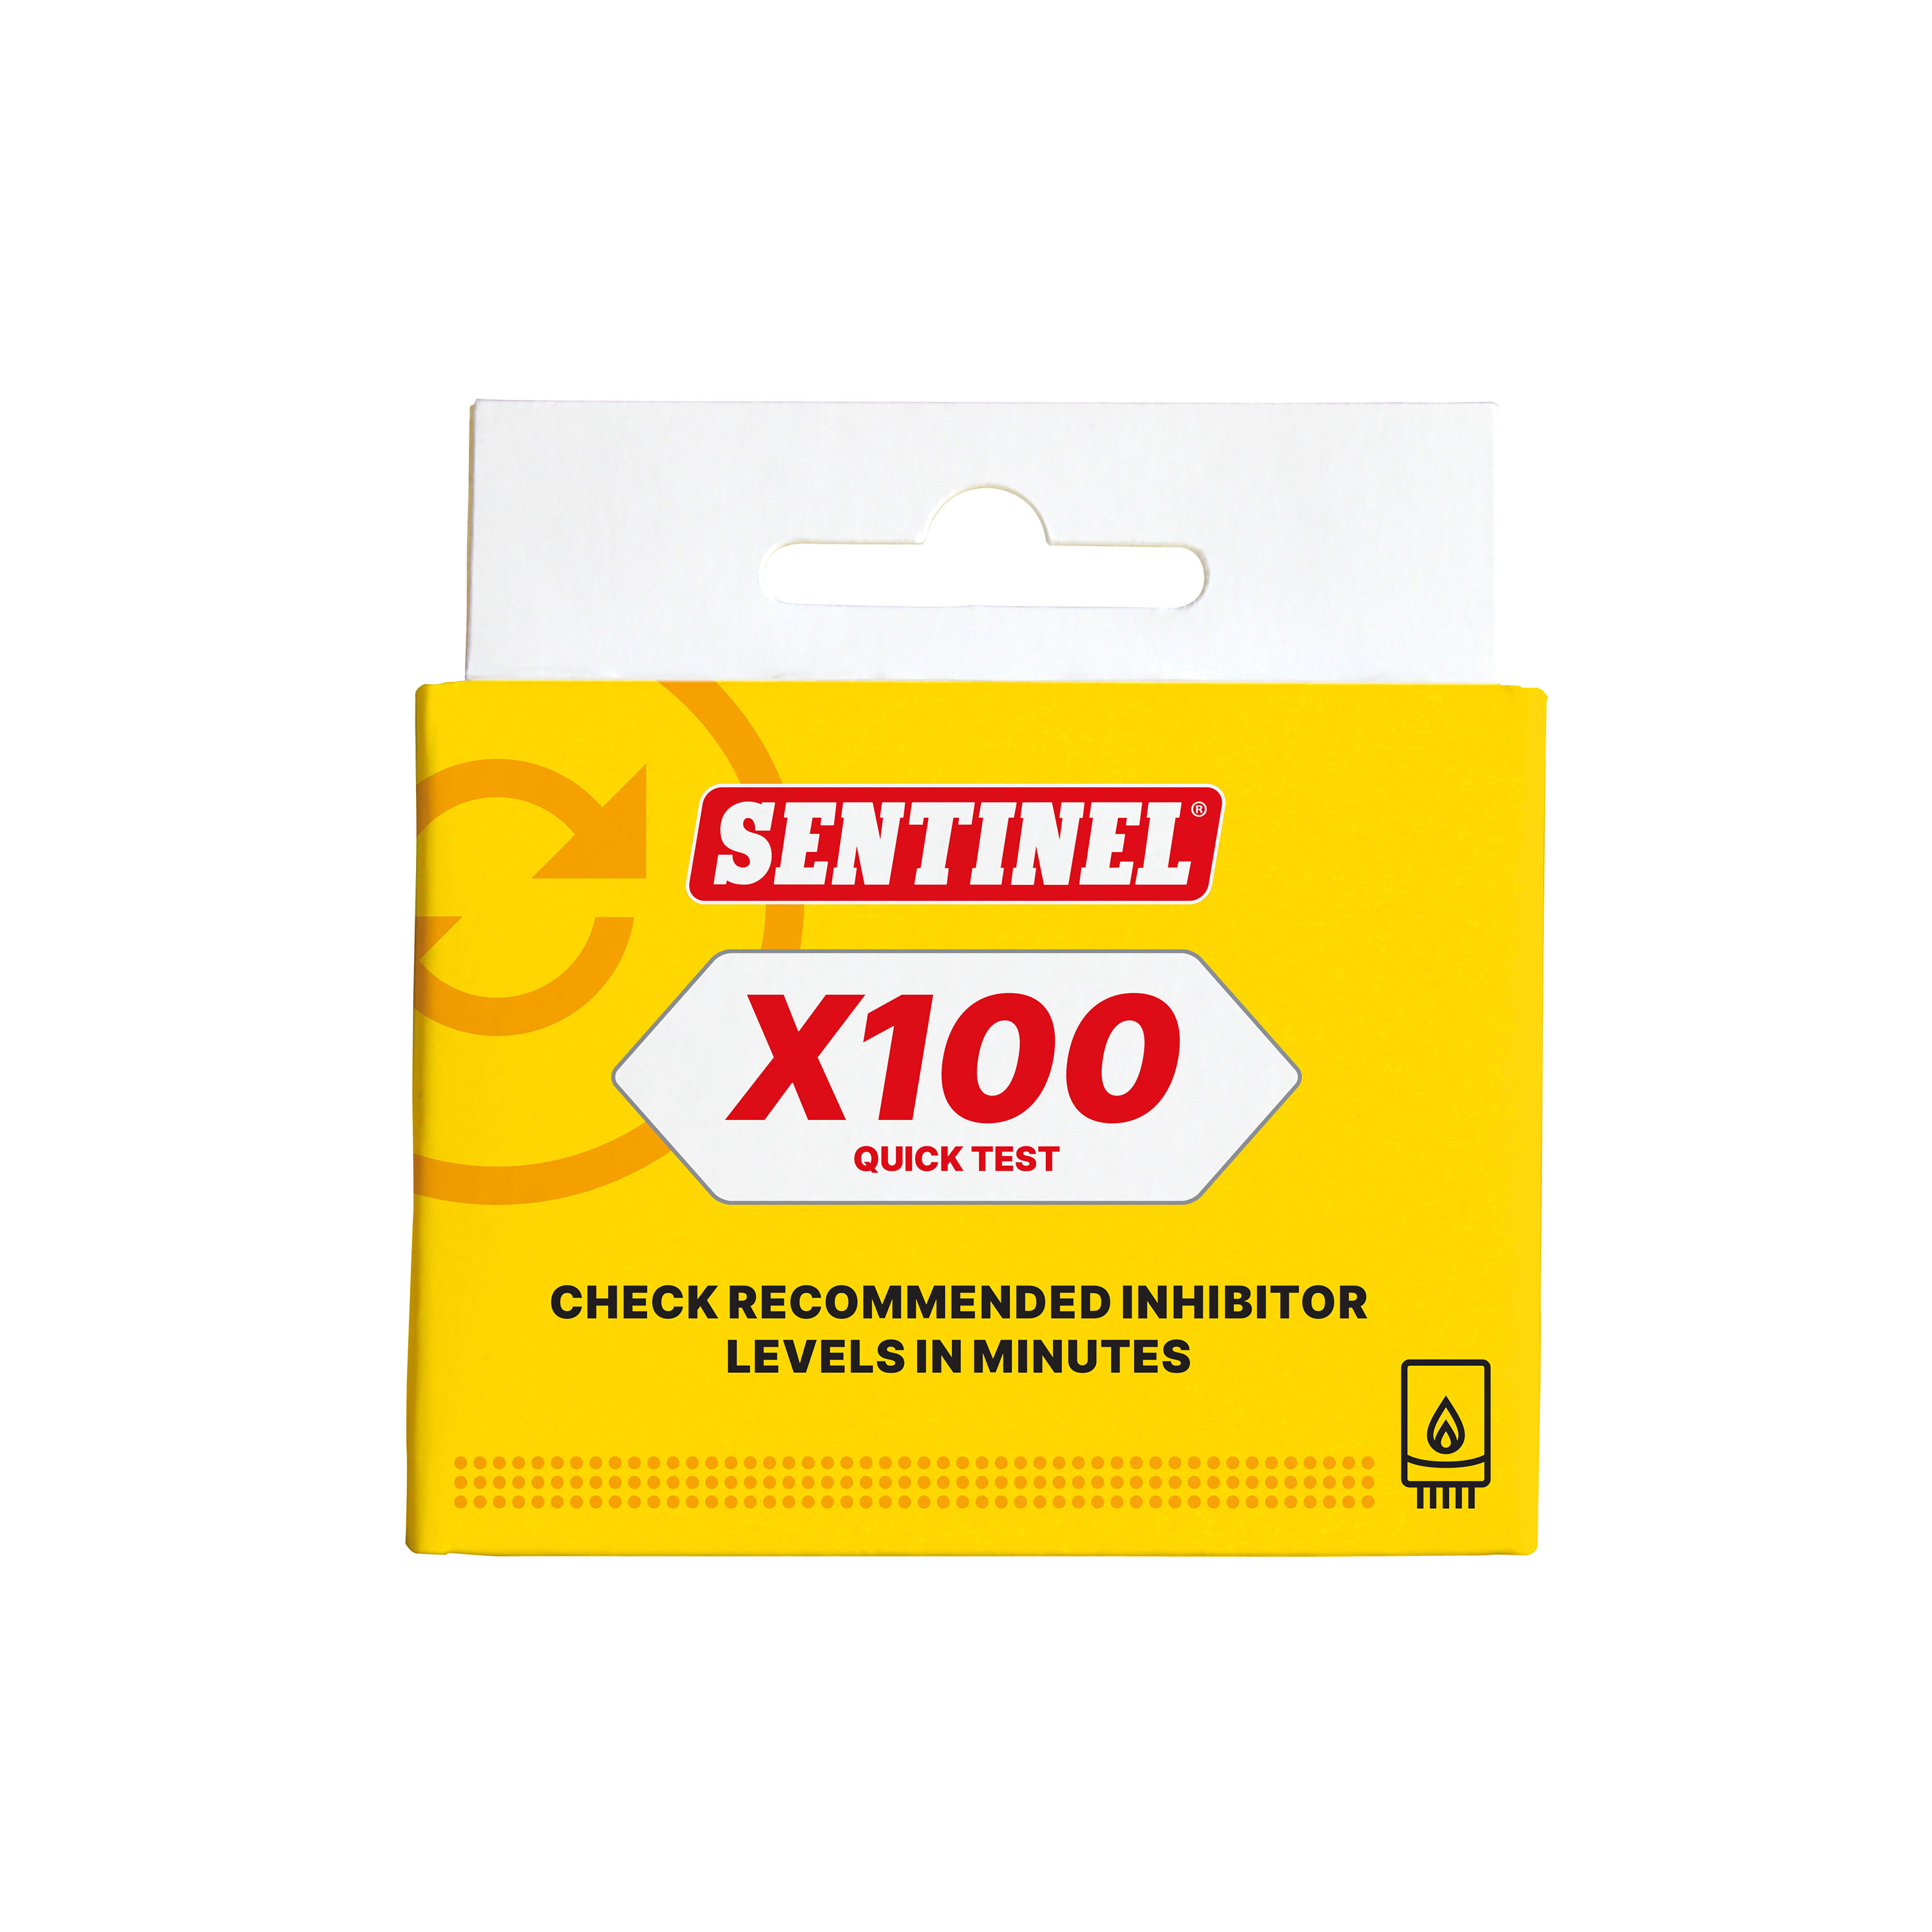
A simple test performed with a Sentinel X100 Quick Test Kit will quickly identify whether or not a system has been correctly dosed and protected with Sentinel X100 Inhibitor.
Sentinel X100 Inhibitor has TripleTech™ Anti-Corrosion Technology, a unique blend of heavy-duty specialist corrosion inhibitors. Since central heating systems are normally made up of a variety of metals, each of these specialist inhibitors provides optimised protection for each metal for unrivalled performance in protecting multi-metal central heating systems. Sentinel X100 Inhibitor also contains specially formulated technology to control scale and several buffer systems to maintain the stability of the pH of the system water.
We cannot guarantee that Sentinel X100 Quick Test Kit will detect other brands of inhibitor as chemical formulations can differ greatly between both branded and non-branded products. If you are unsure of whether a system has been treated, it is best to drain the system and add fresh Sentinel X100 Inhibitor.
It is perfectly safe to use Sentinel X100 Inhibitor in systems over 20 years old.
Once a system has been prepared using one of the cleaners from the Sentinel cleaning range and then thoroughly flushed, it should be protected with Sentinel X100 Inhibitor during the final fill to prevent the occurrence of limescale build up or corrosion.
Sentinel X100 Inhibitor provides protection for clean central heating systems against limescale and corrosion, the two main causes of heating inefficiency and failure.
Sentinel X100 Towel Rail Inhibitor has been specially developed to protect standalone water-filled electric towel rails or for topping up inhibitor levels on indirect heating systems already treated with Sentinel X100 Inhibitor.
It is perfectly safe to use Sentinel X100 Towel Rail Inhibitor on systems with aluminium components.
Sentinel X100 Towel Rail Inhibitor provides protection for all water-filled towel rails against limescale and corrosion.
Sentinel X100 Towel Rail Inhibitor contains a unique blend of heavy-duty specialist corrosion inhibitors and specially formulated technology to control scale in electric stand alone towel rails.
Towel rails are particularly vulnerable to developing pin-hole leaks caused by corrosion of their inner surfaces. Sentinel X100 Towel Rail Inhibitor has been specially designed to protect towel rails against this corrosion.
Sentinel X100 Towel Rail Inhibitor comes with its own special adaptor for dosing.
It is perfectly safe to use Sentinel X100 Towel Rail Inhibitor on systems with standard plastic plumbing pipework.
Sentinel X100 Towel Rail Inhibitor should be left in the system indefinitely.
Many of the major international boiler manufacturers insist on the use of quality water treatment products, making specific reference to Sentinel products. We advise that you refer to the installation manual of the boiler in question.
We advise that where you are adding Sentinel X100 Inhibitor to a system, you drain the system to ensure that Sentinel X100 Inhibitor is the only inhibitor present. This is because we are unable to guarantee the quality of inhibitors produced by other manufacturers and own brands.
After dosing a system with Sentinel X100 Inhibitor, we recommend using a Sentinel X100 Quick Test Kit to confirm that the concentration level is adequate for protection, followed by an annual concentration check during boiler service.
We recommend checking the concentration levels of Sentinel X100 Inhibitor at the annual boiler service to ensure maintained protection. Levels can be checked using a Sentinel X100 Quick Test Kit and the system topped up as appropriate.
The Sentinel Eliminator is not dependent on its magnets for debris capture; four hydrocyclones capture debris by separating it from the system flow. The four magnets are strategically placed below the hydrocyclones in order that captured debris is better retained as spreading the magnetic field using multiple, smaller magnets enables better retention. Many filters on the market rely solely on a single central magnet to capture only magnetic debris and their performance falls off as the magnet becomes coated.
Chemicals which come in Sentinel Rapid-Dose or concentrate cartridge format can be dosed into the Sentinel Eliminator. The following products are available in Rapid-Dose aerosol cans and concentrate cartridges: Sentinel X100 Inhibitor, Sentinel X400 System Restorer, and Sentinel Leak Sealer.
Full installation instructions are provided with the unit. A video showing this process is also available.
It is advisable to install Sentinel Eliminator on the system return pipe to the boiler rather than the flow pipe. We suggest this because the filter’s primary function is to capture any circulating debris and prevent it from entering the boiler.
A central heating filter separates out solids from the system water, preventing them from accumulating in radiators and causing inefficiency or causing damage inside the boiler.
It is perfectly safe to use Sentinel Eliminator on systems with standard plastic plumbing pipework.
It is perfectly safe to install Sentinel Eliminator on systems over 20 years old.
The dimensions of Sentinel Eliminator are:
32.2 cm (with T-Piece and isolations valves in vertical position)
25.1 cm (with T-Piece and isolations valves in
Using multi-cyclonic technology to remove debris from the system water as it passes through the unit, and strategically arranged magnets to hold the debris in place inside the collection bin.
The Sentinel Eliminator comes with a 10 year manufacturer's guarantee. You can register online for this guarantee.
Sentinel Eliminator is designed to operate at flow rates from 5 litres/min up to 25 litres/min. Within these parameters it does not present significant restriction to flow and pressure drop across the unit is no greater than 100 mbar. Please consult the Product Fact Sheet for more details.
If left to circulate through the boiler and central heating system, debris can interfere with, or damage thermostatic and diverter valves, restrict heat transfer in the boiler and even provoke corrosion causing inefficiency, leaks, noise and more. Sentinel Eliminator removes this debris before it reaches the boiler, protecting the heart of the central heating system.
Fitting a filter is a way of future-proofing a system against unforeseen circumstances which may lead to corrosion and formation of debris – an engineer may not top up inhibitor levels after carrying out work on a system, or there may be a minor leak which causes problems over time. With this in mind, we believe that whether you are installing a new system or servicing an old one, you should always fit a central heating system filter to protect the boiler.
Sentinel Eliminator is a central heating system filter to protect the boiler and other system components. It captures any circulating debris and prevents it from causing problems.
Following the installation of a Sentinel Eliminator, the unit should be flushed periodically during the first few days to remove initial captured debris and thereafter servicing should be undertaken on an annual basis. We recommend that you do this at the annual boiler service and the collection chamber should be emptied at this time.
The guarantee period on the Sentinel System Filter is 12 months.
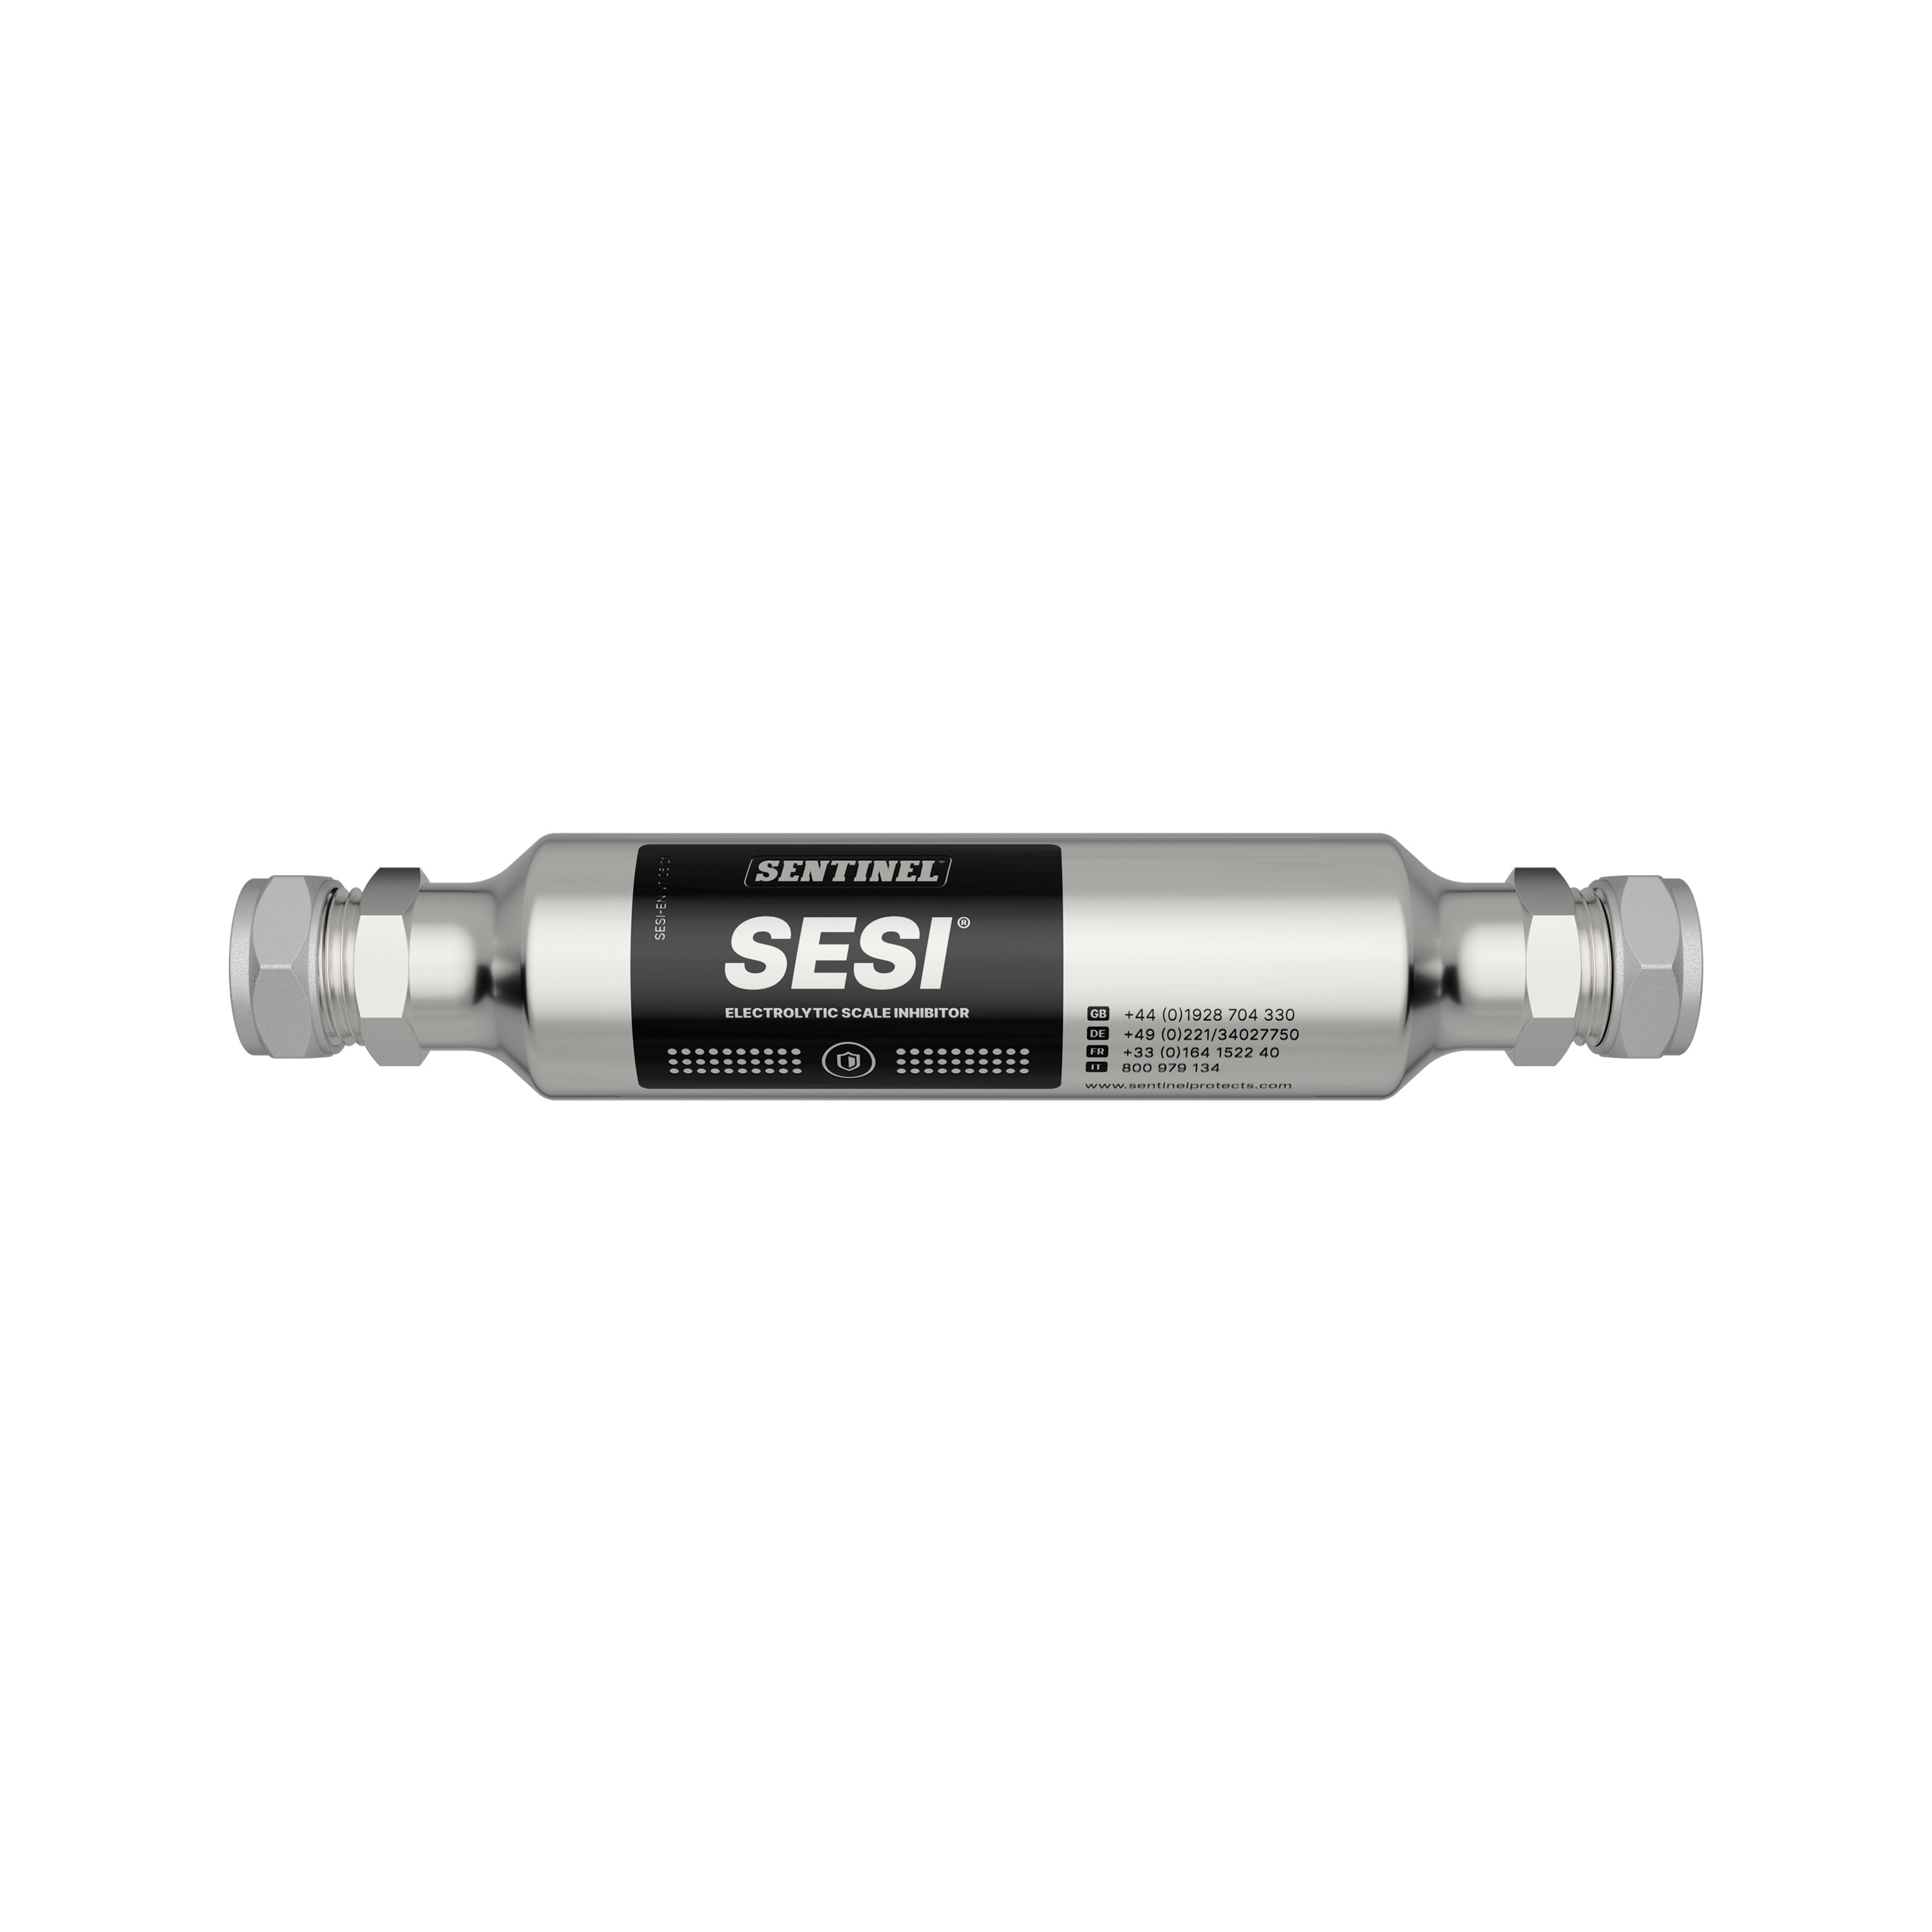
Sentinel ScalePro and Sentinel SESI use a natural electrolytic process to prevent limescale encrustation. The unit imparts a tiny amount of soluble zinc which interferes with the crystal structure of scale-forming water hardness minerals so that they cannot form a hard, tenacious scale.
The guarantee period on Sentinel SESI is 5 years. You can register online for this guarantee.
For domestic properties in hard water areas, Sentinel SESI is designed to protecting the hot water circuit and appliances. The Compliance Guide to Part L1 of the Building Regulations states that measures must be taken to minimise limescale build up in areas where water hardness exceeds 200ppm, so it is important to treat water using a recommended technology such as electrolytic devices to achieve this. Check your local water hardness levels at www.helpwithhardwater.co.uk.
A Sentinel ScalePro unit has a life expectancy of approximately 10 years, although the battery will need replacing in this time.
It is perfectly safe to use Sentinel ScalePro on systems with aluminium components.
It is perfectly safe to use Sentinel ScalePro on systems with standard plastic plumbing pipework.
Softened water gives this sensation as fewer solid particles will be in contact with the skin.
Softened water is potable and safe to drink.
For anyone advised to have a low sodium diet it may be best to limit softened water intake and take medical
advice if needed, however this is in exceptional circumstances only.
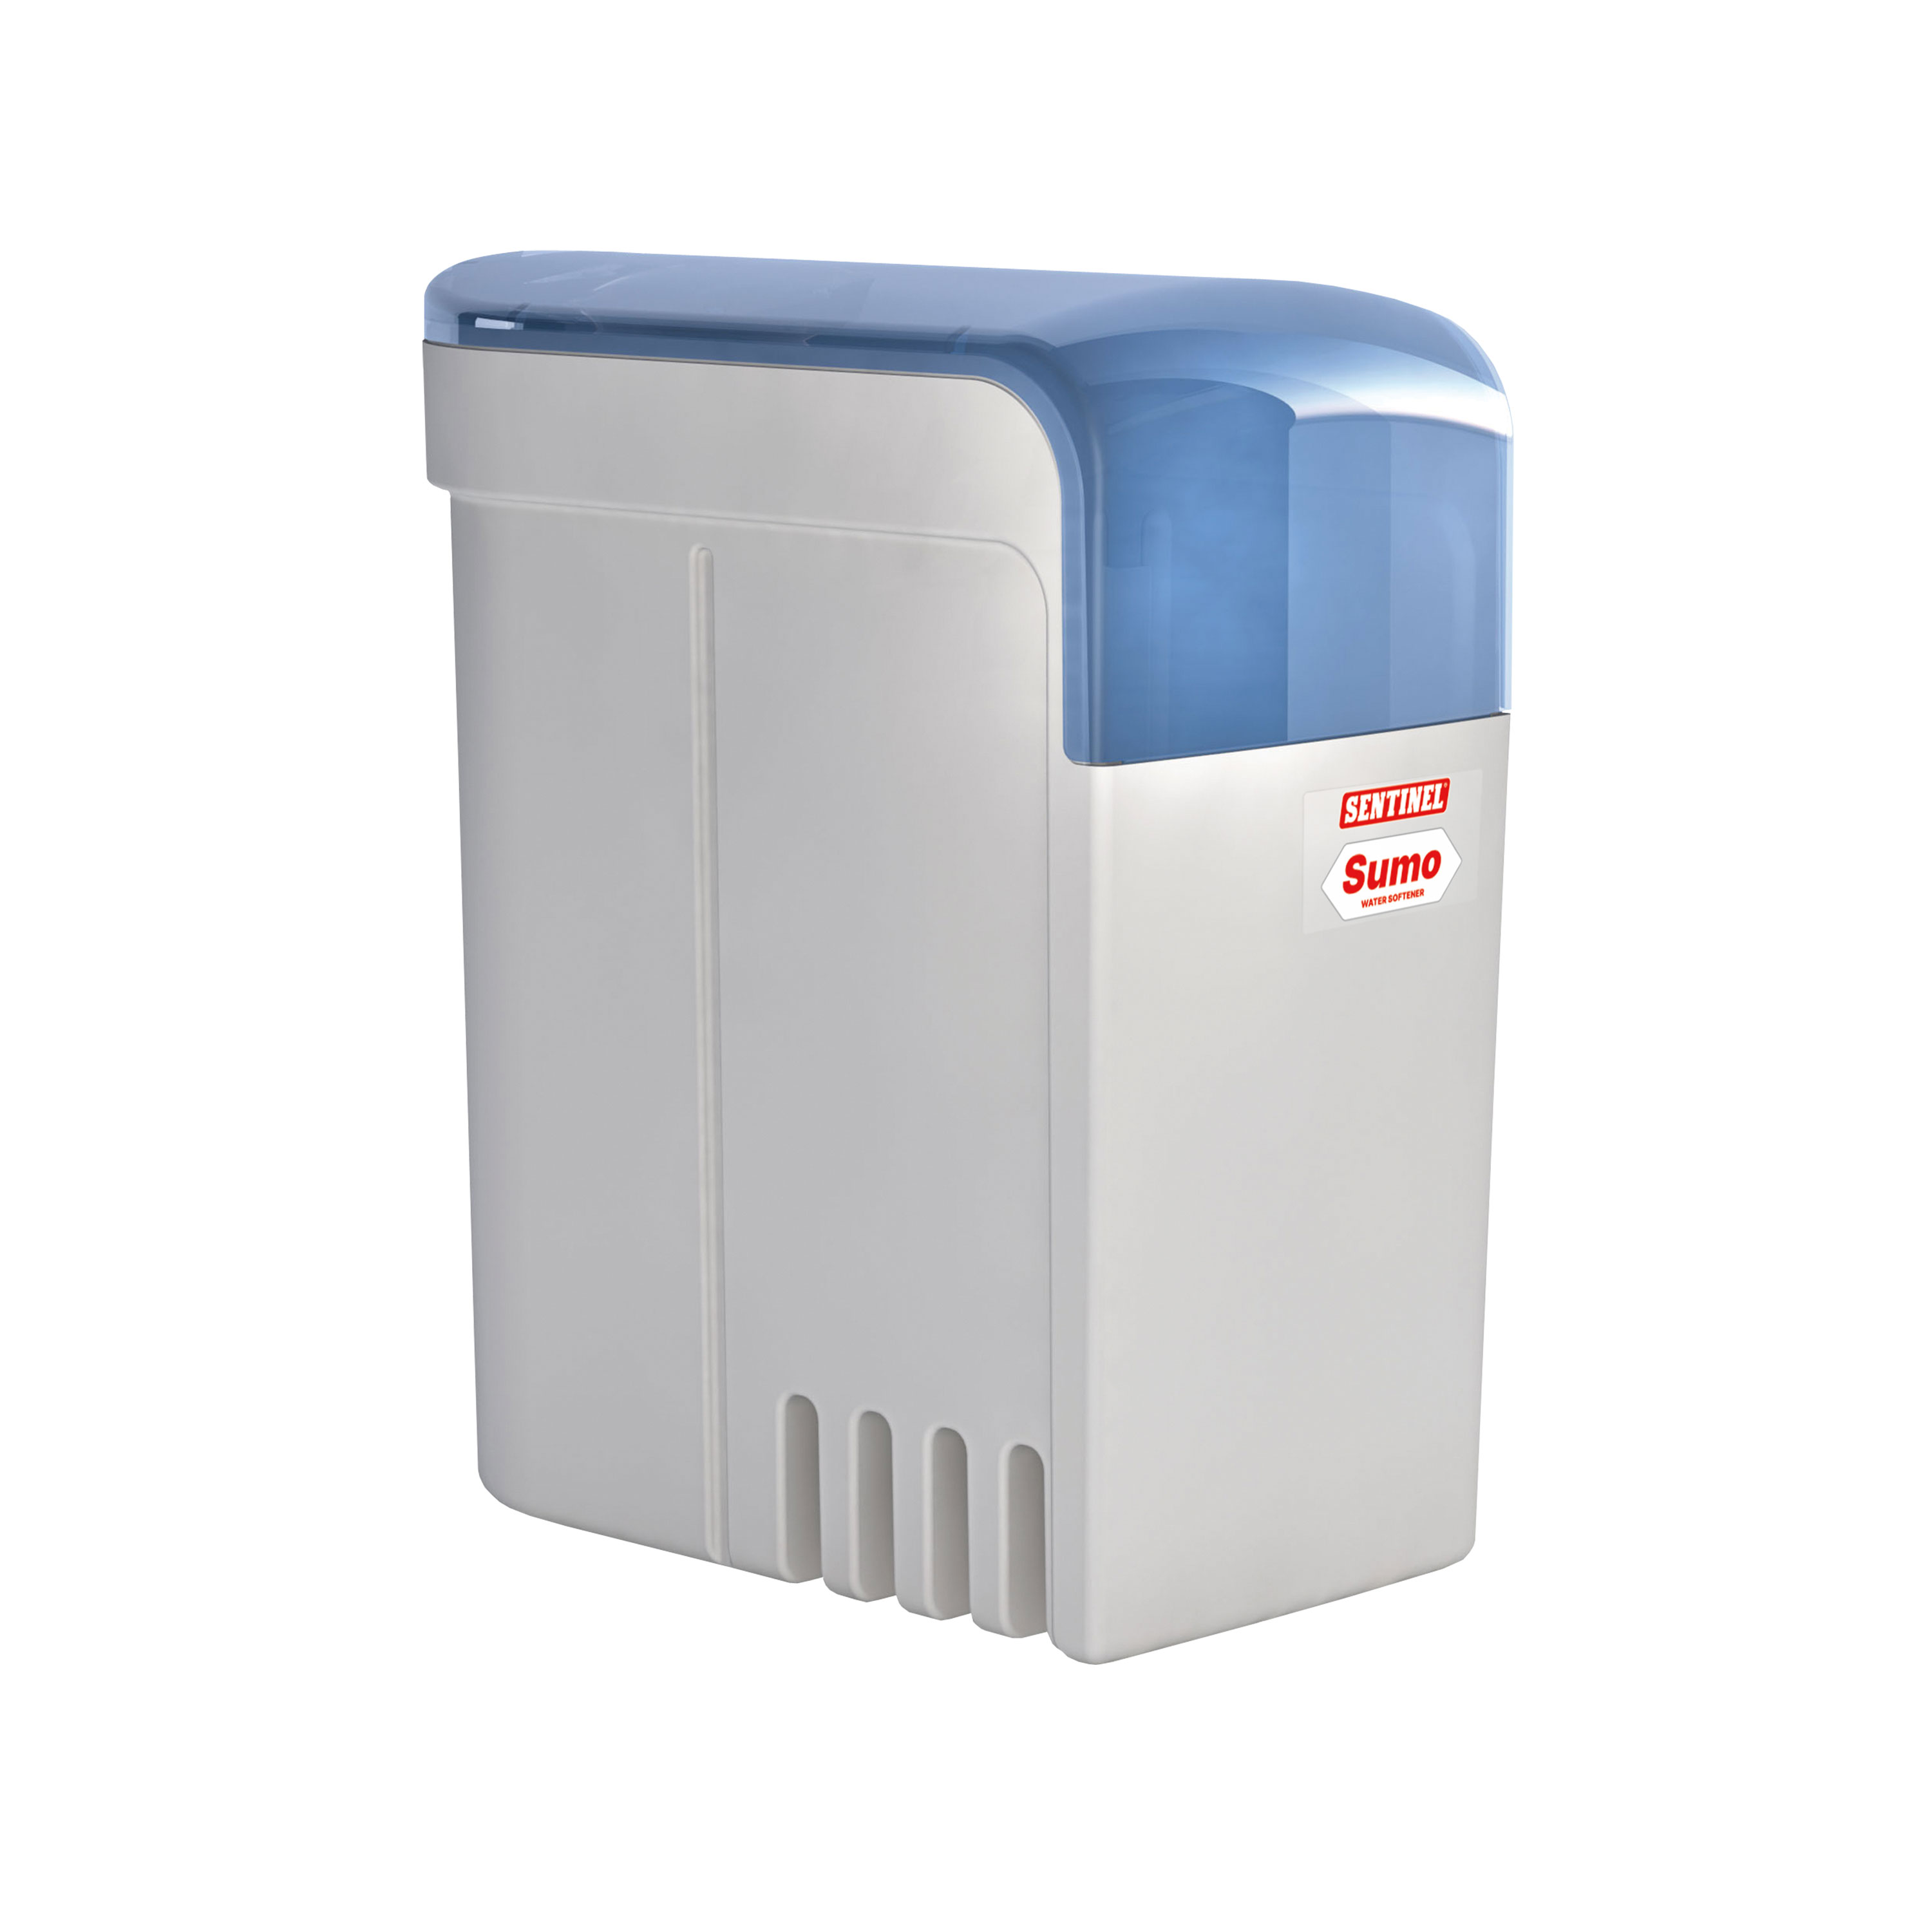
Sentinel Sumo is WRAS approved, meaning it complies with the high standards set out by water regulations
It is not recommended to use softened water for watering gardens, etc. in order to avoid increasing salt consumption for activities where softened water is not necessarily required.
The addition of salt to the dishwasher is not required as the Sumo will provide softened water to the unit.
Consult the dishwasher’s user manual regarding water hardness and program the dishwasher to the lowest level.
The fitting of a separate tap is not a legal requirement.
It is recommend that you also have access to a non-softened water supply.
There is a requirement for your water supplier to be able to test the water supply to your home.
Like a boiler, we recommend that a softener is serviced annually. This service is to avoid any degradation of the unit to ensure smooth running.
An average family of 4 people will need to purchase a block (or similar) of salt every 4 to 5 months (3 bags of approx. 25 kg per year).
We recommend checking the manufacturer’s instructions for the boiler to ensure compatibility.
The Sumo softener must be fitted with a by-pass when filling the primary circuit, so that it can be filled in
accordance to the boiler manufacturer’s recommendations.
A softener will not remove existing limescale. Softened water can help to eliminate limescale deposits over time but the length of time of encrustation as well as other factors will limit the effectiveness of this.
A separate descaling may be required to resolve this issue.
Sumo softeners contain resin beads that hold sodium ions. Once hard water passes through these resin beads inside your water softener, the resin beads hold onto the calcium and magnesium in exchange for sodium. Once this exchange process is complete, the water exits the softener system and is now soft.
A competent person should determine the most suitable location for the installation.
Access to a waste water pipe is required.
The 2 items with costs are salt and the usage of water for regeneration.
On average, for a family of 4, with a water hardness of 300 ppm, we estimate monthly water cost at less than £5.
Using softened water can protect your appliances from lime-scale which can improve their energy efficiency and reduce maintenance costs.
A Sumo water softener has a standard 1 year warranty, which can be extended to 2 years when the client registers their warranty via the Sentinel website.
Yes - Sumo can be removed from a system and reconnected to another system. As the unit is designed to deal with a wide range of hard water, moves to other areas where water hardness is different to original siting is not an issue.
Ensure the removal and repositioning is carried out by a competent person.
We recommend only using salt provided in tablets, blocks or pellet form - not granular salt.
Do not use salt for dishwashers.
Specialists in water do not have any evidence to show that softened water exposes consumers to any
cardiovascular problems (heart attack, high blood pressure), cancers or osteoporosis.
Furthermore, the presence of sodium in water does not present any health issues, notably even in low salt
diets (user’s choice). It is important to know that a water hardness of 300 ppm, after softening, contains
0.138 g of sodium per litre. This can be signified as drinking 1.5 L of softened water per day corresponding
to an ingestion of around 0.2 g of sodium. The Food Standards Agency recommends a daily allowance of no
more than 6 g per day, for adults and children aged 11 years and over.
To confirm the correct dosage of Sentinel X500 Inhibited Antifreeze for corrosion and scale protection, you can check levels using a Sentinel FrostCheck Test Kit. A minimum of 20% Sentinel X500 Inhibited Antifreeze is required in the system to ensure adequate corrosion and scale inhibition.
It is perfectly safe to use Sentinel X500 Inhibited Antifreeze on systems with aluminium components.
If you are concerned that the level of protection is not adequate for your requirements, you can check the concentration of Sentinel X500 Inhibited Antifreeze in the system using the Sentinel FrostCheck Test Kit and top up as appropriate. If you would like to increase the concentration of Sentinel X500 Inhibited Antifreeze in order to strengthen its frost protection properties, please consult the product page for guidance on dosage rate and achieving protection at lower temperatures.
It is perfectly safe to use Sentinel X500 Inhibited Antifreeze on systems with standard plastic plumbing pipework.
Sentinel X500 Inhibited Antifreeze can be added to the system in a number of ways. For open vented systems, dose via the expansion tank during the final fill. For empty sealed systems, add to any convenient point before filling. For full sealed systems, use a Sentinel Dosing Vessel to inject via the filling loop or other access point.
Sentinel X500 Inhibited Antifreeze protects all system metals against corrosion and protects the system against limescale build-up using the same unique blend of corrosion inhibitors as Sentinel X100 Inhibitor. It also has the added benefit of protection for heating systems against low temperatures.
It is perfectly safe to use Sentinel X500 Inhibited Antifreeze on systems over 20 years old.
Sentinel X500 Inhibited Antifreeze is ideal for properties which are vulnerable to freezing temperatures. This could be a holiday home, left unoccupied in the winter months, or it may be a geographically exposed property where freezing temperatures are not uncommon.
Sentinel X500 Inhibited Antifreeze provides protection against limescale, corrosion and freezing, making it ideal for properties such as holiday homes which may be laid up for the winter and may be vulnerable to freezing temperatures.
Sentinel X500 Inhibited Antifreeze is designed to prevent system water from freezing whilst protecting against limescale build-up and corrosion, the two main causes of heating inefficiency.
Treat new underfloor heating systems with Sentinel X700 Biocide to prevent contamination. If you have noticed symptoms of fouling in an existing system, it is advisable to flush with Sentinel X700 Sanitiser and Biocide and then treat with a preventative dose.
Sentinel X700 Biocide is a dual purpose product which can be used to clean and disinfect fouled underfloor heating systems and then to protect them against further contamination once they are clean.
Bacterial or fungal contamination can disrupt the smooth and efficient running of an underfloor heating system. It can cause blockages, unpleasant smells, and corrosion within the system. Sentinel X700 Biocide can be used to remove and prevent this kind of contamination.
It is perfectly safe to use Sentinel X700 Biocide on systems with aluminium components.
It is perfectly safe to use Sentinel X700 Biocide on systems with standard plastic plumbing pipework.
In open vented heating systems, feed the product into an area of adequate flow or use a by-pass feeder. In closed heating & cooling systems, if the system is empty, add the product to any convenient point before filling. If the system is full, use a pressure dosing vessel to inject the product into the system. When using a powerflush machine during sanitising, feed the product in an area of adequate flow in the buffer tank. Follow the machine manufacturer’s instructions.
It is perfectly safe to use Sentinel X700 Biocide in systems over 20 years old.
Sentinel X700 Biocide should be dosed at a minimum of 1 litre per 300 litres system volume.
Sentinel X700 Biocide protects clean underfloor heating systems against biological contamination and can also be used to clean and disinfect systems which are already contaminated.
The Sentinel BioCheck Test Kit comes with a number of tools used to estimate level of biological contamination of a system, establish the correct level of Sentinel X700 Sanitiser and Biocide used to eliminate it and then to confirm that bacteria have been eliminated.
Underfloor heating systems may suffer from problems caused by the growth of bacteria and fungi. Typically, the efficient operation of a system may be disrupted by slimes and organic matter causing blockages, unpleasant smells and corrosion. Combat issues of biological contamination in underfloor heating systems using Sentinel X700 Sanitiser and Biocide and the Sentinel BioCheck Test Kit together.
The Sentinel BioCheck Test Kit comes with a number of tools used to estimate level of biological contamination of a system, establish the correct level of Sentinel X700 Sanitiser and Biocide used to eliminate it and then to confirm that bacteria have been eliminated.
If you suspect that an underfloor central heating system is not operating efficiently, conduct a test using the Sentinel BioCheck Test Kit. The kit should also be used during commissioning or routine maintenance of underfloor heating systems.
The Sentinel products which contain glycol are Sentinel X500 Inhibited Antifreeze, Sentinel R100 Solar Thermal Fluid, Sentinel R500 Heat Transfer Fluid, Sentinel R500C Thermal Fluid Concentrate and Sentinel R600 Heat Transfer Fluid.
This will vary depending on how well corrosion is managed in the system.
The mains adaptor provided with the system would require a local 13 amp three pin socket.
Memory in the logger provides storage in excess of 10 years.
This would depend on the pipework arrangement of the system. Please contact us to discuss your specific requirements.
Closed commercial applications in water based thermal systems.
It would depend on the size/complexity of the system. Please contact us to discuss your specific requirements.
The minimum pipe diameter for installation is 25mm.
Full installation instructions are provided with the unit. A live-action video showing this process is also available.
Sentinel KalGUARD uses an electrolytic process to prevent limescale encrustation for commercial properties. The independently-proven technology uses electrochemical phemonena to impart a tiny amount of soluble zinc which interferes with the crystal structure of scale-forming water hardness minerals so that they cannot form a hard, tenacious scale inside pipework or appliances when the water is heated.
It is perfectly safe to use Sentinel KalGUARD on systems with aluminium components.
Sentinel KalGUARD provides a low-maintenance, environmentally-friendly solution to preventing expensive, potentially unhygienic limescale deposits. Where it replaces a brine water softener, Sentinel KalGUARD can deliver an ROI in around 12 months.
The anode of the Sentinel KalGUARD system can have a life expectancy of 10-12 years, though this could be impacted by usage levels. For further advice, please enquire on 01928588330.
The dimensions of the Sentinel KalGUARD vary depending on the unit size required for your site. A site survey can be conducted to establish the water volume usage and required unit size; please enquire on 01928588330 for more information.
The guarantee period on a Sentinel KalGUARD system is 12 months. However, following commissioning by a Sentinel Service Technician, this is extended to 24 months and where an ongoing service package is agreed, the warranty period is further extended to 36 months.
Sentinel X400 High Performance Cleaner shifts built up magnetite sludge which can cause a heating system to be ineffective at heating a property and increasing the likelihood of breakdown.
To complete the cleaning process, you should always drain or flush the system fully to remove all of the debris that Sentinel X300 Cleaner for New Systems has collected or dislodged. If you do not drain the system of this debris, the system will remain dirty.
It is perfectly safe to use Sentinel X300 Cleaner for New Systems on systems with standard plastic plumbing pipework.
It is perfectly safe to use Sentinel X500 Inhibited Antifreeze on systems with aluminium components.
After a system has been cleaned using Sentinel X300 Cleaner for New Systems and the system has been drained and then thoroughly flushed with fresh water, add Sentinel X100 Inhibitor or Sentinel X500 Inhibited Antifreeze during the final fill to protect the system from corrosion and limescale build up in future.
New central heating systems can have installation debris, flux, present inside them which, if left unattended, can create a highly corrosive environment. Sentinel X300 Cleaner for New Systems is a powerful, heavy-duty cleaner to remove these contaminants, preparing the system for protection with a Sentinel inhibitor.
Condensate discharge requirements (whether neutralised or not) need to be in compliance with relevant prevailing local Standards (for example BS EN 15417) and these should be checked before installation.
Sentinel Condensafe C4000 unit contains a granulated alkaline medium which actively neutralises acidic condensate from condensing boilers in small commercial or civic properties.
It is perfectly safe to use Sentinel X500 Inhibited Antifreeze on systems with standard plastic plumbing pipework.
Yes, the KalGUARD kit is supplied with an electronic controller unit that requires a standard single phase power supply.
When operating a condensing boiler in a small commercial or civic property, to minimise the environmental impact of its condensate discharge.
Condensate discharge requirements (whether neutralised or not) need to be in compliance with relevant prevailing local Standards (for example BS EN 15417) and these should be checked before installation.
Sentinel SystemCheck provides independent laboratory analysis of mains and system water to ensure proper cleaning of the system has been undertaken and correct treatment with Sentinel X100 Inhibitor. The kit comes with everything you need to provide water samples for analysis and a pre-paid postage envelope for dispatch. The SystemCheck service will then provide a full report of results and recommendations by email.
Following the installation of a KalGUARD, we recommend contacting us to arrange commissioning by a Sentinel Service Technician. This extends the warranty from 12 to 24 months. If your maintenance resources are limited, it may also be advisable to agree an ongoing service package with Sentinel, under which the unit will be periodically checked and maintained. This extends the warranty period to a full 36 months.
The size of the KalGUARD unit required depends on water usage and system configuration. A site survey can be conducted to establish the available space and required unit size; please enquire on 01928588330 for more information.
Sentinel X300 Cleaner for New Systems has a powerful cleaning action which removes installation debris, greases, oils and residual flux from new systems, preparing them for protection with an inhibitor such as Sentinel X100 Inhibitor. It also contains ingredients which protect new system metal from flash-rusting during the cleaning procedure, and pre-passivates the metal prior to the final fill.
Sentinel Condensafe C4000 is an instantly-effective, economical solution for protecting septic tanks and sewers against the release of acidic discharge from condensing boilers. It is suitable for all types of small commercial condensing boilers.
The neutralisation medium in the Sentinel Condensafe C4000 will need replacing periodically.
If you are responsible for a facility in a hard water area, the installation of a Sentinel KalGUARD system can prolong system and appliance life and improve energy efficiency. This contributes not only towards achieving Carbon Reduction Commitment goals but can also reduce running and descaling costs. Where it replaces a brine water softener, Sentinel KalGUARD can deliver an ROI in around 12 months.
Sentinel Condensafe C4000 enables small commercial or civic premises discharging boiler condensate do so in an environmentally responsible way.
It is perfectly safe to install Sentinel KalGUARD on systems over 20 years old.
New central heating system components can quickly fail if care has not been taken to remove installation debris, flux, component greases and storage protection oils. These contaminants can create a highly corrosive environment and should therefore be flushed from the system.
Almost two thirds of the UK is supplied with ‘hard’ mains water which, when heated, deposits limescale onto internal surfaces of pipework and the heat transfer sufaces of boilers, and other appliances. These deposits compromise the efficiency of water-heating appliances and systems, making them ultimately more expensive to run. Limescale is also unattractive when encrusted onto shower heads and taps and can be unhygienic, providing places for bacteria to hide.
Sentinel X300 Cleaner for New Systems has been designed for use on new systems ideally during commissioning, but also on systems which are up to six months old.
The dimensions of a Sentinel Condensafe C4000 unit are:
A simple test performed with a Sentinel X100 Quick Test Kit will quickly identify whether or not a system has been correctly dosed and protected with Sentinel X100 Inhibitor.
Each kit contains two types of tablet which when mixed together with the appropriate test volume of system water will identify through colour match whether Sentinel X100 Inhibitor levels in a system are adequate.
A Sentinel X100 Test Kit will indicate whether a system has been sufficiently treated with Sentinel X100 Inhibitor to protect it against corrosion and limescale. A SystemCheck will provide an independent laboratory confirmation that a system has been properly cleaned and then protected using Sentinel water treatment chemicals.
Sentinel SystemCheck provides independent laboratory analysis of mains and system water to ensure proper cleaning of the system has been undertaken and correct treatment with Sentinel X100 Inhibitor. The kit comes with everything you need to provide water samples for analysis and a pre-paid postage envelope for dispatch. The SystemCheck service will then provide a full report of results and recommendations by email.
It is perfectly safe to use a Sentinel X100 Quick Test Kit on a system over 20 years old.
If the Sentinel X100 Quick Test Kit shows that inhibitor levels are insufficient, top up the system with extra Sentinel X100 Inhibitor and re-test. If the test shows that inhibitor levels are sufficient for protection, re-test at the annual boiler service or following any maintenance work to ensure continued protection.
Sentinel Jetflush Survey Test Kit provides everything required to conduct a quick analysis of old, inefficient heating systems, providing recommendations for improving system health.
By using the tools and processes provided in the Sentinel Jetflush Survey Test Kit, you can generate an assessment of the system health before and after the powerflushing process, clearly highlighting the difference to the householder.
Guide: powerflushing processWe recommend the use of Sentinel Jetflush Survey Test Kit before and after powerflushing a system in order show the householder proof of a successful cleaning process.
After using the Sentinel Jetflush Survey Test Kit, the cleaned system should be treated with Sentinel X100 Inhibitor to protect against scale and corrosion build-up re-occurring.
Sentinel Jetflush Survey Test Kit enables quick identification of problem areas on old, inefficient heating systems, highlighting anywhere that scale or corrosion debris has built up.
We cannot guarantee that Sentinel X100 Quick Test Kit will detect other brands of inhibitor as chemical formulations can differ greatly between both branded and non-branded products. If you are unsure of whether a system has been treated, it is best to drain the system and add fresh Sentinel X100 Inhibitor.
Sentinel SolarCheck Test Kit comes with everything you need to determine the frost protection level, thermal performance, orientation, and glycol degradation of solar thermal collector systems.
Sentinel SolarCheck Test Kit comes with the following items for use during installation and maintenance checks of solar thermal systems.
The test kit is also supplied with a CD that contains full user instructions.
Sentinel SolarCheck Test Kit should be used during installation and maintenance checks on solar thermal systems.
It is perfectly safe to use Sentinel SolarCheck Test Kit on systems over 20 years old.
What are the next steps after using Sentinel SolarCheck Test Kit?
It is essential during installation and maintenance of solar thermal circuits to monitor factors such as thermal performance, frost protection and the condition of the glycol. Progressive degradation of the thermal fluid will occur after several years in the system and will eventually need replacing. Sentinel SolarCheck Test Kit allows you to determine the condition of the fluid and determine exactly when its replacement is required.
The FrostCheck Test Kit is supplied in a compact, durable plastic case and contains the tools which allow you to measure the concentration and health of the glycol based heat transfer fluid in the system. It also contains an infrared thermometer so that the correct thermal emission of the heating system can be checked.
Sentinel R700 Test Kit provides confirmation that microbiological contamination has been eliminated from a ground or air source heat pump system during commissioning procedure for new systems, ongoing service maintenance or the cleaning of fouled systems. Use of the Sentinel R700 Test Kit will also establish and check the correct level of Sentinel R700.
Once a system has been treated with Sentinel R700 Sanitiser and Biocide and proper levels have been confirmed using the Sentinel R700 Test Kit, it is important to check levels periodically to ensure ongoing protection.
Sentinel R700 Test Kit comes with dipslides to check the level of bacteria and fungi within the the contaminated and subsequently sanitised system and test strips to enable you to confirm the correct concentration of Sentinel R700 Sanitiser and Biocide in the system for ongoing protection.
Heat pump systems may suffer from problems caused by the growth of bacteria and fungi. Typically, the efficient operation of a system may be disrupted by slimes and organic matter causing blockages, unpleasant smells and corrosion. Sentinel R700 Test Kit enables you to confirm the successful elimination of such contamination and ensure the correct level of Sentinel R700 Sanitiser and Biocide for ongoing protection.
Sentinel FrostCheck Test Kit contains everything required to undertake installation validation checks and ongoing monitoring of ground source or air source heat pump glycol-based heat transfer fluids (brines).
Sentinel FrostCheck Test Kit should be used for installation and servicing checks on the glycol-based heat transfer fluid of ground and air source heat pump systems.
It is vital that during installation and commissioning of a heat pump system, the concentration of glycol in the heat transfer fluid is correct. Thereafter, during routine service visits it is important to continue to monitor the condition of the thermal fluid for degradation. Progressive degradation will occur after several years in the system and the fluid will eventually need replacing. The test kit allows you to determine exactly when the replacement is required. The kit also allows the performance of the system to be measured.
The Sentinel FrostCheck Test Kit comes with a printable report form. Once completed, this survey will represent a service record for the heat transfer fluid and prompt any further action that may need to be taken.
Sentinel R700 Test Kit should be used at the commissioning of new air or ground source heat pump systems and during its annual service. It should also be used during the cleaning of fouled systems.
For those who want or need confirmation of a job well done where central heating system cleaning and commissioning are concerned, use of a Sentinel SystemCheck ensures an independent report that a central heating system has been correctly cleaned and protected with Sentinel X100 Inhibitor.
It is perfectly safe to use Sentinel SystemCheck on systems over 20 years old.
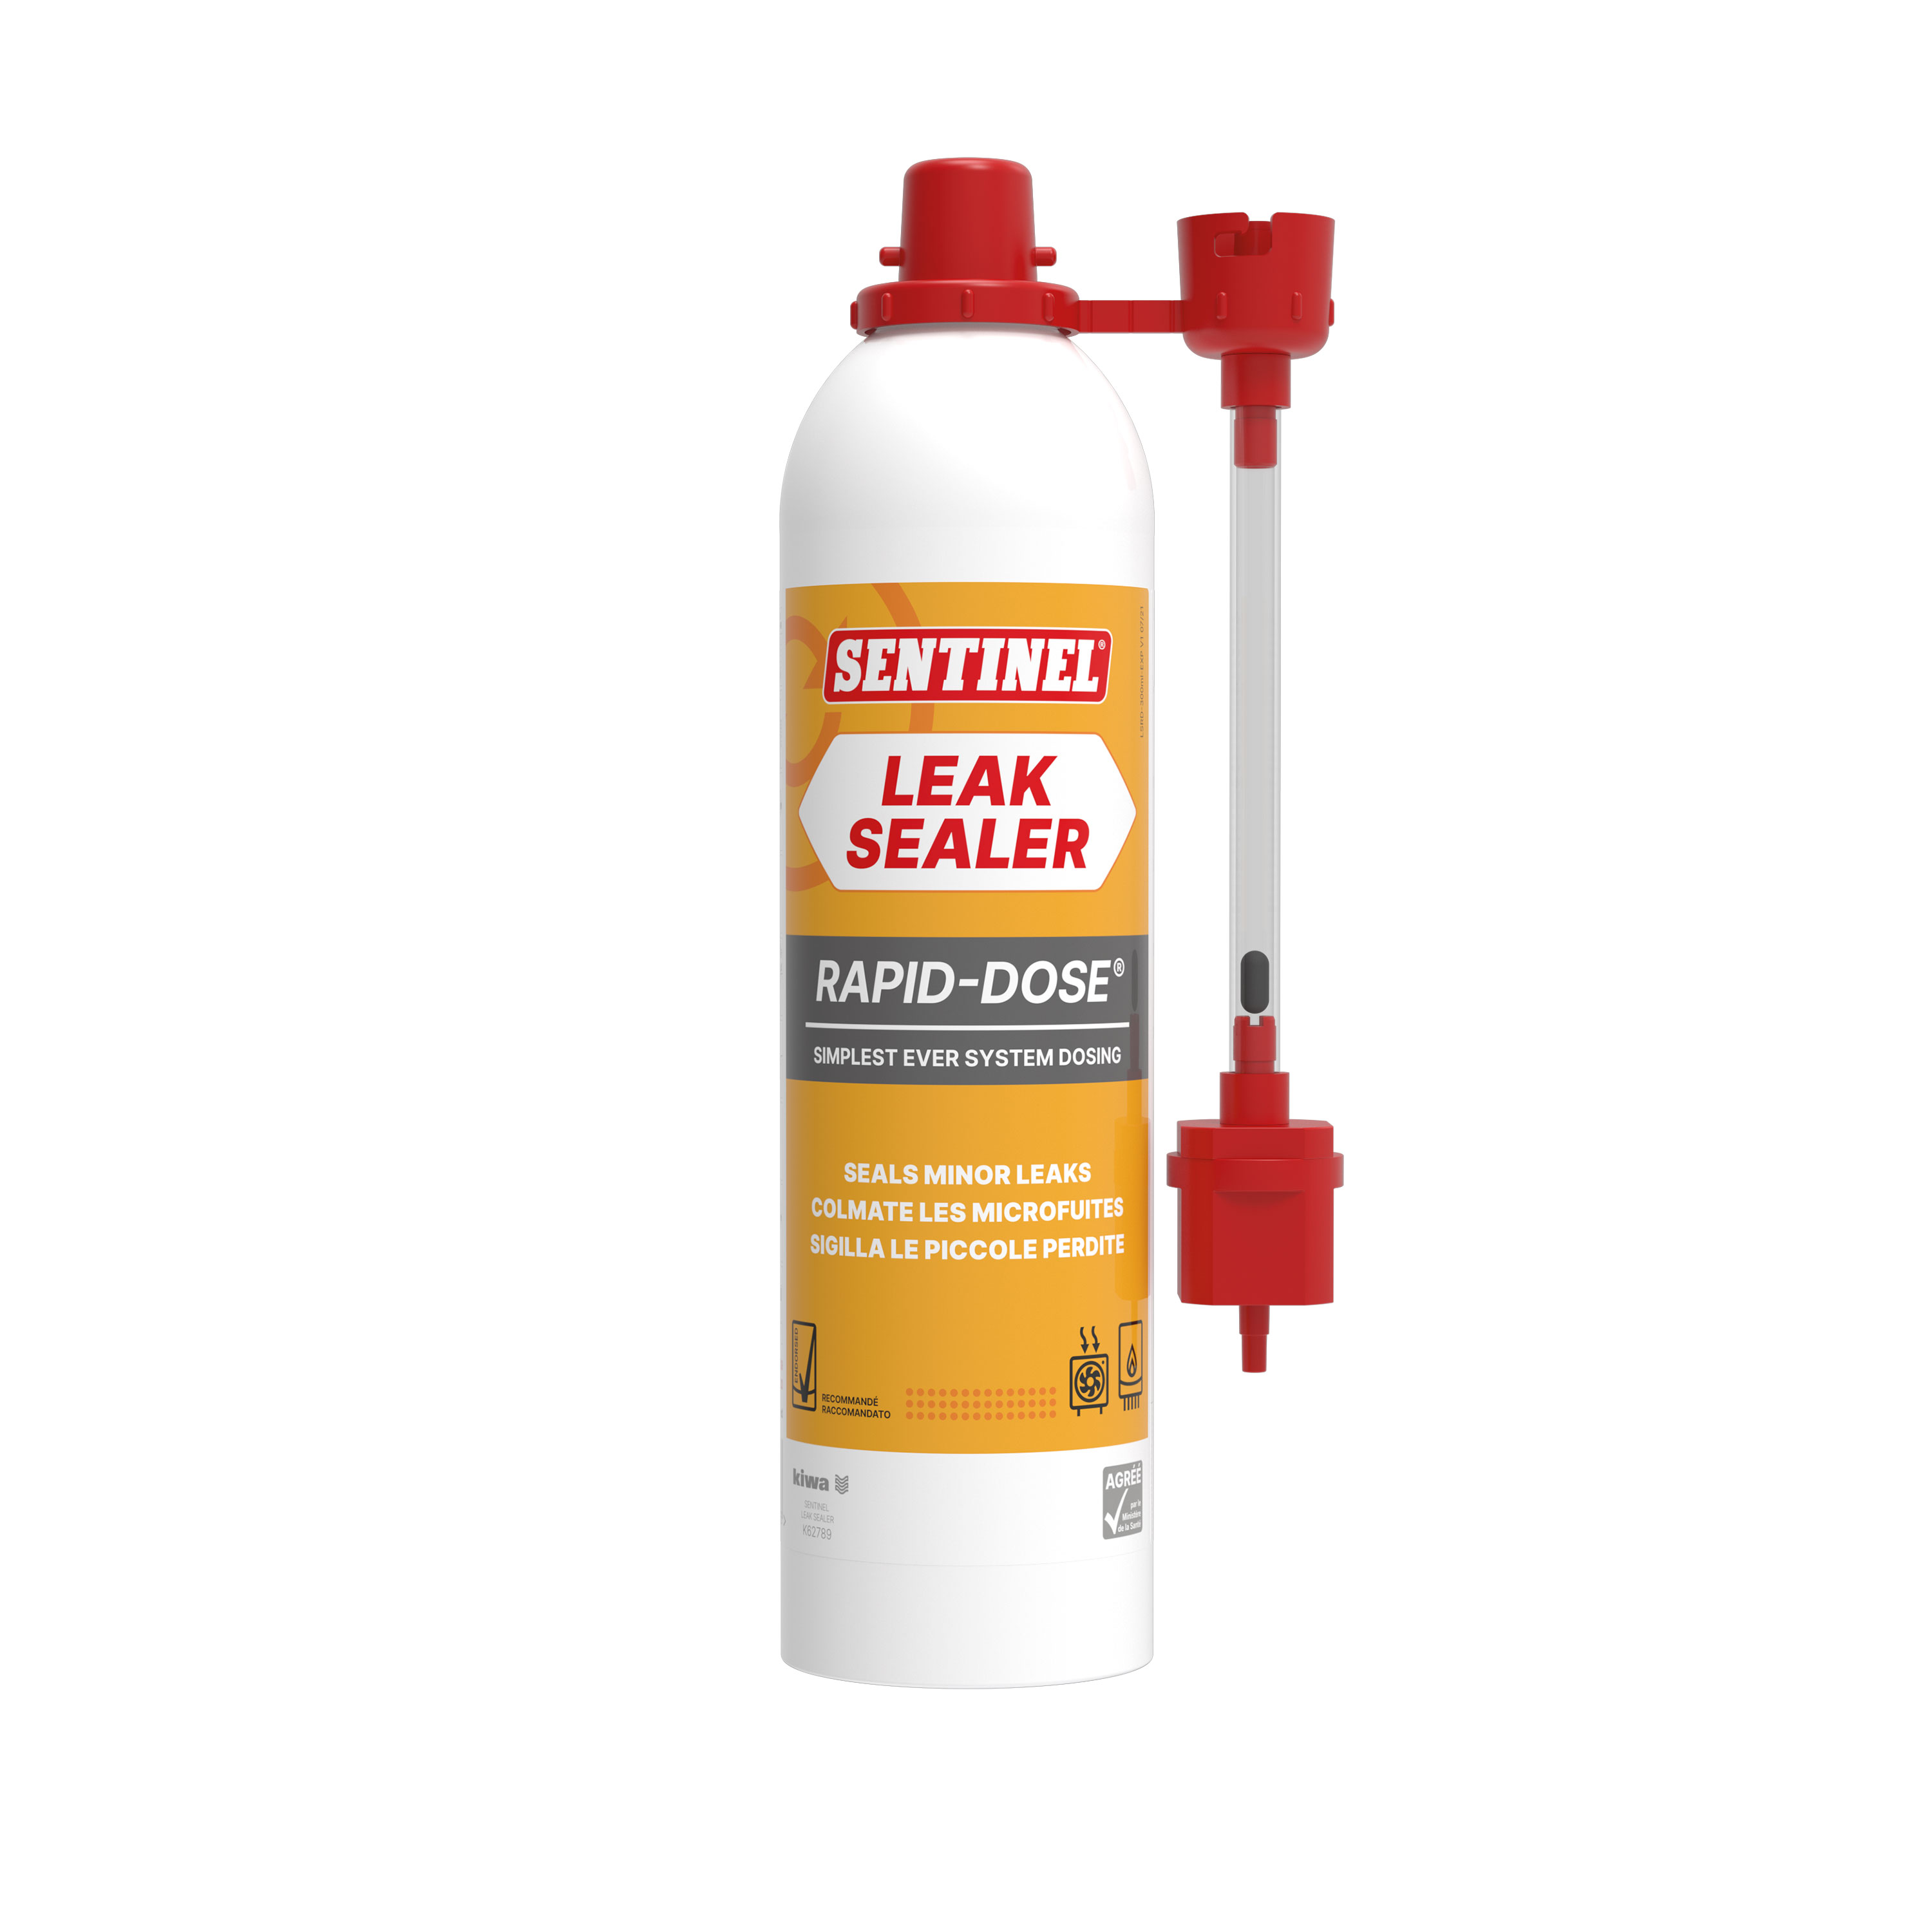
When dosed into a central heating system, Sentinel Leak Sealer stops leaks from minor perforations (pinholes) in pipes and radiators. It becomes fully dispersed throughout the water in the system and when it encounters a very small pinhole leak, it dries to form a soft seal. It has little mechanical strength and can therefore only seal pinholes. It works best when added to the system when it is in service because the heat of the surface metal at a pinhole leak serves to coalesce and dry the seal.
Sentinel Leak Sealer works by forming a soft seal over pinhole leaks inside the system.
It is perfectly safe to use Sentinel Leak Sealer on systems with standard plastic plumbing pipework.
Sentinel Leak Sealer should be left in the system indefinitely.
1 litre or 1 400ml aerosol of Sentinel Leak Sealer is sufficient to treat a typical domestic system of up to 10 radiators.
It is perfectly safe to use Sentinel Leak Sealer in systems over 20 years old.
Sentinel Seal X can be used in day to day joinery for sealing fittings and joints or in emergency situations to temporarily repair a leaking pipe. Seal X should not be used on pipes carrying drinking water.
It is perfectly safe to use Sentinel Leak Sealer on systems with aluminium components.
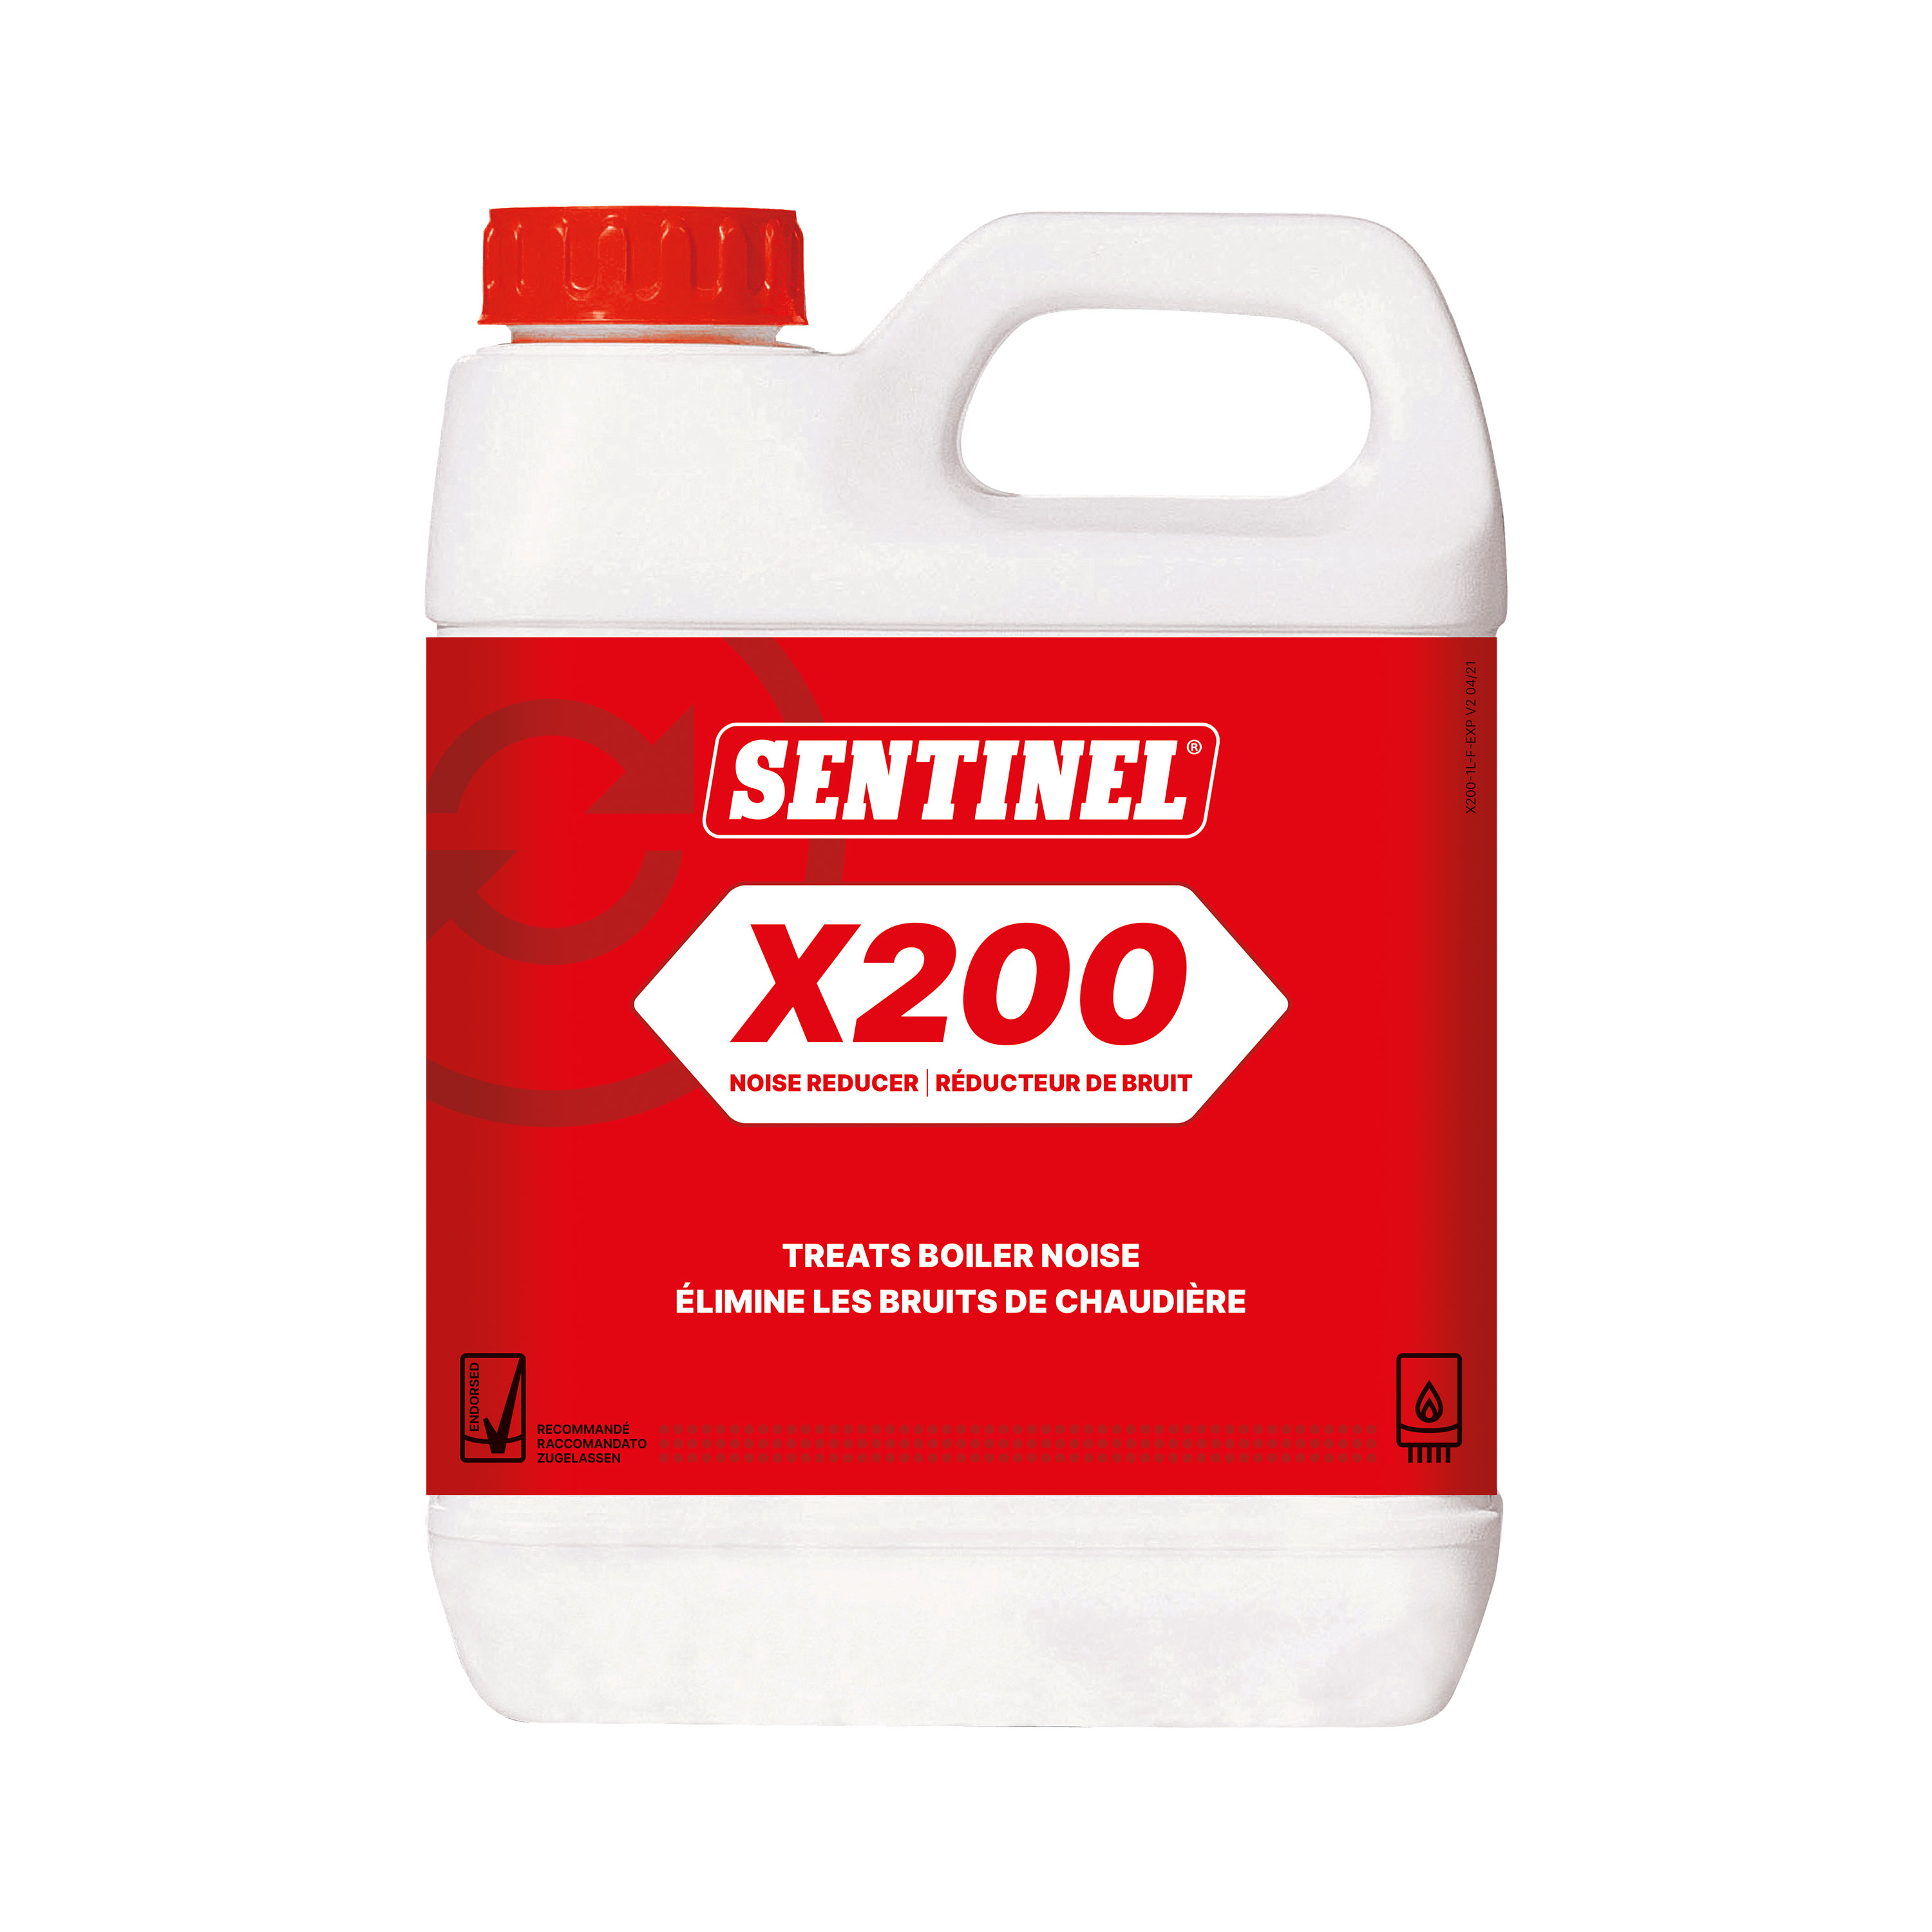
It is perfectly safe to add Sentinel X100 Inhibitor at the same time as Sentinel X200 Noise Reducer.
Sentinel X200 Noise Reducer gently removes the slight layers of deposit or limescale on heat transfer surfaces and alters the flow characteristics of the system water which together eliminates the cause of boiler noise.
Sentinel X200 Noise Reducer can be added to the system in a number of ways. For sealed systems use a by-pass feeder or a Sentinel Dosing Vessel to dose via the F&E cistern. For empty sealed systems, add to any convenient point before filling. For full sealed systems, use a Sentinel Dosing vessel to inject via the filling loop or other access point. Sentinel X200 Noise Reducer is also available in Rapid-Dose aerosol and Concentrate gel formats.
Sentinel X200 Noise Reducer eliminates boiler noise caused by a thin layer of deposit on the heat exchanger.
For domestic systems, 1 litre of Sentinel X200 Noise Reducer is sufficient to treat a typical system of up to 10 radiators. Larger systems should be dosed with twice this amount.
For commercial systems, Sentinel X200 Noise Reducer litre formulation should be dosed at should be dosed at 1% of system volume.
It is perfectly safe to use Sentinel X200 Noise Reducer in systems over 20 years old.
Yes. Sentinel X200 Noise Reducer can be topped up if the system water needs to be replenished, or if complete eradication of the boiler noise has not been achieved.
Sentinel X200 Noise Reducer is a highly successful treatment for curing boiler noise caused by a thin layer of limescale or other deposit on the boiler heat exchanger surface. Treating boiler noise caused by deposits with Sentinel X200 Noise Reducer will also help to restore boiler efficiency.
Sentinel Leak Sealer is ideal for use when minor leaks don’t warrant immediate repair. For instance, you may notice a weeping joint or some minor pinhole corrosion.
When investigation into boiler noise indicates that a thin layer of limescale or other deposit is the cause, rather than mechanical or design faults, Sentinel X200 Noise Reducer is a gentle but still highly effective solution.
It is perfectly safe to use Sentinel X200 Noise Reducer on systems with aluminium components.
In the first instance, please check the Product Fact Sheet (available via the corresponding product page) for information about the scent and consistency of the product in question. If you still suspect that the product does not look as it should, we recommend that you contact the re-seller directly. Unfortunately, Sentinel cannot accept any responsibility for products sold by third parties as we cannot guarantee that the product is a legitimate Sentinel product which has been stored and transported properly.
For a list of recommended online sellers, please check the Where to Buy page.
Where to buy: StockistsSentinel products are non-hazardous, non-toxic and do not contain any toxic ingredients. However, as with all chemicals, they should be stored and handled as recommended and should not be ingested.
The Sentinel products which contain glycol are Sentinel X500 Inhibited Antifreeze, Sentinel R100 Solar Thermal Fluid, Sentinel R500 Heat Transfer Fluid, Sentinel R500C Thermal Fluid Concentrate and Sentinel R600 Heat Transfer Fluid.
All Sentinel products in the heating category are safe for use in the heating circuit of a combination boiler system.
The filling loop stop valve connects the filling loop hose with the system. It is normally located under the boiler and we advise consulting the boiler manual if you are unsure.
There is usually a pressure gauge on the boiler. If you are unsure, please consult the boiler manual.
In their concentrated form, Sentinel’s cleaners and inhibitors have been independently tested to be inherently and ultimately biodegradable according to OECD Guideline No. 302B (1992) “Inherent Biodegradability: Modified Zahn-Wellens/EMPA Test”, EEC Commission Directive 87/302/EEC and US EPA Fate, Transport and Transformation Test Guidelines OPPTS 835.3200. Consequently, the discharge of our products when diluted to recommended system water concentrations have negligible environmental impact.
Many of the major international boiler manufacturers insist on the use of quality water treatment products, making specific reference to Sentinel products. We advise that you refer to the installation manual of the boiler in question.
To discuss requests such as training days, please contact your local Sentinel representative in the first instance.
Sales representativesWhen you purchase a Sentinel product, you not only receive a high quality product with superior performance, you also get 25 years of expertise and innovation. We are dedicated to providing superior service and support. You can find out more about our history and our vision in the About Us section of the site.
About UsFor a full guide of our UK field representatives, domestic and commercial, please check the About Us section.
About UsSales representativesPlease check our Where to Buy page, where you can purchase online or find your preferred merchant’s local stores.
Where to buy: StockistsSentinel treatment and cleaning products are manufactured in the UK. For more information about how Sentinel operates, please visit the About Us section.
About UsIf in doubt over pipework arrangement, consult the boiler manual. Do not dose additives unless you are sure.
We have our very own store FAQs, you will find them all listed here:
https://www.sentinelprotects.com/uk/store-faqs
Alternatively please email our customer service team on shop@sentinelprotects.com and we will get back to you.